We are a few days away from the new year, and as we close the curtains of 2021, let’s take a sneak peek at the improved chat features we have been preparing for you next year.
RumbleTalk has always designed its chat features with convenience and ease-of-use in mind, both for the owner, and the user. So, we have been working on a few improvements to create a more seamless overall chat experience for you and your audience. And now, we are happy to launch them soon!
Here are four exciting features that we can all enjoy next year, check them out below.
Express your emotions better with a new set of emoticons
Quality communication is more than just words on your screen, it’s also about building connections. As basic as it sounds, non-verbal conversations can easily lead to misinterpretation, which can wreak customer service havoc. Thankfully, emoticons are here to fill in those missing social cues! So, online event organizers and customer support teams are taking advantage of this feature in a bid to humanize the conversation and build better relationships.
Next year, expect a new set of emoticons that will help you express your emotions even better. We’ve added an impressive library of emojis so that every emotion is at your fingertips. From new smileys and food, to hand gestures and animals, whatever you have to say, we’ve got you covered. Moreover, you can use this global language to instantly change the meaning of your sentences, to emphasize a point, or simply to create a friendly, open tone.
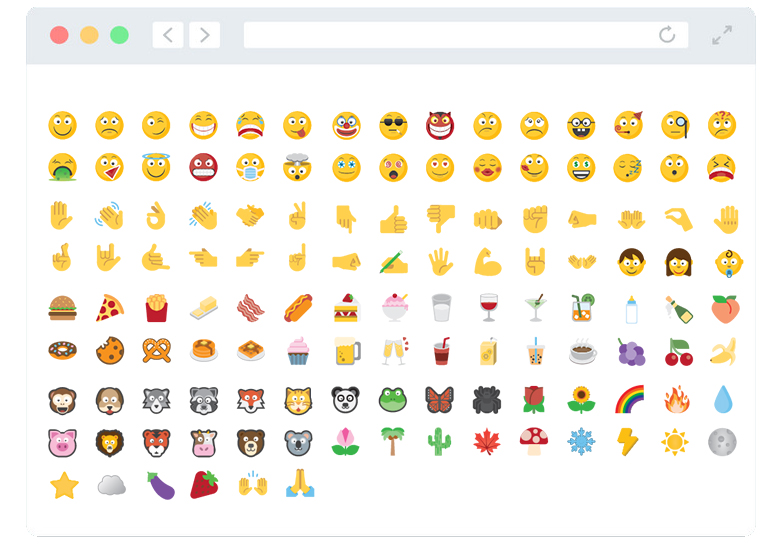
Emojis might just be a few colored icons, but those universal pictures can make a world of a difference in every conversation.
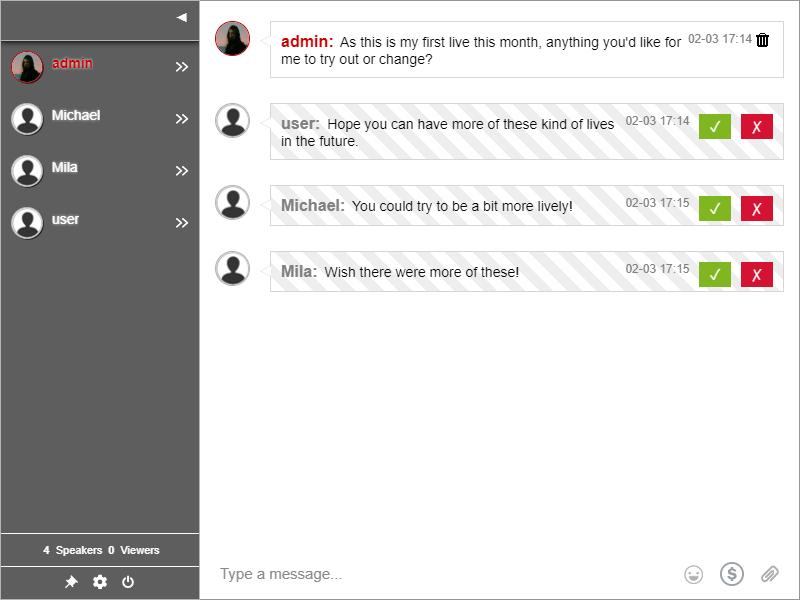
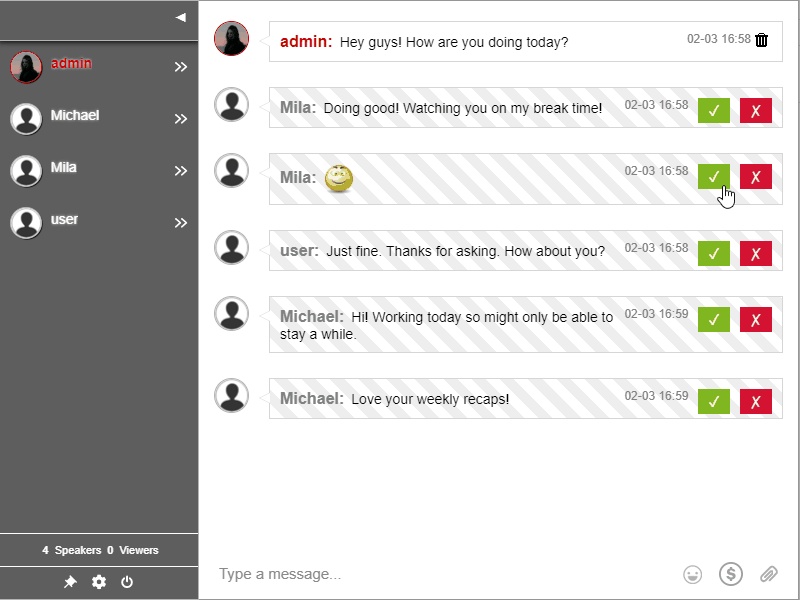
Limit the number of messages at a time with Slow Down Chat
For chat rooms with thousands of users and multiple rooms, the influx of messages sweeping across the screen may begin to hurt your eyes and lose your focus. Well, we developed the Slow Down Chat specifically to solve that issue.
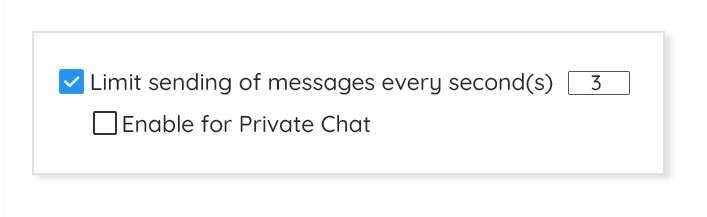
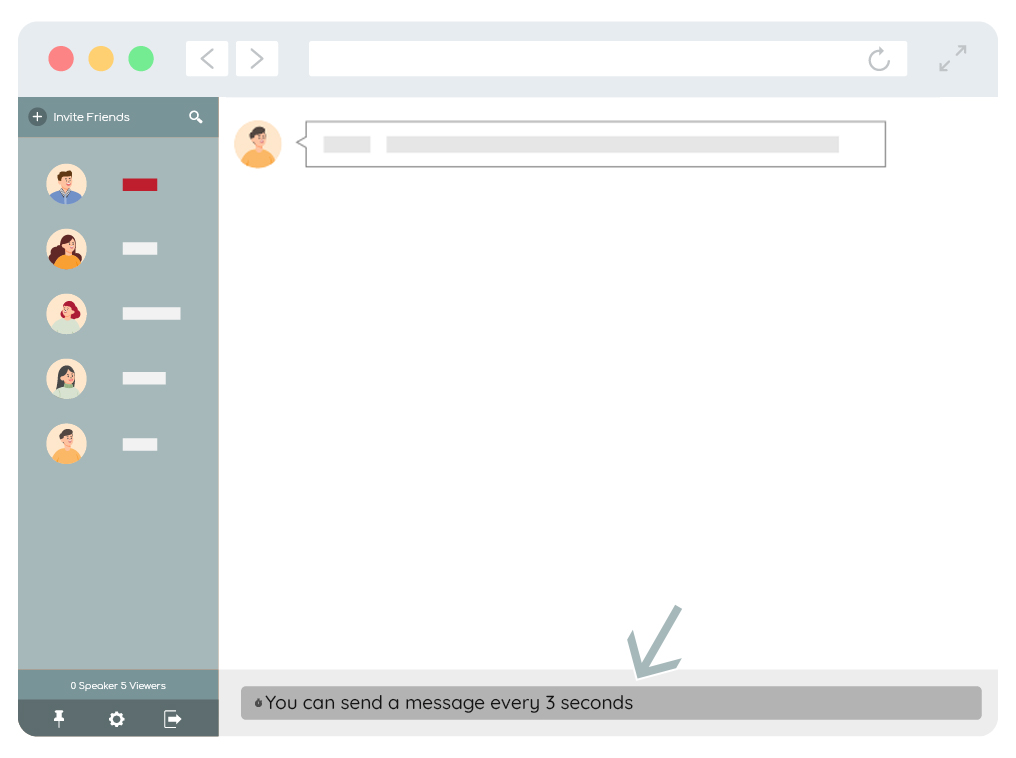
With this new feature, you can limit the number of messages that can be sent into your group chat in a period of time. With this, you would be able to respond to all of your audience in the chat room and to better moderate what is happening in your online community.
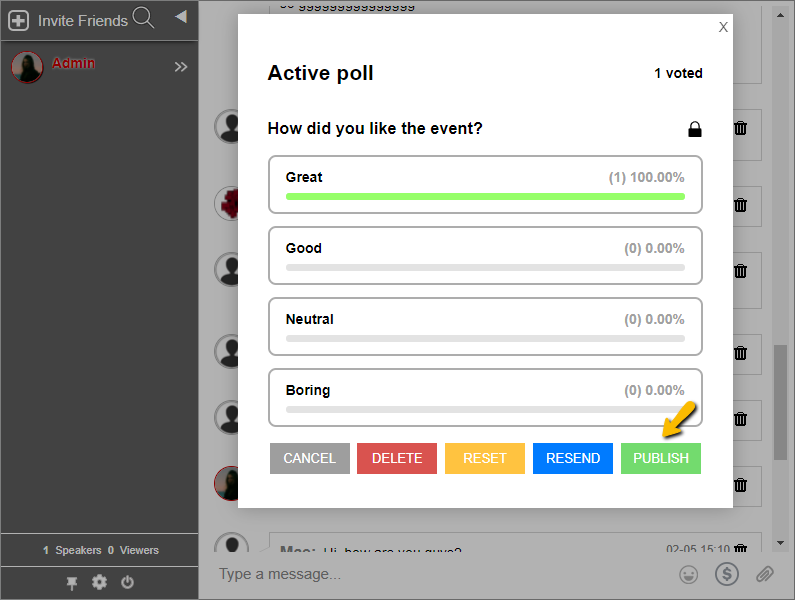
Keep everyone posted with a better way to show the poll results
Polls are a great way to create a more inclusive environment where everyone can be involved and feel valued. With this feature, event hosts are able to collect real-time feedback about any topic. Wouldn’t it be nice to share the results with your audience in a better way?
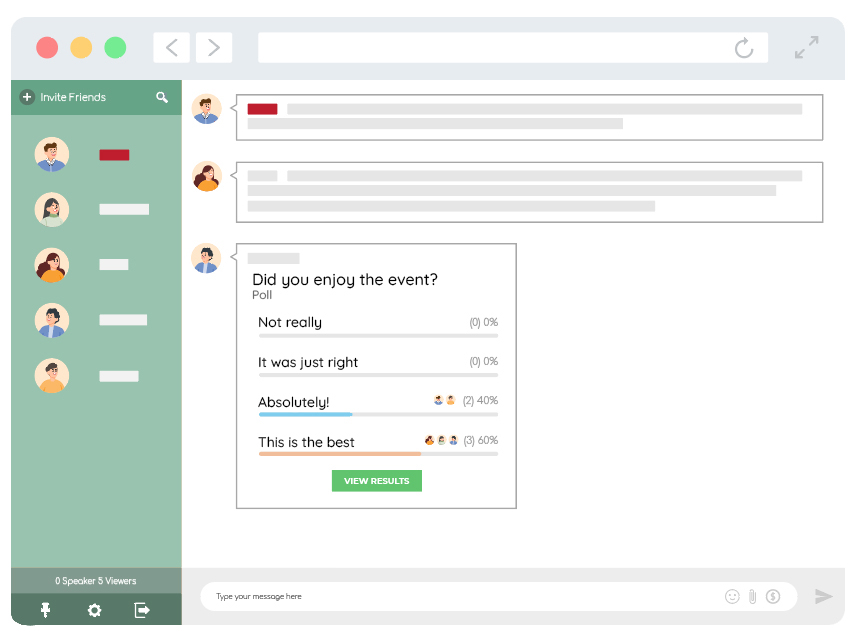
Right now, the poll results are shown as pop-ups. However, this may be distracting as it covers the conversation and lets you focus on something else. Next year, the poll results can be posted inside the group chat, making it appear as part of the conversation. This simple update is designed to create a better experience for both the host and the audience.
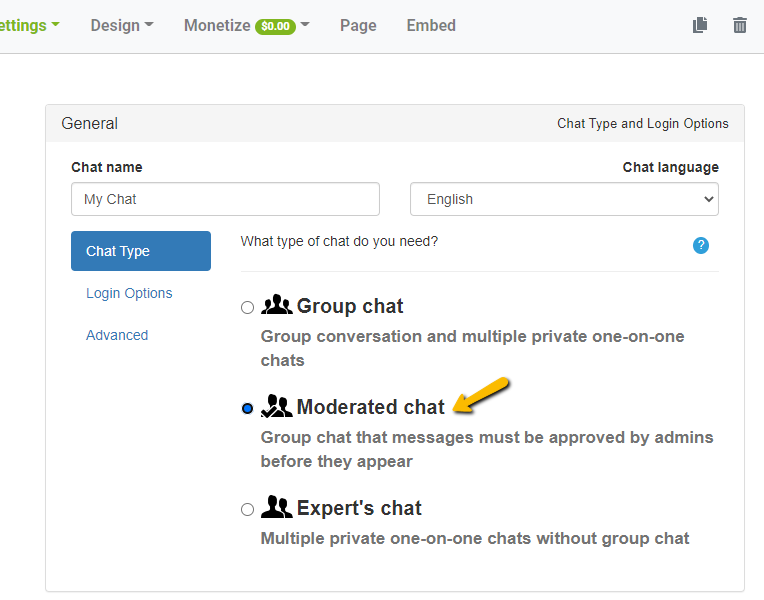
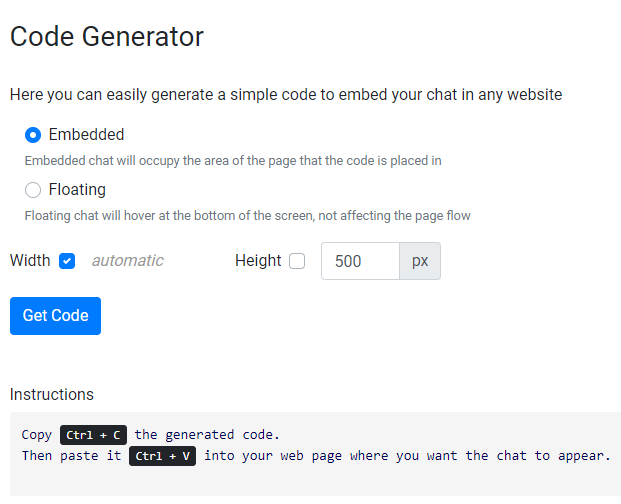
Get creative with the new Design Tab
We’re making some major upgrades to the Design Tab. This easy point-and-click design-builder would make your life tenfold easier with pre-made templates and customizable fields. So, you can make your chat room look as if it’s taken straight out of your branding standards. From the chat window style to the background, to the fonts and icons, change everything with just a few clicks.
Moreover, having the ability to personalize your chat with its full CSS capabilities makes your design options limitless!
Get a free demo call now!
There are plenty of things to look forward to in 2022. Surely, next year would be a continuation of our goal. It is to provide businesses with a better, more efficient group chat platform. This is to help them connect, engage, and build lasting relationships with their users. Set up your free Rumbletalk Chat now or email us at support@rumbletalk.com, we’d love to set up a demo call with you or walk you through setting up your chat.