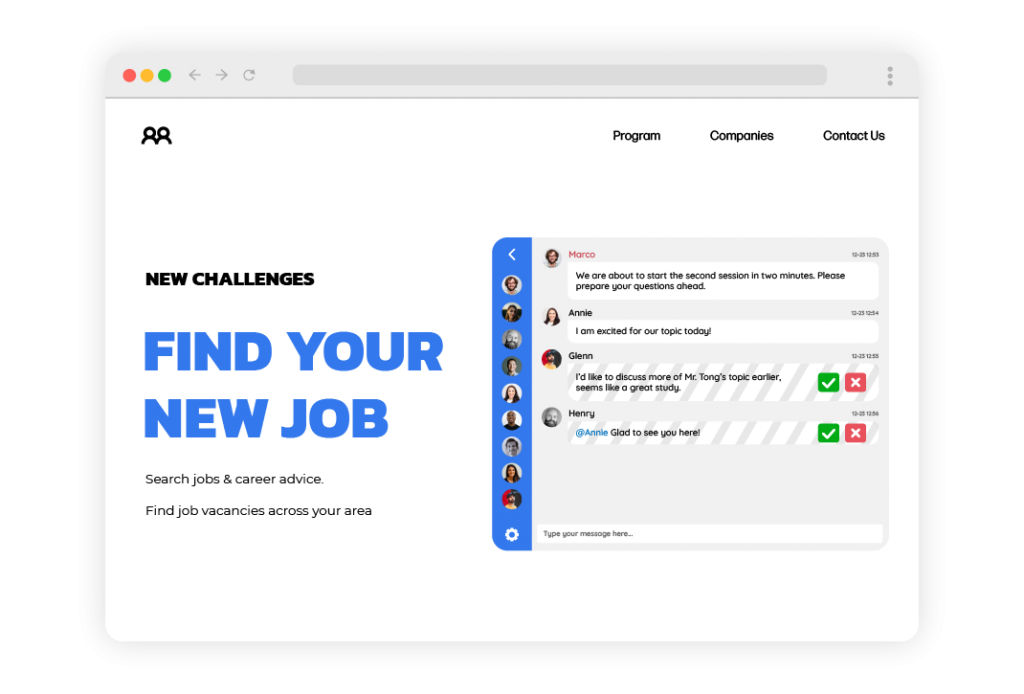
Chat rooms are one of the oldest online communities. They predate email servers, multiplayer games, bulletin boards, commercial online services, and social networks. They started humble, but over time they became places for people to share information and connect with others who share their interests such as employee engagement.
Chat rooms stand out from other instant messaging programs because they allow for communication between multiple people and now, employee engagement.
Fast forward to an even more distant future and chat rooms will just be one of many digital tools that businesses use.
What’s different now?
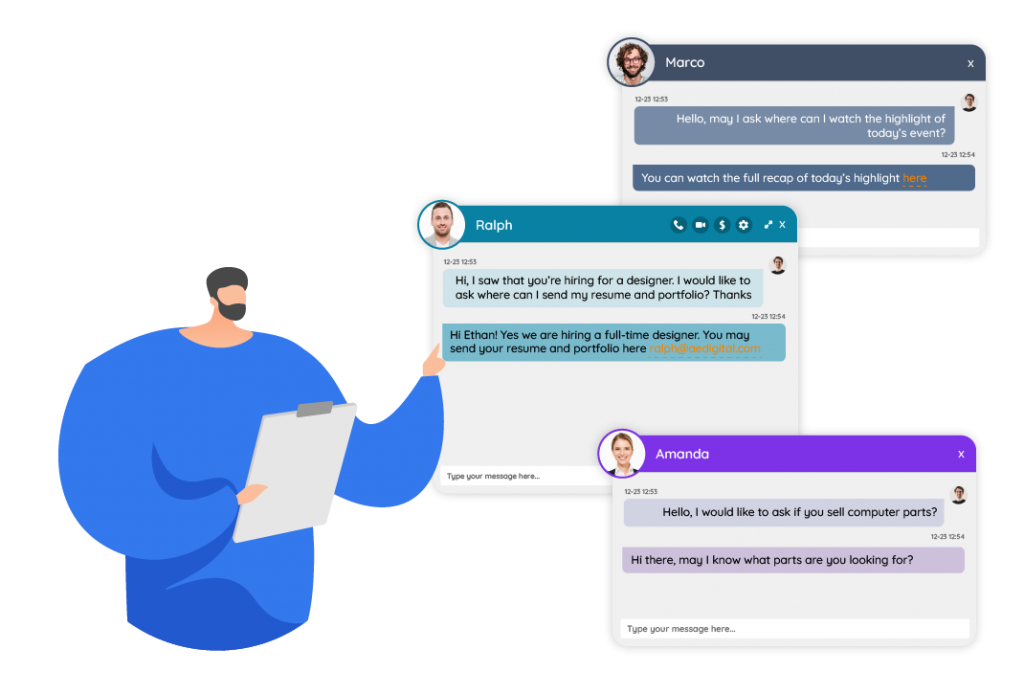
Despite chat rooms being around for a long time, the technology has only recently evolved significantly. Companies who use RumbleTalk express that the software allows for video calls, exchanging documents, and most significantly, sharing gifs and reactions.
The technology is beneficial for all parts of their jobs including the less formal “hey, I have a quick question” meetings, client check-ins, and new business pitches. At the core of chat technology, groups prefer conducting conversations online.
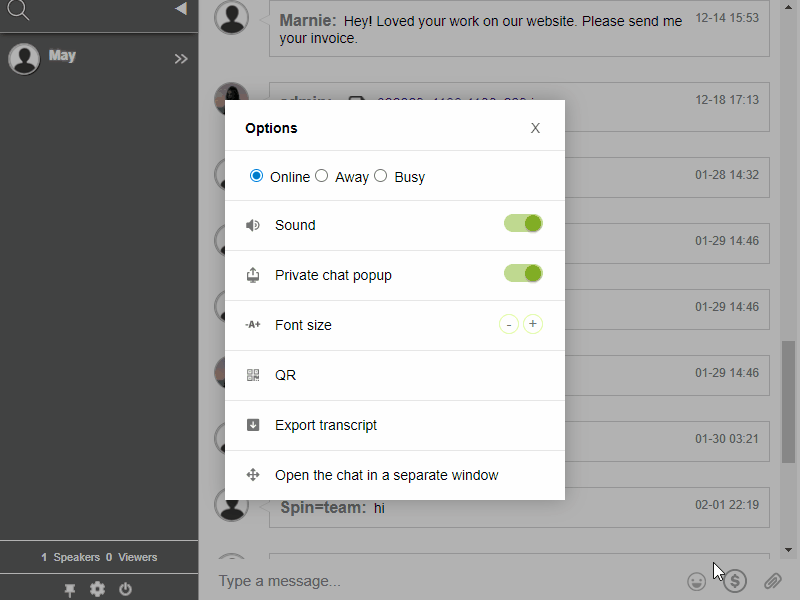
But today, with “channels,” or rooms that users can create or delete as needed, workers can schedule and join online meetings with dial-in audio conferencing that has high-definition and VoIP capability (voice over internet protocol, which allows voice calls over the internet).
This technology also allows for file sharing. Users who don’t see information in real-time can review it later in recorded transcripts. Some products have advanced features, such as dedicated phone numbers for making and receiving calls to users outside of the software.
For instance, our company manages a team of 20 people globally. The ability to do morning check-ins and interact with team members across the globe is very handy.
Around half of the workers believe that communication apps help them be more efficient
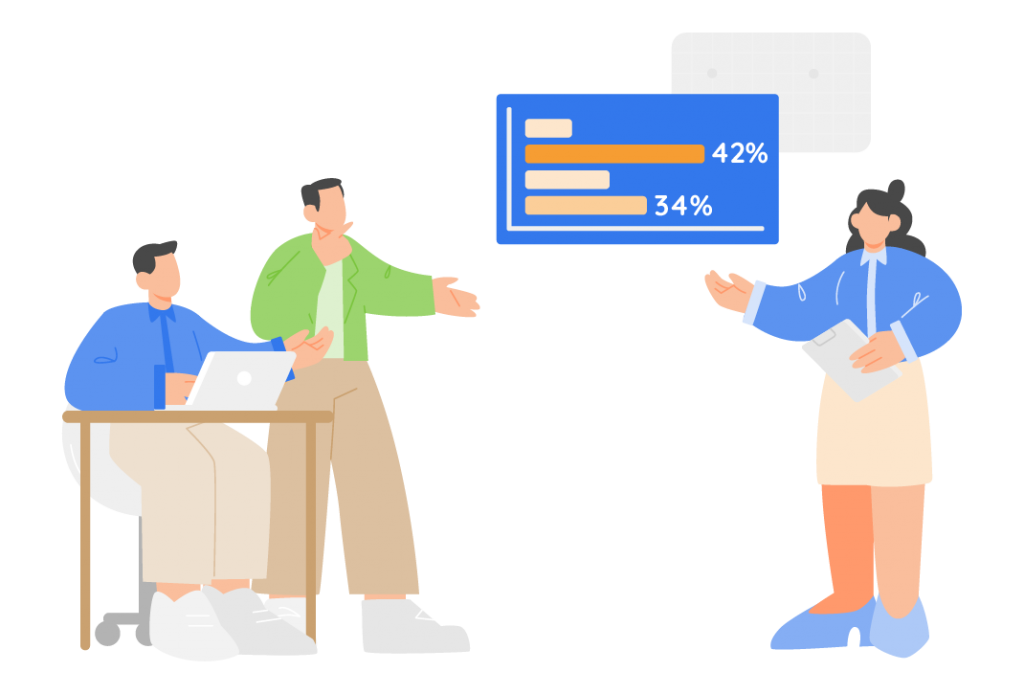
Do work chat platforms make you more or less productive?
- A majority of millennials (42%) believe that workplace chat platforms increase productivity.
- 34% of employees said they would be more productive if they uninstalled their current work chat platform.
Many tech companies have created platforms designed to promote collaboration and employee engagement in the workplace.
According to managers, many seem to think they’re doing their job. About 40% of managers believed work chat communication platforms made them more productive, with senior managers believing they had the most positive effect.
Entry-level employees were more likely to describe work chat platforms as bad for productivity.
Only 29% of employees overall felt work chat platforms generally decreased productivity.
What is motivating today’s technology?
Technology has created a problem of constant “noise,” where workers feel they need to be tied to their email, text, and voice messages around the clock. Experts say that this problem can only be fixed by technology.
Several experts believe that a communication tool that encourages workers to disconnect may be essential. This refers to features such as disabling notifications.
The technology allows users to still share information in real-time but can ignore private messaging and other distractions when they need to be completely focused.
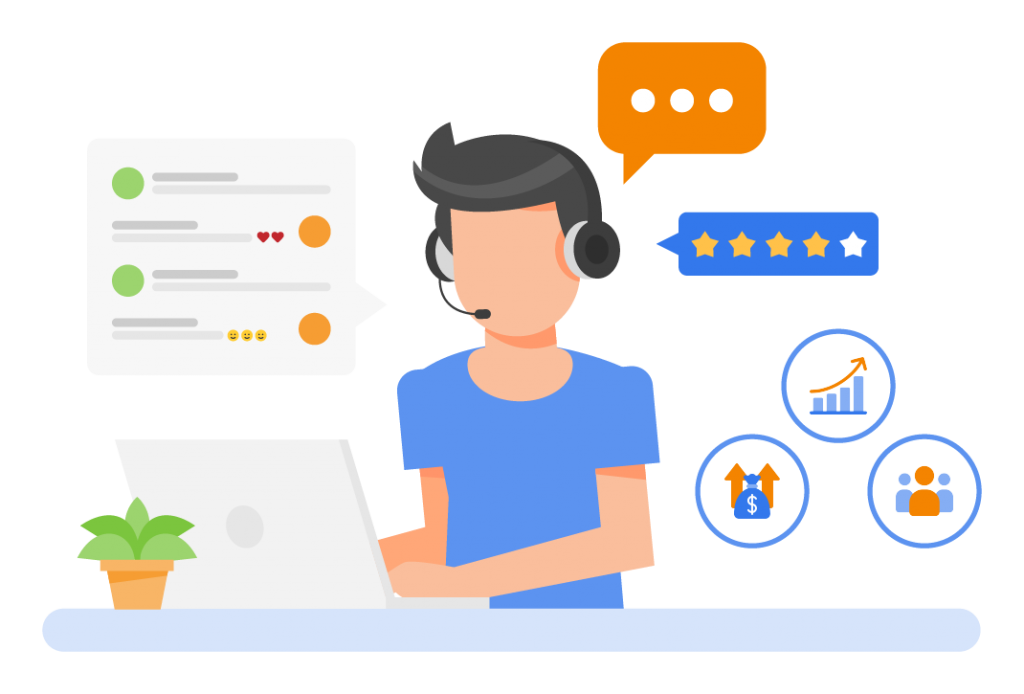
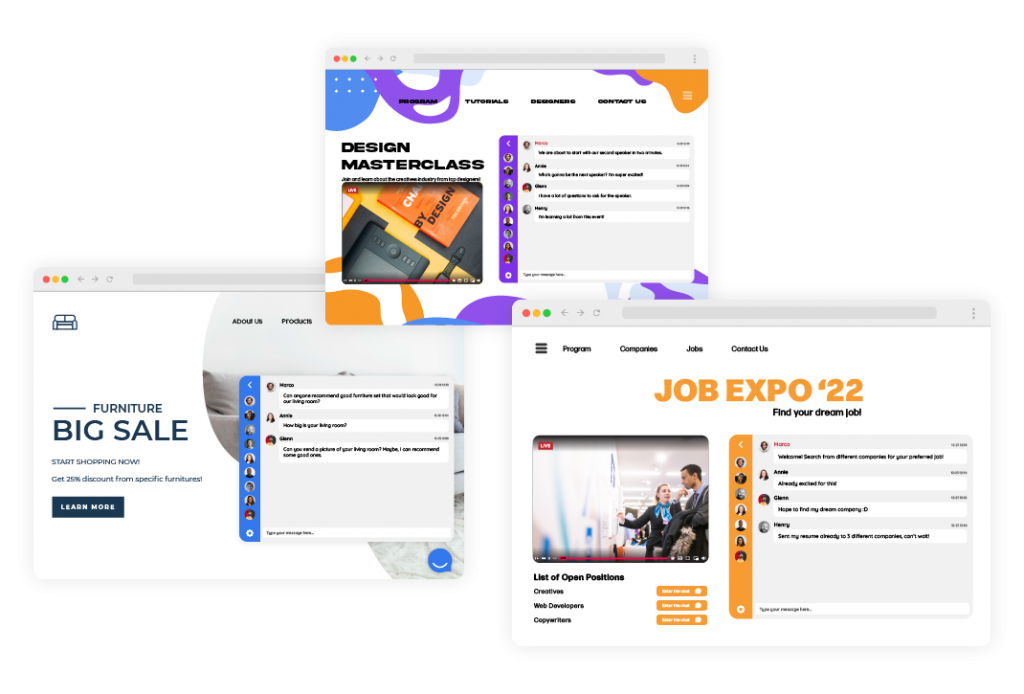
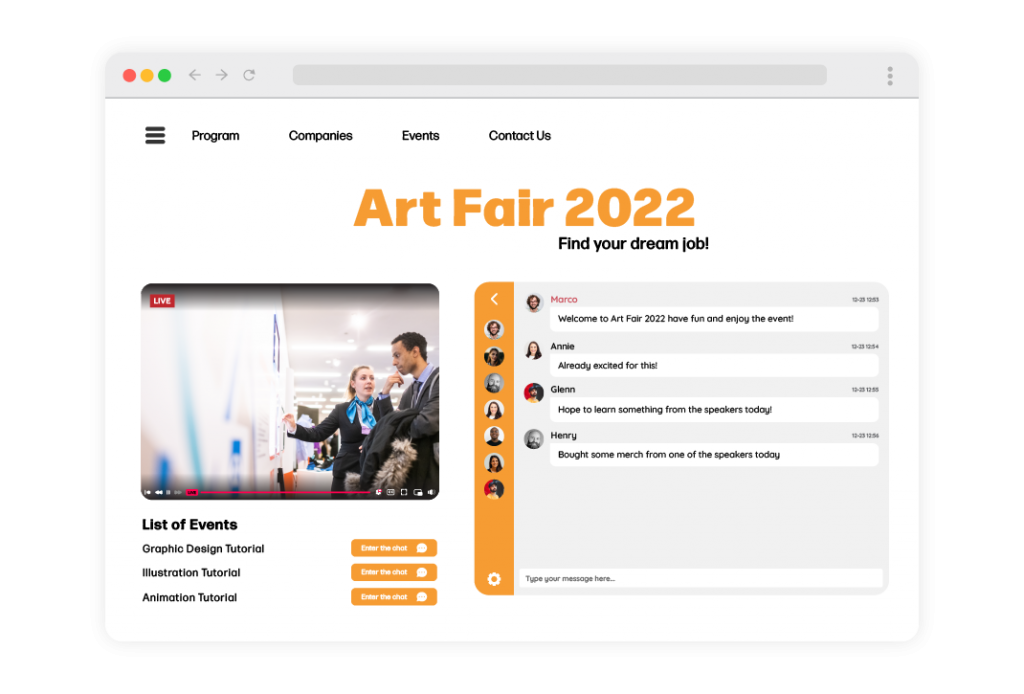
Use chat rooms correctly to boost employee engagement
Incorporating social communication technology in the workplace starts with good intentions. The goal is to facilitate quick, efficient, and concise communication between co-workers that help increase productivity and employee morale.
As with any other social platform, conversations can quickly veer off-topic and end up as nothing more than a distraction.
Proper use of the platforms and keeping nonwork-related channels and threads to a minimum is crucial for minimizing distractions. Choosing the right software can also mean decreased productivity and increased collaboration.
At RumbleTalk, we work hard to create a productive and collaborative environment, free from distractions. Our chat room is designed to improve connectivity and employee engagement, so your team can succeed.
To learn more about how our products can transform your workplace, contact us today.