If you’re already a long-time user of RumbleTalk, you would know that we have a WordPress chat plugin. The RumbleTalk WordPress chat plugin is constantly improving its user interface. Therefore, here are some WordPress tips that might be useful for you.
One of the features available is the display name feature. This gives a personalized user experience as you can change what name will show in the group chat. Here’s an overview of the feature and a guide on how it can be used.
WordPress Tips: What is the display name feature?
The display name feature is a simple way to control what usernames will appear in the user list. Since the names are taken from the WordPress database, you will need to enable the members chat option on WordPress. Here are the following options and combinations you can try:
- Display Name
- Username
- First Name
- Last Name
- Nickname/Alias
- Last Name + First Name
- First Name + Last Name
- Display Name + Bio
- Username + Bio
- Nickname + Bio
- First Name + Bio
- Last Name + Bio
You will see all of these in your WordPress profile. To see your WordPress profile, click your username in the upper right corner.
In there, you will see the different settings that you can change, from color themes and the names aforementioned.
Just scroll down and you will see the Name category.
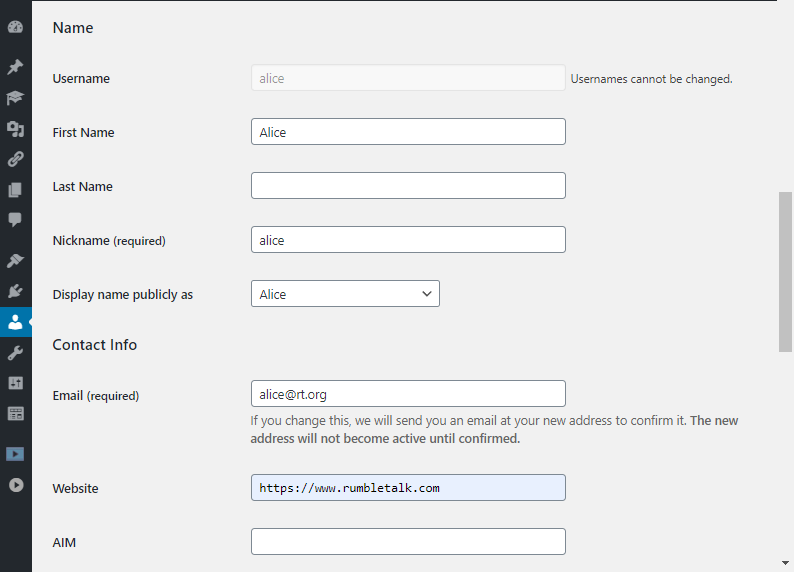
In there, you will see the following: Username, First Name, Last Name, and Nickname. You can also choose which of the following names show publicly in WordPress.
When you scroll a bit more, you will see the About Yourself category. In there, you will see the Biographical Info section. This is what Bio stands for in the combinations.
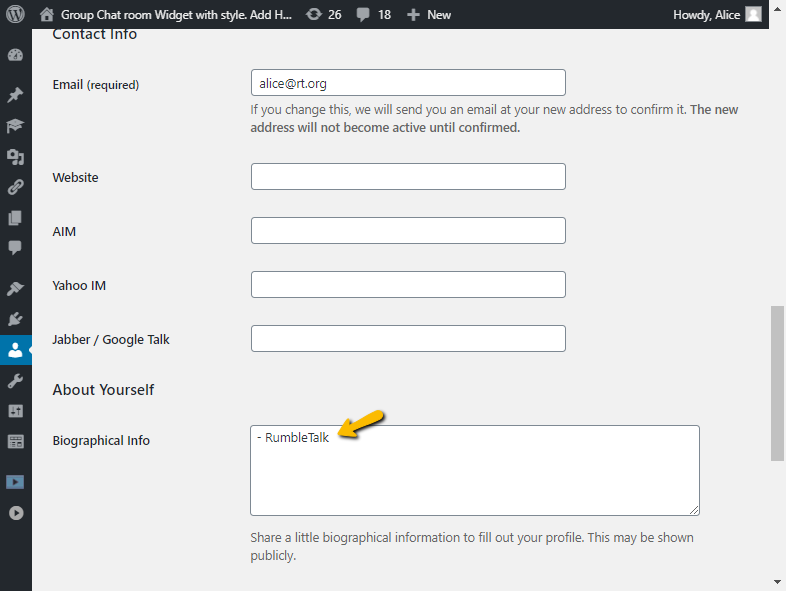
A user must have a biography typed in for it to work in the RumbleTalk chat plugin. If not, only the name will show up even if Bio is included in the options.
Here’s an example of how the Display Name + Bio combination would look like in the chat if we used the sample above.
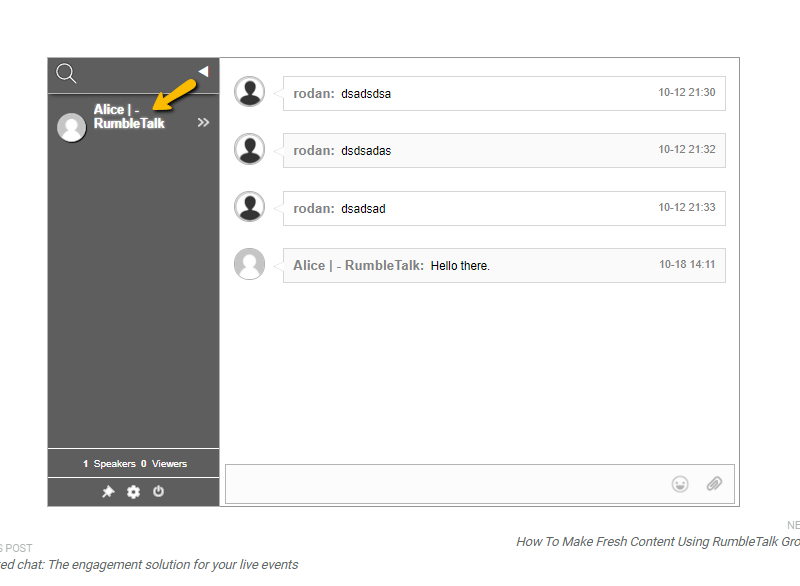
How does it work?
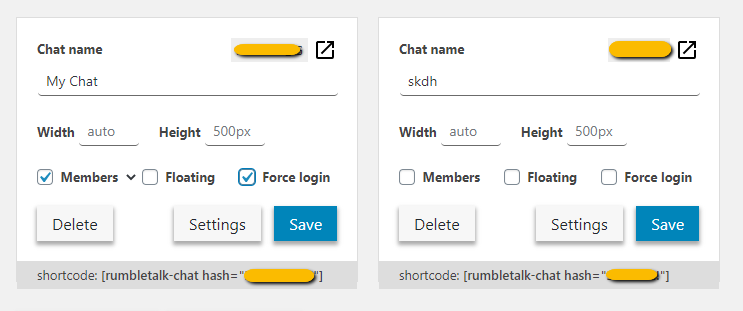
After installing the RumbleTalk chat plugin, next to the Members field, you will see an arrow. This is a dropdown where you can choose the option you like or ignore if you want to use the default name.
What are the steps you need to do to set up the feature?
Just like other plugins, having a lot of features is not enough. You need to know how to set it up, use it for your convenience, and integrate it into your membership site. So, let’s see what you need to do to take full advantage of the feature:
- When you click on the Members checkbox, this activates a code in your WordPress site where it will integrate your userbase with the RumbleTalk chat plugin.
- After checking it, any user that’s logged in to WordPress will be automatically logged in to the RumbleTalk chat room.
- Change the desired display name next to the Members checkbox.
The feature presents maximum flexibility to let chat owners decide what names will appear. This depends on what you use your chat room for. For example, if this is for a job fair, the First Name + Last Name combination would be appropriate. If used for community chats, then regular usernames or nicknames would work. It’s up to the chat owner what he deems appropriate for the scenario.
NOTE: If you don’t want to use the RumbleTalk chat plugin, you can also manually integrate your site userbase to the standalone RumbleTalk chat.
WordPress tips you can use in the future
If you’re using the RumbleTalk chat plugin, then you might want to go to the knowledge base or blog and check other WordPress tips.