Is WordPress your choice for hosting your website? If yes, then we’ve got a WordPress chat plugin that you can use easily.
Since WordPress sites are customizable, plugins are there to help you elevate your website.
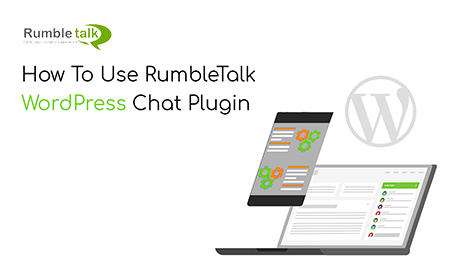
In this guide, we’re going to show you how you can download the RumbleTalk chat plugin, how to use it, what you can do with the chat.
Hey, if you’re looking at how you can integrate it into other websites or domains, go to this article.
Install the chat plugin
It’s easy to install the RumbleTalk chat plugin on WordPress. Firstly, log in to your WordPress dashboard.
Secondly, go to Plugins > Add New.

Thirdly, search for RumbleTalk in the search bar. Click Install Now.
Lastly, activate the plugin.

Immediately after activating the plugin, you will see RumbleTalk Chat in your WordPress settings.

Using your new WordPress chat plugin
Now that’s all settled, you need to set-up RumbleTalk to use it as a chat. Therefore, you need to log-in (if you already have an account) or register (as a new user).
So, if you’re a new user, opt to create a new account.
You will need to provide the following:
- Password
- Confirm password
After that, proceed to create your account.

If you already have an account, click on Already have an account at the bottom right corner. It will lead you to the Update Token settings.

As said in the settings, log in to your RumbleTalk admin panel. Click the link above so you can be redirected to the page.
Once you’ve logged in, click your profile name (it can be your username or email), select Account Setting, and then click the Integration tab.

You will see the following: Key and Secret. These are needed for you to update your token on WordPress. Copy and paste them on your WordPress settings and save.
Once saved, your RumbleTalk chat should be seen on your WordPress site.
Features you can do with the RumbleTalk WordPress chat plugin
Create chat moderators
Since you have many chatters in one chat room, it’s good to have a helping hand when you’re not online. Or, you can also set yourself as a moderator to use all admin rights.
Here’s how you can set chat moderators with the WordPress chat plugin.
- Go to the RumbleTalk chat plugin settings, then click on Settings.

NOTE: The chat hash is blurred because you should always keep your chat hash private.
- Click Users.

- Then, choose Add new user.

- Fill out the form. Choose admin with global access or admin for specific rooms only to set a chat moderator.

NOTE: If you set a user as admin for a chat room, then this will allow other WordPress users from your database to login with the chat automatically and set passwords only for the administrators.
With these easy steps, you now have moderators, who can help you monitor your chat. Who knows, you might even use the moderated chat as your preferred chat type.
Set auto login for WordPress users
Did you know that you can set your WordPress users to be automatically logged in when they use the RumbleTalk chat plugin? When you want your users to be logged in automatically, here’s what you need to do.
- Go to the RumbleTalk chat plugin settings, and then click Settings.
- To activate the auto-login feature, just click the Members box as seen in the example above.
Now, when your WordPress users are logged in, they can immediately start chatting.
NOTE: If the settings are acting up, you can repeat the process again and save.
RumbleTalk WordPress chat plugin
RumbleTalk integrates with WordPress seamlessly. If you’re still confused about how it works, you can watch this short video.

All in all, RumbleTalk allows you to use all the features you see in the admin panel. Even if you’re not using it directly on a browser, you can still use it to its full capabilities.
Here are some features you can try out when you first use the chat plugin:
- Customize your chat design.
- Add rooms, keywords, and moderators.
- Try out the different chat types.
- Create a minisite.
These are just some of the features that you can try, but there is much more when you use the chat plugin.
Discover the platform by trying out our demo.
In case you’re having issues with the plugin, connect with us. We’ll gladly walk you through the process.