The Future of Recruiting: A Look into Virtual Job Fairs

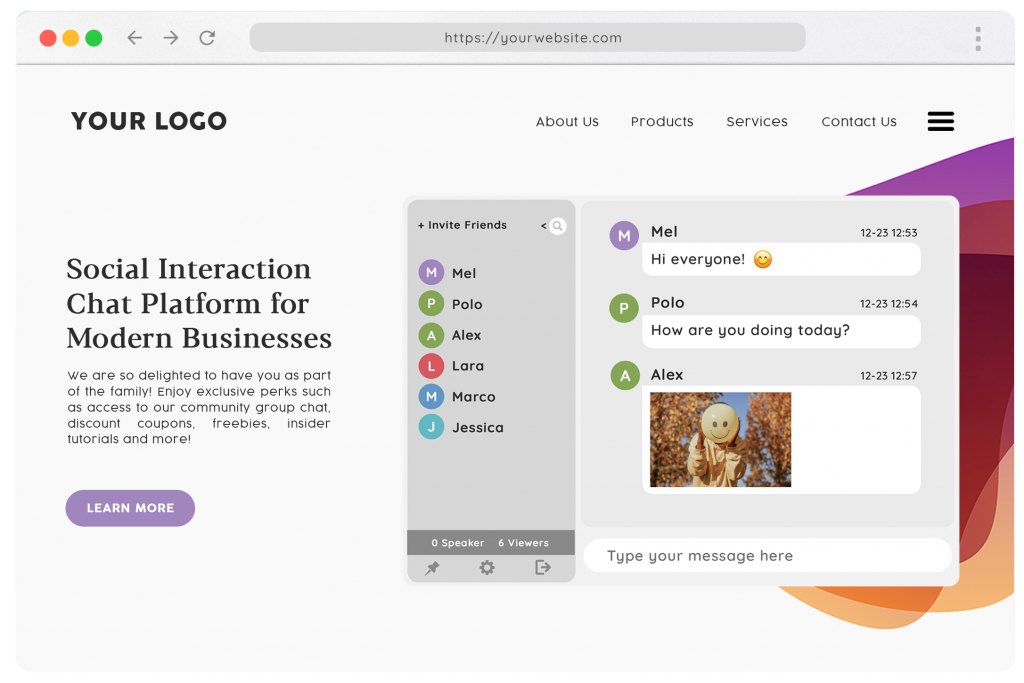
Virtual job fairs use software like live streaming and conferencing platforms. Job seekers who are comfortable with face-to-face meetings will have no problem with this.

However, there are a number of job seekers who are not confident in virtual meetings and may opt out. Therefore, they will seek out virtual job fairs that only make use of group chat platforms.

Because of the group chat’s nature, they feel comfortable and will be able to show more of their strengths. For instance, in a group chat, an interview can go as follows: introduction, sending of one’s resume, answering some of the HR’s questions, and then just waiting for the company’s contact.

If you’re an entrepreneur, how can you utilize a group chat platform if you intend to host a virtual job fair?

First, what is a virtual job fair?

Online job fairs, or virtual job fairs, are scheduled events dedicated to jobseekers that take place in a virtual setting. Commonly used platforms are live streaming platforms, webcasts, group chat platforms, and email. These are used to exchange information before, during, and after the virtual event. As such, interviewers also use this kind of platform.

When logging into the virtual job fair, job candidates are allowed to enter various rooms, which accommodates diverse employers participating in the fair. As soon as the job candidate enters the room, a company representative can start the conversation.

In some instances, there may be others who entered the room first and are having a conversation with the representative. Group chat platforms like RumbleTalk allow simultaneous private chats, so companies don’t have to kick out other candidates. In the chat room, candidates may ask about the company, the job position, and more.

Set it up in 3 easy steps

Setting up a job fair is relevantly easy. The things that you need are as follows: a dedicated website/page, a live streaming platform or conferencing platform, and a group chat platform.

To make your virtual fair successful, these need to work hand-in-hand. In this blog, our focus will be solely on using a group chat platform.

Let’s say that you already have a website and live streaming platform. All you need is to follow these steps to set up the group chat.

  1. Sign up at RumbleTalk.
  2. Create a chat room for each exhibitor. This depends on how many companies and employers will be present. You can change the name of each chat room to the company name or brand name.
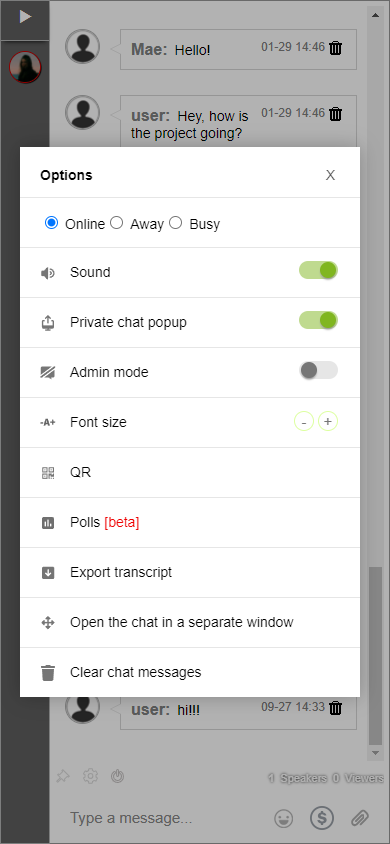
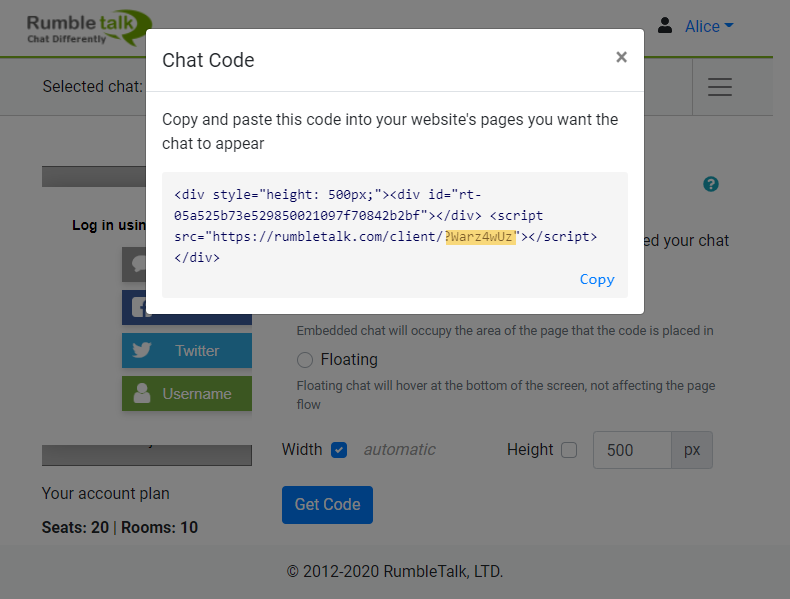
  3. Now, go to the admin panel. Click Embed. When it generates the code, copy and paste this on your website.
virtual events

Now, you’re all set with the chat rooms. That’s only the first step. Here are some other tips that might be helpful.

The start of a conversation

job fairs

The host of a chat room will be the employer. Job candidates and company representatives (which will be someone from HR) conduct their interviews here. There is no limit on how many chat rooms a job candidate can enter. Once a job candidate enters the chat room, a company representative must be ready to initiate a conversation.

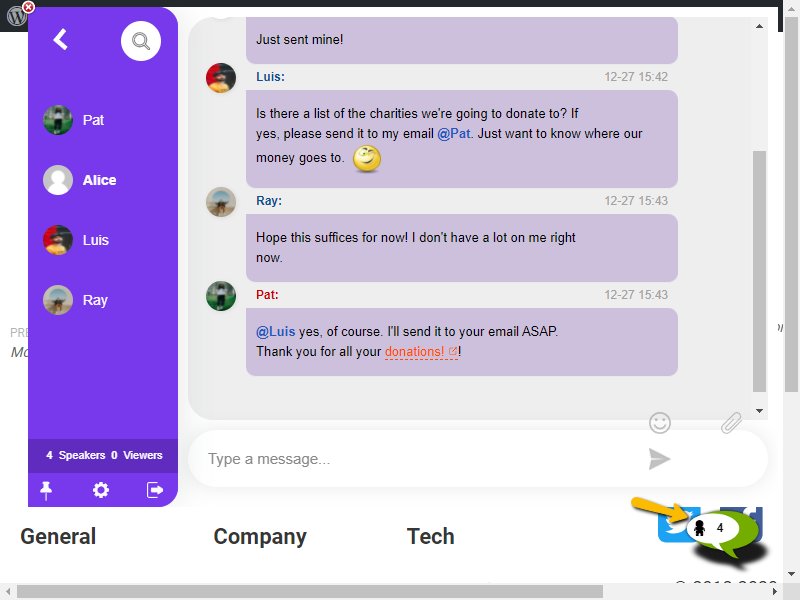
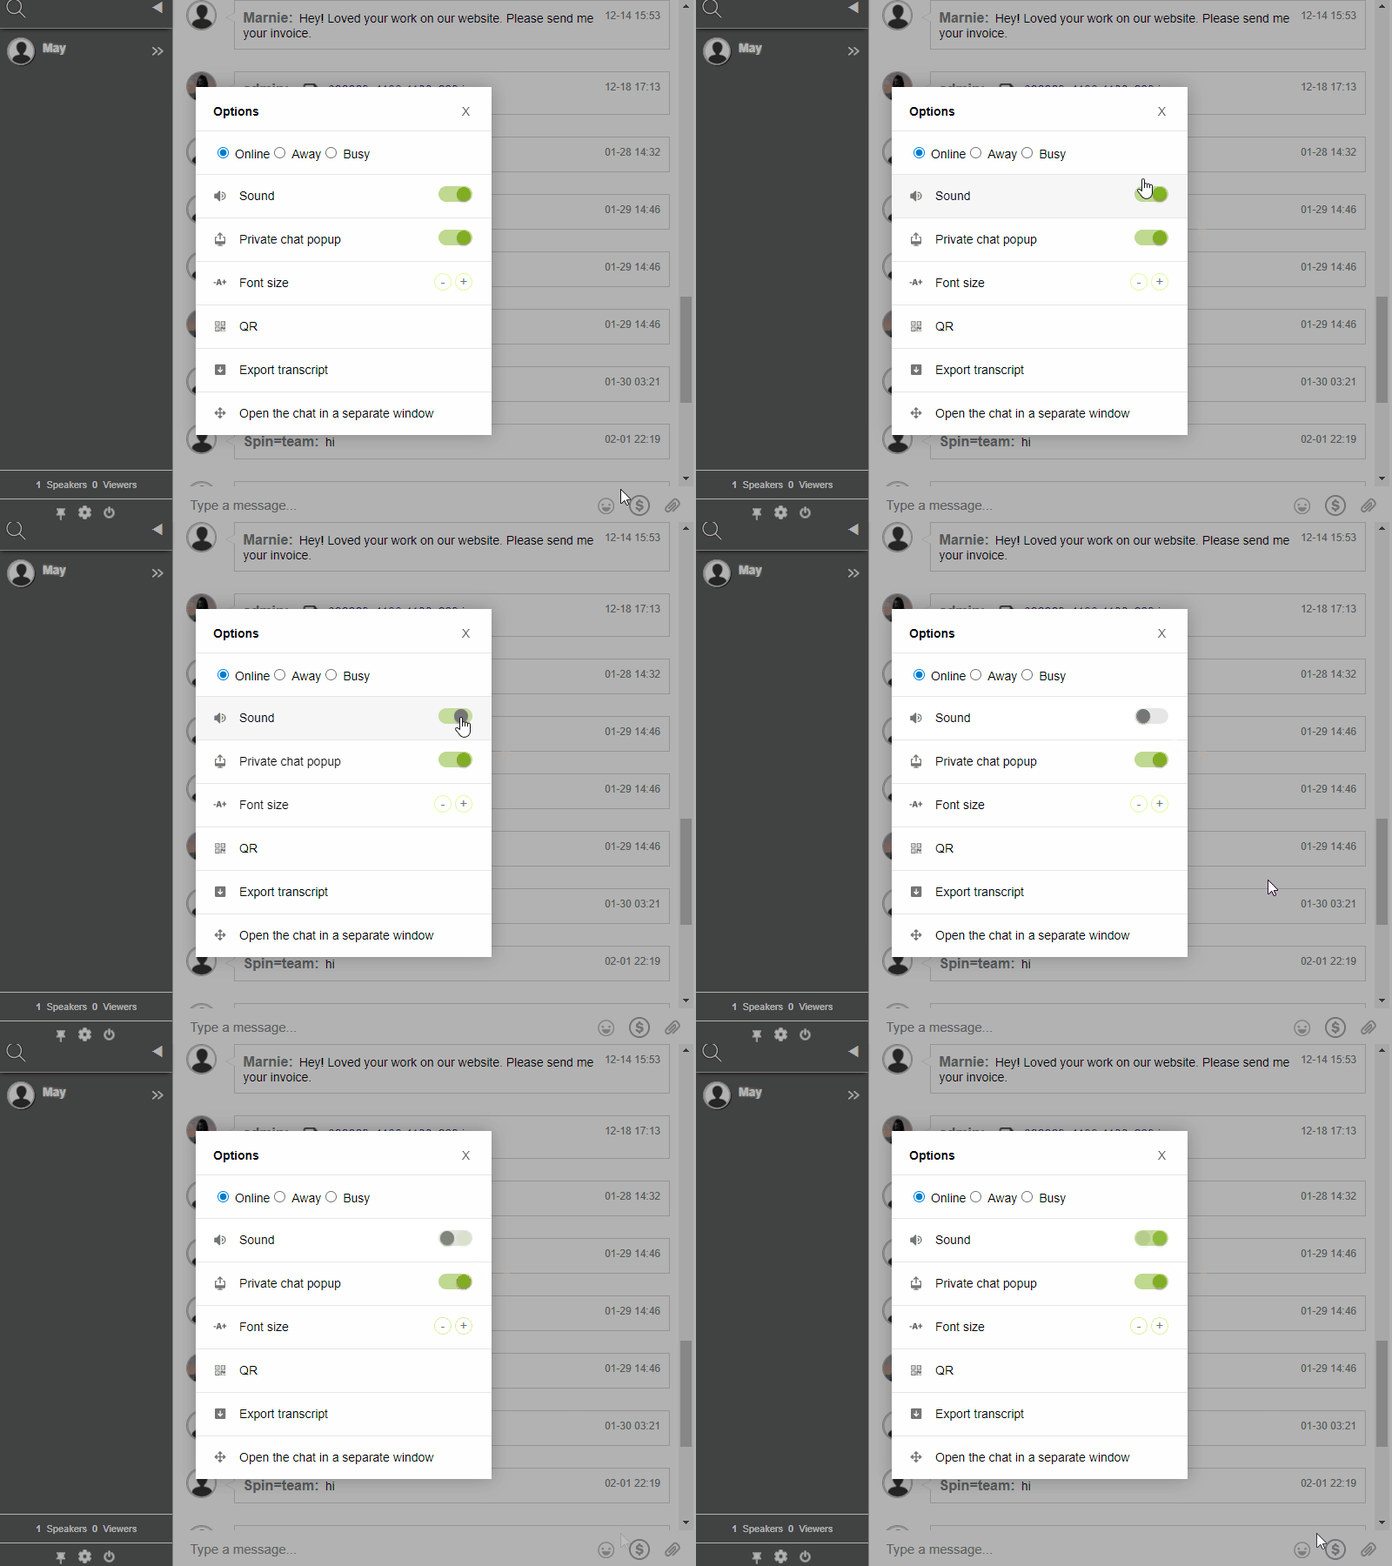
If you need more privacy, candidates have the option to show which username they would like. Another feature that you can use is the Private Chat. This allows multiple one-on-one conversations to happen in the chat, disregarding the group chat altogether.

Chatting privately with a company representative

As an acting admin of the chat room, a company representative can invite a candidate to a Private Chat. Once it has been initiated, all conversations can continue there. Representatives can call candidates for an interview or if they want to know more about the candidate’s past job experience. Another advantage of the Private Chat is that candidates can send in their resumes without worrying that other candidates will see them.

The Expert’s Chat is commonly used on virtual fairs. The expert’s chat was made for professionals who want to connect with their customers privately. Only the admins will be able to see all logged-in users. Because of this, only admins can initiate a conversation with another member. For this instance, the company representative will have to message the candidate.

remote audiences

If you want to know more about the Expert’s Chat, you can visit this page.

Follow-up after your virtual job fairs

As the job fair ends, representatives can then identify their top candidates and contact those who are suitable for the position. Representatives may give out their contact details. However, the company usually reaches out to the candidate through their given contact details, e.g., phone number or email, which can be found on their submitted resumes.

Questions? Inquiries? We’re here to help!

Since virtual job fairs are large, you might find yourself needing more chat rooms. When that happens, you can always upgrade. Go to your admin panel and select Upgrade your plan or Get more to add admins, rooms, keywords, etc.

Want an exclusive discount for your upcoming virtual fair? Contact us at support@rumbletalk.com.

Reasons Why a Group Chat is a Must-Have for Virtual Events

So, you’ve decided to go towards a virtual event for your show. Virtual events use various software and platforms that have several features, but not all include a group chat tool. These platforms usually have a video chat option and exhibition stands/showrooms where participants can enter. Then, there are videos and how-to’s about the topic. It’s a one-way connection.

Now, you’re thinking, “How can I interact with all of these participants if there’s no group chat?” Here are some examples of how a group chat is a must-have for virtual events.

Engagement between attendees and exhibitors

In-person events allow face-to-face interactions. In a matter of minutes, questions and inquiries are answered. This can still be achieved with virtual events. Even though people are not meeting personally, when there’s a group chat, participants can also enter the community and ask questions.

Not only does it create instant connections, but a live group chat can also put them at ease. This is as if they’re talking to real people. If executed properly, group chats are a great way to capture your audiences’ attention and get their questions answered quickly.

Drive traffic to your virtual event

security features

An event chat will drive attendee engagement and interaction, making them more likely to stay in exhibitors’ showrooms. When participants see the number of showrooms, they might get overwhelmed. However, if they see a group chat, they are more likely to interact with exhibitors and other participants who share the same interests. The more people in the group chat, the more attractive it is for newer participants.

In the exhibitor’s point of view, when they see people flocking in the group chat, it means that there are visitors interested in them. The more traffic there is on your virtual event, the more that everyone will gain, e.g., content, page views, networking, etc.

Gather leads and open up networking opportunities

When you throw a group chat in the mix, networking in virtual events is so much more alive. A group chat can connect the following: exhibitors, attendees, and attendees to attendees. Most of all, participants are allowed to watch and enter which showroom they want. Therefore, there are greater odds that those attendees who enter the group chat will have the same interests. Starting conversations in a group chat leads to valuable business opportunities.

In open communities, public discussions, and podcasts, they commonly use a group chat. RumbleTalk is customizable and flexible. So, it’s up to you what kind of chat you would use for your virtual event.

virtual events

You can export the user’s list so you can get the participants’ contact information. If they filled this out at the start, it will be easier for the exhibitors to contact them. Usually, emails will be available. If the participants logged in via social media, they can also reach out to them on those channels.

How can you set up a group chat for virtual events?

To set up your group chat, it’s easy when you have RumbleTalk.

  1. Register an account on the RumbleTalk website. If you already have one, then just log in on your admin panel.
  2. On the admin panel, go to Settings > General & Logins.
  3. Hover over to Chat Type and select Group chat.

The group chat allows interaction with anyone logged in. This is a public chat that allows participants and exhibitors to talk. Since the login options do not default to all options, you have to set it up so that anyone can join in.

  1. Go to Settings > General & Logins.
  2. Click Login Options.
  3. Select all the available login options so anyone can enter the chat room.
chat privately

NOTE: For the User authentication required option, a developer will need to set this up. Membership websites wherein there is a userbase use it for integrating their members. You need Login SDK for this. To know more about it, you can go here.

Advanced moderation for virtual events

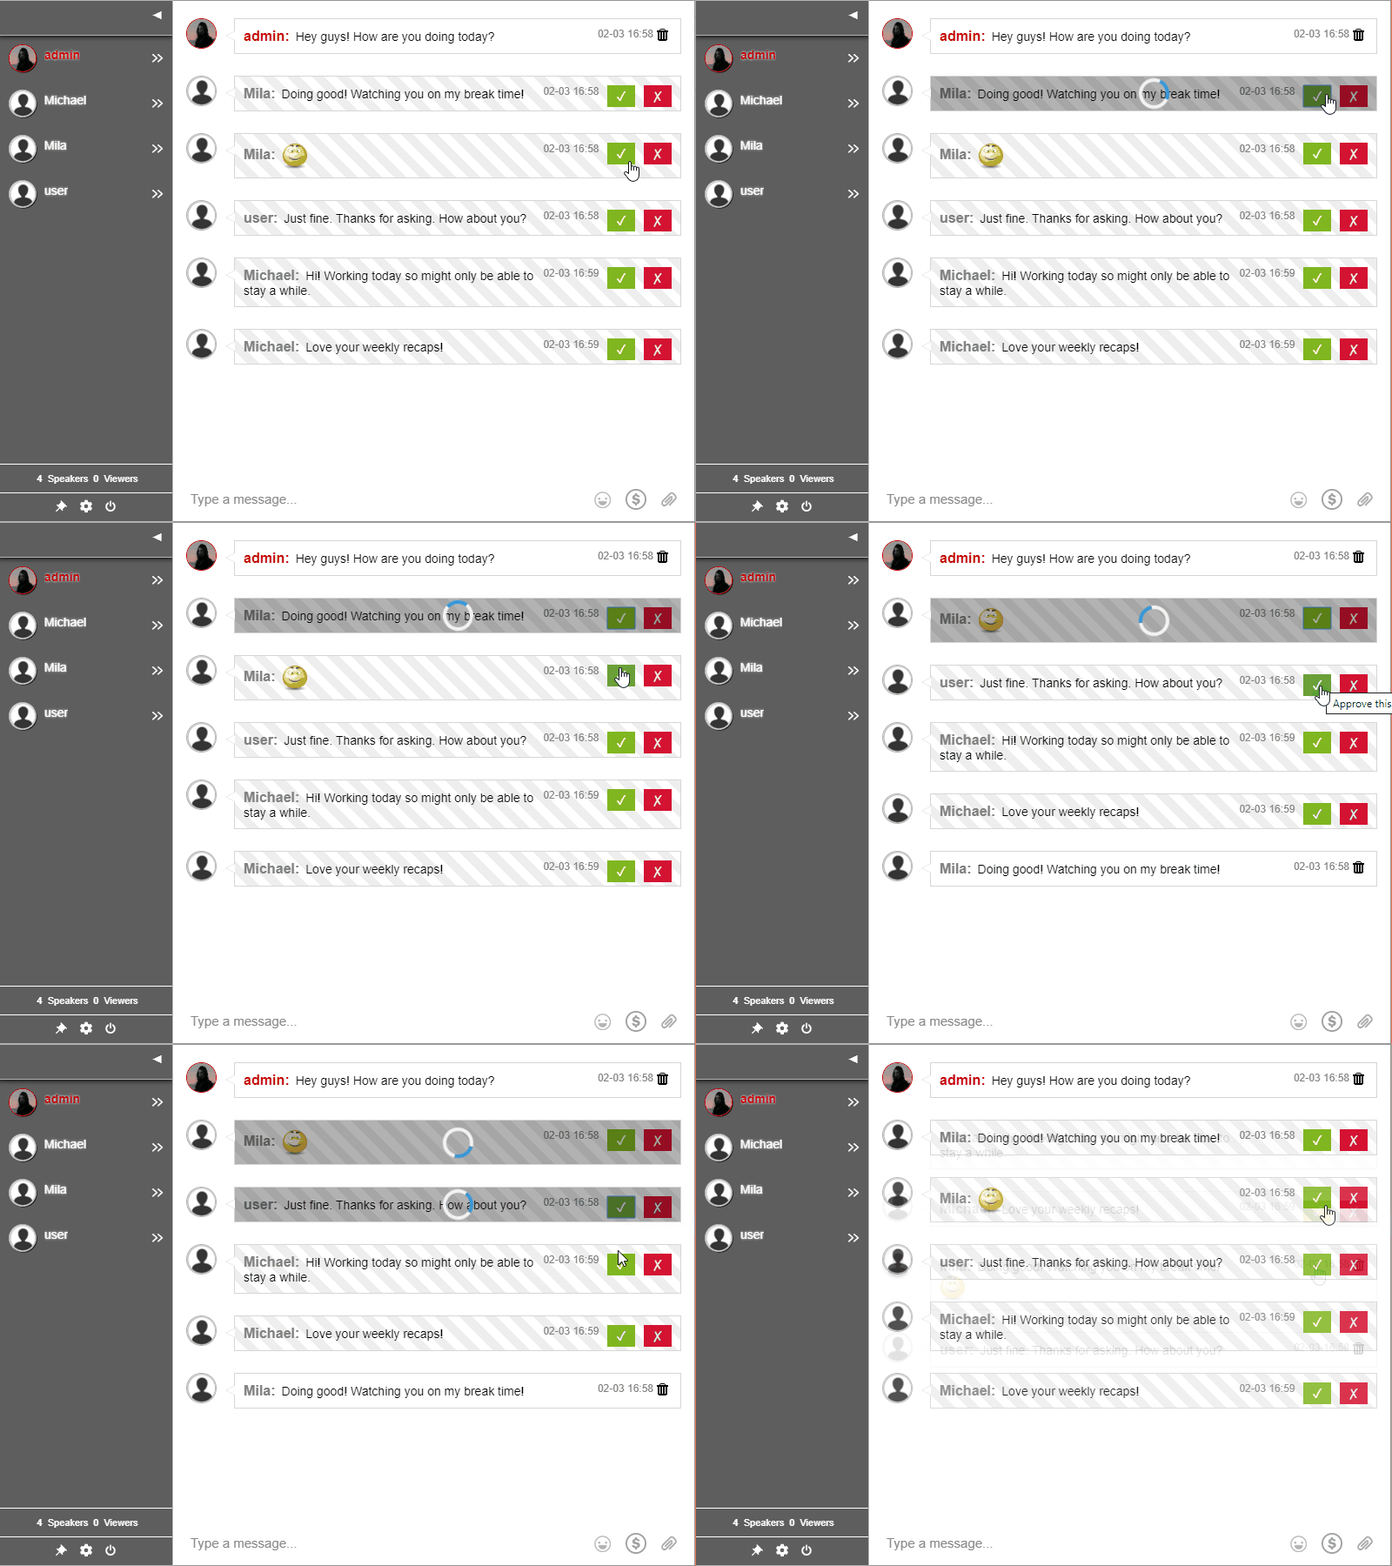
If you want advanced moderation for your virtual events, then try the moderated chat. The moderated chat lets you pre-approve messages before they are sent in the chat room.

Admins act as moderators and they choose which messages are appropriate for the discussion.

Q&A chat

Usually, for conferences, job fairs, and closed discussions, they use the moderated chat.

The more interactive tools that you have on your virtual event, the more impactful it will be. By incorporating a group chat, the audience will leave your event feeling satisfied.

There are other features available on RumbleTalk if you use it as your group chat platform such as InTEXT keywords, full CSS capabilities, media sharing, etc. You can find all these and more when you visit the Features page.

Make your virtual events more interactive with RumbleTalk.

WordPress Tips: How To Change Display Name

If you’re already a long-time user of RumbleTalk, you would know that we have a WordPress chat plugin. The RumbleTalk WordPress chat plugin is constantly improving its user interface. Therefore, here are some WordPress tips that might be useful for you.

One of the features available is the display name feature. This gives a personalized user experience as you can change what name will show in the group chat. Here’s an overview of the feature and a guide on how it can be used.

WordPress Tips: What is the display name feature?

The display name feature is a simple way to control what usernames will appear in the user list. Since the names are taken from the WordPress database, you will need to enable the members chat option on WordPress. Here are the following options and combinations you can try:

  • Display Name
  • Username
  • First Name
  • Last Name
  • Nickname/Alias
  • Last Name + First Name
  • First Name + Last Name
  • Display Name + Bio
  • Username + Bio
  • Nickname + Bio
  • First Name + Bio
  • Last Name + Bio

You will see all of these in your WordPress profile. To see your WordPress profile, click your username in the upper right corner.

In there, you will see the different settings that you can change, from color themes and the names aforementioned.

Just scroll down and you will see the Name category.

wordpress tips

In there, you will see the following: Username, First Name, Last Name, and Nickname. You can also choose which of the following names show publicly in WordPress.

When you scroll a bit more, you will see the About Yourself category. In there, you will see the Biographical Info section. This is what Bio stands for in the combinations.

wordpress tips

A user must have a biography typed in for it to work in the RumbleTalk chat plugin. If not, only the name will show up even if Bio is included in the options.

Here’s an example of how the Display Name + Bio combination would look like in the chat if we used the sample above.

wordpress tips

How does it work?

members chat

After installing the RumbleTalk chat plugin, next to the Members field, you will see an arrow. This is a dropdown where you can choose the option you like or ignore if you want to use the default name.

What are the steps you need to do to set up the feature?

Just like other plugins, having a lot of features is not enough. You need to know how to set it up, use it for your convenience, and integrate it into your membership site. So, let’s see what you need to do to take full advantage of the feature:

  1. When you click on the Members checkbox, this activates a code in your WordPress site where it will integrate your userbase with the RumbleTalk chat plugin. 
  2. After checking it, any user that’s logged in to WordPress will be automatically logged in to the RumbleTalk chat room.
  3. Change the desired display name next to the Members checkbox.
wordpress tips

The feature presents maximum flexibility to let chat owners decide what names will appear. This depends on what you use your chat room for. For example, if this is for a job fair, the First Name + Last Name combination would be appropriate. If used for community chats, then regular usernames or nicknames would work. It’s up to the chat owner what he deems appropriate for the scenario.

NOTE: If you don’t want to use the RumbleTalk chat plugin, you can also manually integrate your site userbase to the standalone RumbleTalk chat.

WordPress tips you can use in the future

If you’re using the RumbleTalk chat plugin, then you might want to go to the knowledge base or blog and check other WordPress tips.