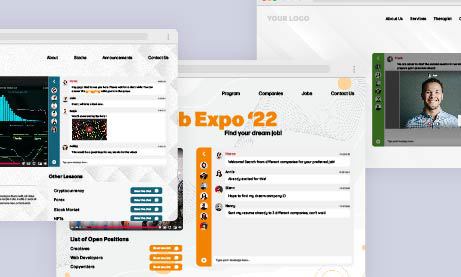
Are you looking for a way to add a social chat feature on your website to engage with your visitors and increase their interaction? Look no further than RumbleTalk, a powerful chat platform that gives you the tools to design a customized chat that matches your website’s branding. In this article, we will guide you through the steps of creating a customized social chat for your website with RumbleTalk.
Steps to Create a Customized Social Chat with RumbleTalk
Step 1: Sign up for RumbleTalk
The first step in creating a customized social chat for your website with RumbleTalk is to sign up for a RumbleTalk account. You can choose from different pricing plans according to your needs. If you’re just trying it out, you can create a free account.
Once you sign up, you will have access to the RumbleTalk dashboard, where you can create and customize your chat room.
Step 2: Create a Social Chat Room
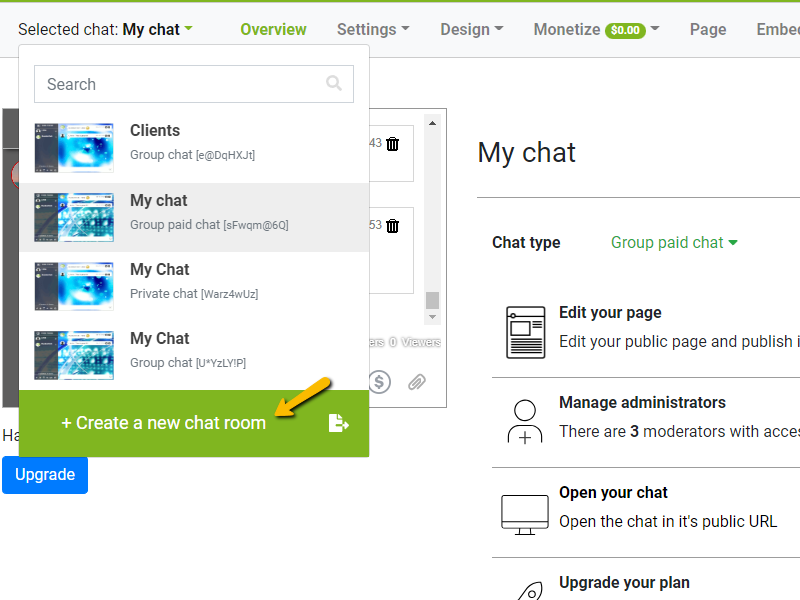
To create a chat room, click on Create a new chat room on your RumbleTalk dashboard. You can customize the chat room name, description, language, and privacy settings. On the same page, you can also select the chat room design that best matches your website’s branding.
Step 3: Customized Social Chat Room
Once you’ve created your chat room, you can further customize it to match your website’s design. You can add your brand logo, change the font style, size, and color, and modify the chat box’s appearance.
To change a chat room’s theme, click Design > Skins. Here, you will see various skins that you can choose to match your website’s theme. If you want more advanced customization, you can click Advance Design. In here, you can customize almost everything, from chat room backgrounds to font colors and message box sizes.
If you’re in a hurry but want to customize your chat room, you can click Visual Design. In here, you can choose from pre-made options on how your chat room will look like.
Lastly, you can also customize on how emojis will look like in your chat room. Click Design > Emoticons. You can choose how your emojis will look like and you can also disable them fully.
Step 4: Add the Chat Room to Your Website
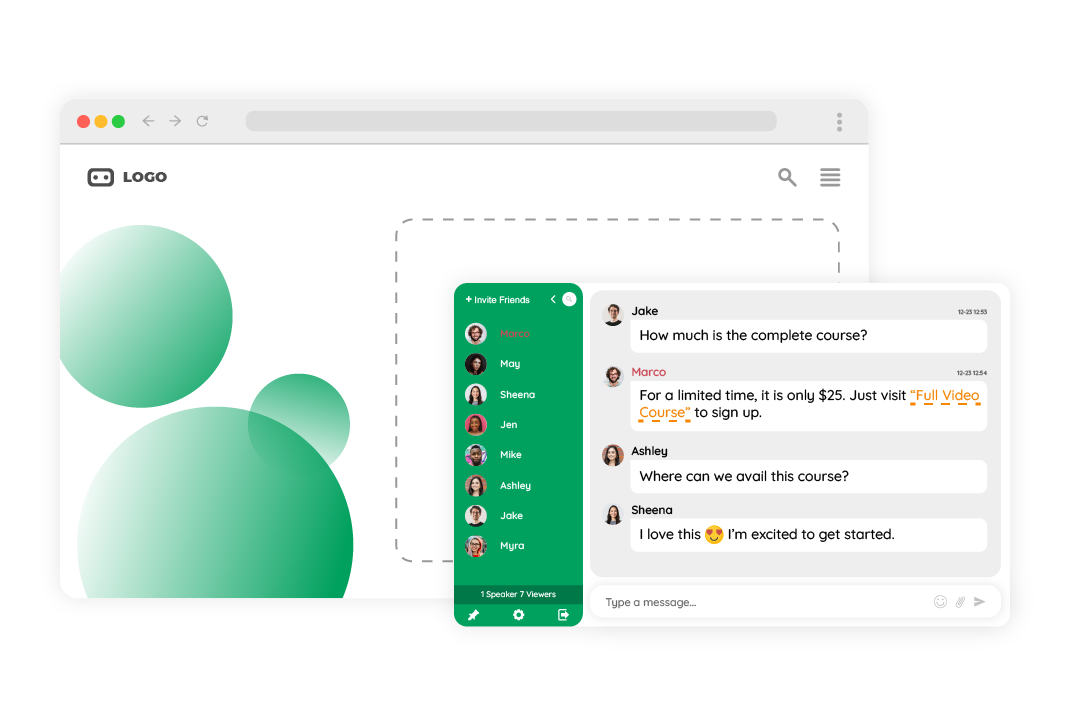
After all the customization you’ve done, it’s time to embed it to your website. RumbleTalk provides various embedding options, including HTML code, WordPress plugin, and iFrame. You can copy and paste the embedding code on your website’s page where you want the chat to appear.
After that, it will appear on your website depending on the size dimensions.
Step 5: Test and Launch Your Customized Social Chat
The final step is to test your customized social chat to ensure everything is working as expected. You can assign a chat admin to test the chat room with you.
Once you’re satisfied, launch your chat and start engaging with your website visitors.
Tutorial Video
For a detailed tutorial on how to create your customized social chat with RumbleTalk, check out this tutorial video:

Final Thoughts
Creating a customized social chat for your website with RumbleTalk is an excellent way to enhance your website’s engagement and foster a community of visitors. By following these simple steps and customizing your chat room to match your website’s branding, you can create a chat experience that delights your visitors and builds a loyal fan base. So why not give RumbleTalk a try today and see how it can transform your website’s communication?
If you’re unsure whether you need a social chat or another type of chat for your website, you can send us a message at https://rumbletalk.com/about_us/contact_us/. We’ll gladly give you a free demo.