Chat is no longer an add-on it’s a core part of online platforms. Whether you run a WordPress community, a custom HTML website, an online course, a livestream page, or a membership platform, your users expect a fast and reliable way to communicate. But here’s the good news: today you can create a chat room that works seamlessly across multiple platforms without rebuilding everything from scratch. The same chat room can appear on a WordPress page, inside a custom-coded site, in a mobile app, or even embedded into a learning platform all while keeping the same design, features, and login flow.
This guide shows you exactly how multi-platform chat works, who needs it, and how to deploy it in a way that looks native everywhere.
Why Multi-Platform Chat Matters More Than Ever
Years ago, you would choose one platform WordPress, Wix, or a custom HTML site and stick to it. Today, your digital presence is spread across multiple environments:
- A WordPress site for your blog
- A custom dashboard for your product
- A mobile-responsive landing page
- A streaming page for events
- An LMS for online courses
Your users don’t care where they are they just want a consistent chat experience.
Here’s why brands now prefer to create a chat room that works across all platforms:
Users expect consistency everywhere
People move between desktop, mobile, tablet, and apps. When the chat looks different in each place, it breaks continuity. A unified chat room gives them one familiar home base.
Easier to manage one chat system
Instead of managing separate chat plugins for each platform, you control everything from one dashboard. Rooms, users, moderation, design all synced.
Scales better across new projects
Launching a new landing page? Adding a new course? Hosting an event next week? One embed and it instantly has chat functionality.
Keeps your branding unified
Matching UI, colors, and fonts across several environments is difficult unless your chat is designed to adapt. A multi-platform solution ensures a consistent branded experience.
If your audience exists in multiple places, your chat system should too.
Step 1: Start With a Chat Room Built for Embedding Anywhere
When you create a chat room, choose a system that is:
- Embeddable
- Flexible
- Lightweight
- Works on any domain
- Mobile-friendly
- Supports multiple UI containers
This ensures you can place the chat on:
- WordPress
- HTML websites
- Webflow, Wix, Squarespace
- Custom dashboards
- Mobile WebViews
- Event platforms
- Online classrooms
Your chat should behave the same wherever it lives same design, roles, features, and moderation.
Step 2: Create a Chat Room on WordPress
WordPress is still the world’s most popular website builder, so let’s start there.
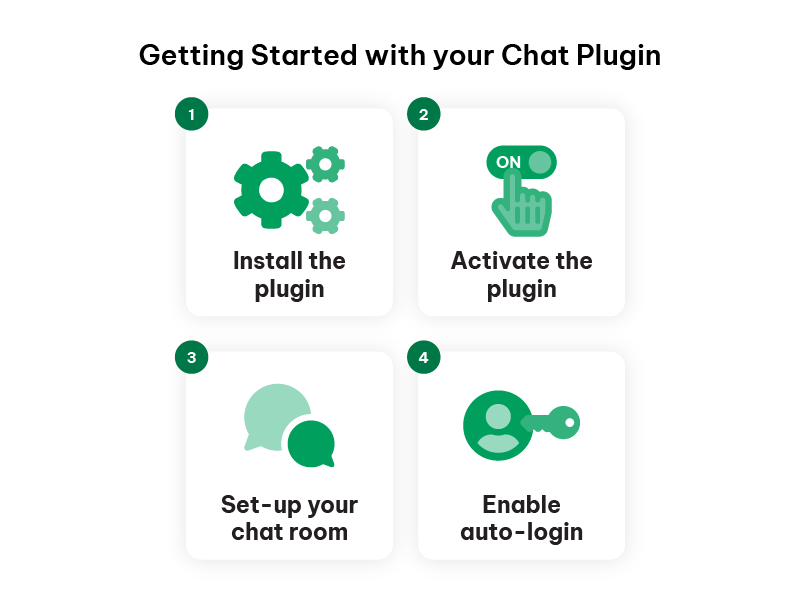
Embedding chat on WordPress should be simple and code-free.
Why WordPress users love multi-platform chat
- You don’t need to code anything
- Shortcodes allow embedding anywhere
- You can use it inside posts, pages, sidebars, or membership areas
- Styling inherits part of your WordPress theme
If you run a community, membership site, or online class in WordPress, the chat should feel native. A shortcode makes this easy.
Use cases for WordPress-based chat
- Live event pages inside WordPress
- Sales pages with Q&A chat
- Courses or lessons with discussion chat
- Member-only communication
- Showrooms or product launches
Your WordPress site becomes the home base for your audience and the chat becomes the social layer.
Step 3: Create a Chat Room on Custom HTML Websites
HTML sites offer full control so your chat must adapt to your design, layout, and structure.
Why HTML users need flexible chat
- You often build from scratch
- You may use frameworks like Bootstrap or Tailwind
- You need pixel-perfect design control
- You want the chat to fit any custom UI container
Because HTML sites vary wildly, your chat must be fully responsive and flexible in width, height, and layout.
Where HTML-embedded chat works best
- SaaS dashboards
- Landing pages built in-house
- Event microsites
- Company portals
- HTML-based video pages
- Chat support pages
If you build your platform yourself, embedding chat into your HTML flow should require almost no effort.
Step 4: Create a Chat Room on No-Code Builders (Wix, Webflow, Squarespace)
Not all sites are custom-coded. Many businesses use visual builders.
Why these platforms need simple embeds
No-code builders value speed and simplicity. Embedding chat should be as easy as:
- Add block → Embed code → Paste
- Resize → Done
Common use cases here
- Small business websites
- Portfolio sites with a community section
- Artist or creator pages with fan chat
- Simple event landing pages
- Marketing websites
In these platforms, chat must load instantly without heavy scripting or custom setup.
Step 5: Create a Chat Room Inside Mobile Apps or WebViews
Many platforms now have mobile apps or progressive web apps. Your chat needs to work there too.
Why mobile embedding is essential
- Most users access chat from their phone
- WebViews make it easy to embed existing widgets
- You get a native feeling with zero native development
Where mobile chat shines
- Community apps
- Trading groups
- Fitness coaching apps
- Internal company communication
- Event or conference apps
A chat room that adapts to small screens makes your mobile experience feel professional and polished.
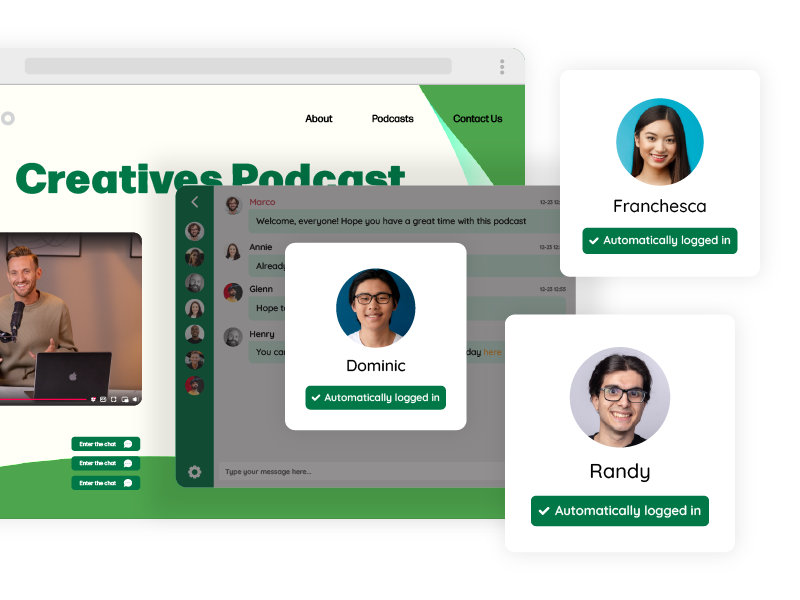
Step 6: Use Auto-Login for a Unified User Experience Across Platforms
When your chat appears in multiple places, login flow becomes crucial.
Your users might log in through:
- WordPress accounts
- A custom authentication system
- An LMS system
- Your mobile app login
- Your product dashboard
The chat should automatically recognize them everywhere.
Why auto-login is a game changer
- Users keep the same name and avatar across all platforms
- Permissions stay consistent
- Moderators keep control no matter where the room appears
- Reduces friction users don’t need nicknames or second logins
- Makes chat feel like an integrated part of your platform
This is essential for professionalism and usability.
Step 7: Use REST API to Create, Manage, and Scale Multiple Rooms
If your platform has many sections, courses, events, or membership tiers, you’ll want to generate rooms dynamically.
Key reasons to use API-based creation
- Automatically create a chat room for each new event, course, or user group
- Assign users to rooms without manual work
- Sync permissions from your backend
- Organize large systems with dozens or hundreds of rooms
This is ideal for:
- Online academies
- Live event platforms
- Multi-tier membership websites
- Internal company communication portals
- Enterprise-level solutions
APIs allow your chat system to scale with your platform.
Step 8: Keep the Same Brand Styling Across All Platforms
When you create a chat room that appears everywhere, the biggest challenge is keeping your brand consistent.
Make your color palette universal
Your chat should look like your site, no matter where it’s embedded. Using matching primary and secondary colors makes the chat feel native in every environment.
Keep typography consistent
Even if platforms behave differently, matching fonts create visual continuity and trust.
Use familiar UI elements
Buttons, borders, spacing, and shadows should mirror your brand’s style, so every instance of the chat feels part of the same ecosystem.
Match your platform tone
A playful community has different visual expectations than a corporate training room. The chat should reflect your personality.
Step 9: Choose the Right Features for Your Multi-Platform Chat
Different platforms may require different behaviors, but the core features should remain consistent.
Moderated chat for events and structured conversations
This helps maintain order during high-traffic moments.
Private messaging for networking or team collaboration
Personal conversations enhance community bonding.
File sharing for classes or workgroups
Students and teams benefit from sharing documents in real time.
Q&A mode for webinars and training sessions
This keeps questions organized so speakers aren’t overwhelmed.
Word filtering to protect brand guidelines
Consistent enforcement across all platforms maintains a safe environment.
Multiple chat rooms for multi-section platforms
Users instantly feel at home no matter which room they enter.
Step 10: Test Everything Across Devices and Platforms
A multi-platform chat room must be tested widely.
On WordPress
Check that the chat adapts to your theme and doesn’t conflict with plugins.
On HTML sites
Verify spacing, alignment, and responsiveness.
On Wix, Webflow, and Squarespace
Ensure the embed container resizes correctly.
On mobile devices
Check visibility, button sizes, and loading speed.
Across user roles
Test admins, moderators, and members.
People expect a consistent experience no matter where they join from so testing matters.
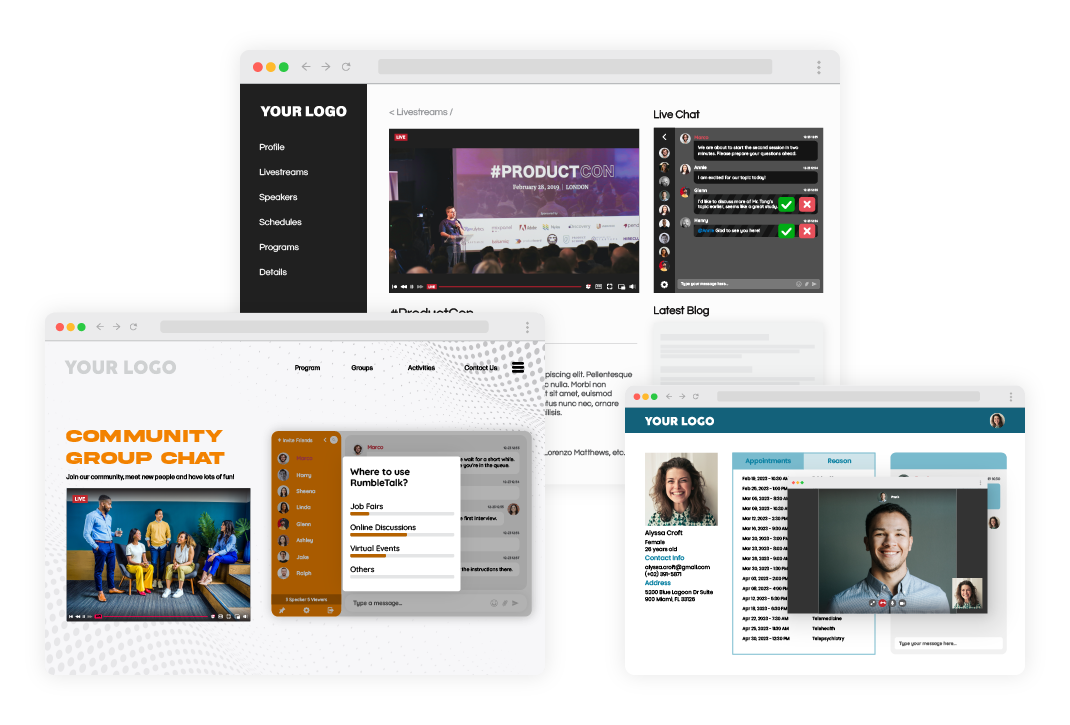
Step 11: Add Chat Beside Video to Create an Event Experience Anywhere
Many platforms host livestreams or recorded sessions.
Embedding chat next to video works perfectly for
- Virtual events
- Webinars
- Town halls
- Conferences
- Online classes
- Live product announcements
Whether the event lives on WordPress, HTML, or a no-code page, the chat can sit beside the video and create real-time engagement.
Final Thoughts: One Chat System, Everywhere Your Users Are
When you create a chat room that works across WordPress, HTML, mobile, no-code builders, and even apps, you unlock a huge advantage: consistency.
A multi-platform chat system:
- Keeps your brand identity unified
- Allows your community to grow without friction
- Reduces maintenance since everything runs from one dashboard
- Makes your events, courses, and pages interactive instantly
- Links all your digital properties together under one communication layer
No matter where your users log in, you give them a familiar, reliable space to communicate.