Since the past years, more and more people are starting their own WordPress websites. WordPress is the most popular website builder.
You can dedicate a WordPress website to any niche that you want. Because WordPress is flexible, it can be used for businesses, blogs, or a personal journal. It holds many possibilities.
As WordPress is user-friendly, beginners and developers can create customized and highly intuitive websites. WordPress has plugins that users can download to enhance their websites.
These plugins help users to personalize their websites and this is what we’ll be talking about today. Since we’re focusing on a WordPress website, how can you integrate a chat on your site?
Here’s a quick and easy guide to the RumbleTalk chat plugin and what features it has.
Guide to your own chat
WordPress has a plugin website for all of the plugins available to use in WordPress. To add RumbleTalk to your WordPress website, here’s what you need to do.
- Download and install the RumbleTalk chat plugin.
- Register and create your chat. Go to WordPress Settings, choose RumbleTalk chat, and register (email + password).
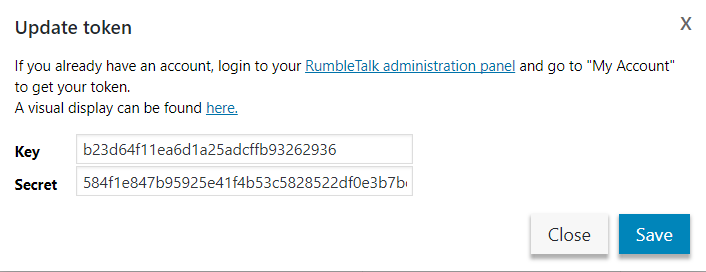
- For users that already have an account, click on “Already have account?“. Then, add your 2 fields token hyperlink and add your account token (two fields can be found in your admin panel under Integration in Account Settings).
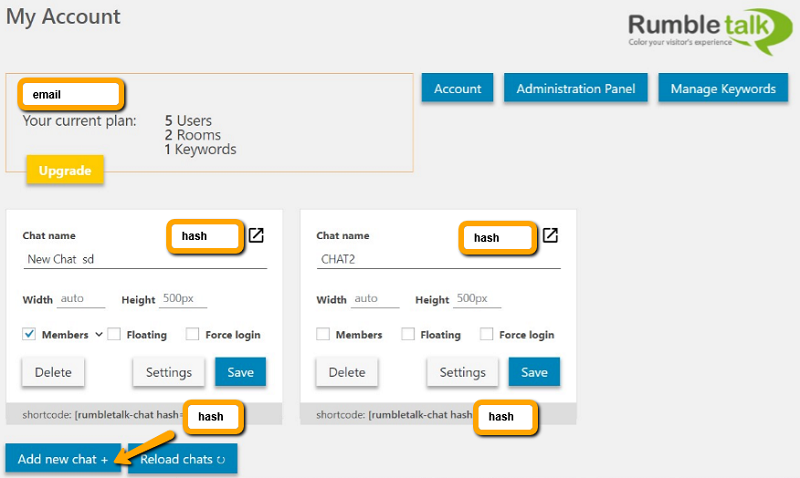
- After registering, your chat code (hash) will show in the chatroom code field. This is a unique string for every chat room.
- NOTE: In case you do not get the hash code, you will need to manually register at RumbleTalk and get your code.
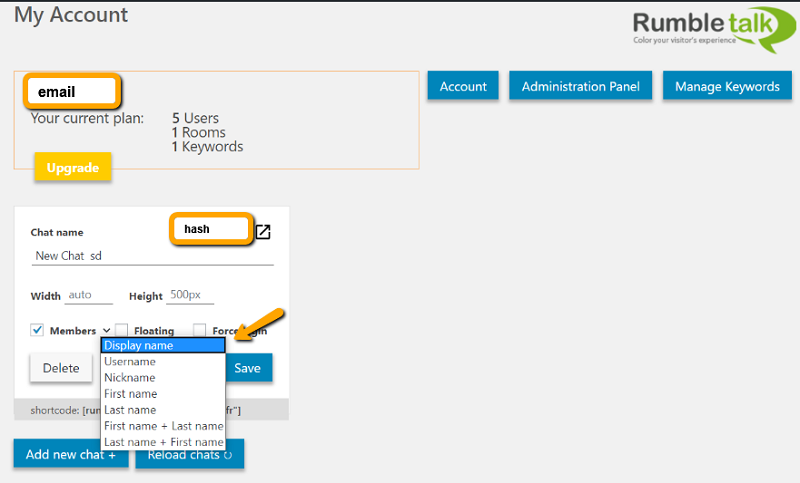
- Setting your chat plugin:
- Add chat room – Create more chat rooms.
- Members – Connect your chat to your members’ userbase. Let your members to auto-login to your chat.
- Size – Resize the chat. In some WordPress themes, the size of the chat might be smaller or longer than expected. In that case, see troubleshooting.
- Floating – If you want your chat to show as an icon in the lower right corner, choose this.
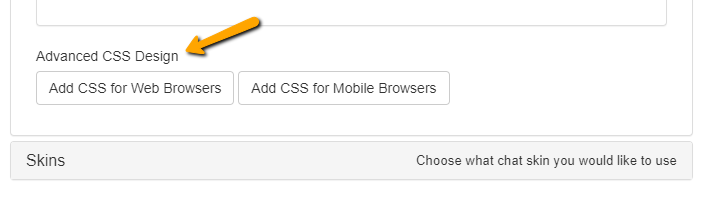
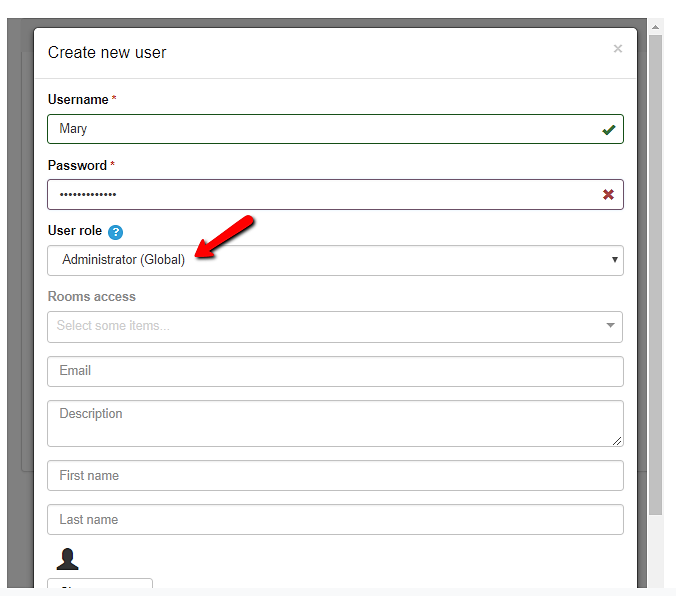
- Settings – Change your chat design, add admins, etc.
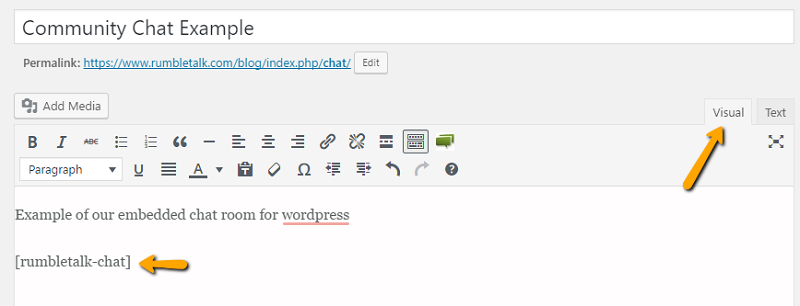
- To add RumbleTalk group chat to your site, go to a page or post in your WordPress admin.
- In case you have only one room, use the phrase (rumbletalk-chat) in your post’s visual mode to position the chat widget where you need it.
- If you have more than one room, use the green button or add the exact hash in the phrase (rumbletalk-chat hash=”insert here your chat hash”).
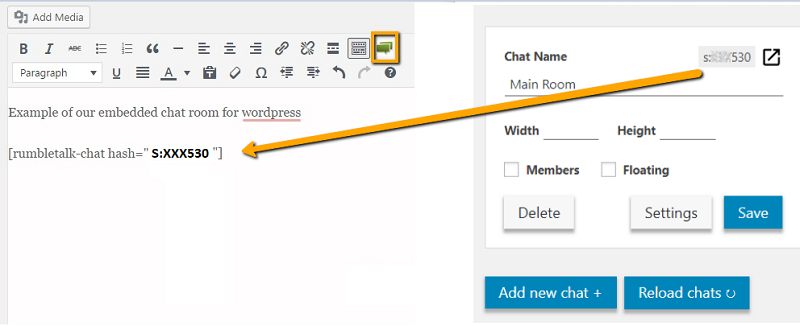
After those steps, see the chat on your WordPress website.
Why should you add a chat on your WordPress website?
Since lots of your site visitors are coming and out of your website, why don’t you grab the opportunity to convert them to followers?
By being followers of your content, they are more than just frequent visitors. They keep up with your latest updates, posts, and follow you on your social media sites.
Visitors usually like what they see on a website. If they visited your site, then it means that they’re interested in your content. What if you made a group chat wherein you can talk with your followers?
If you’re active on your WordPress website, then you can chat with anyone who wants to chat. It can be a visitor or follower. As long as they’re on your WordPress website, then they can join the group chat.
Additionally, if you’re not active, you can open the group chat for anyone. Since the group chat is public, followers and visitors alike can chat with each other.
This can help strengthen your community and leads to higher visitor conversion rates.
Add more than one chat room
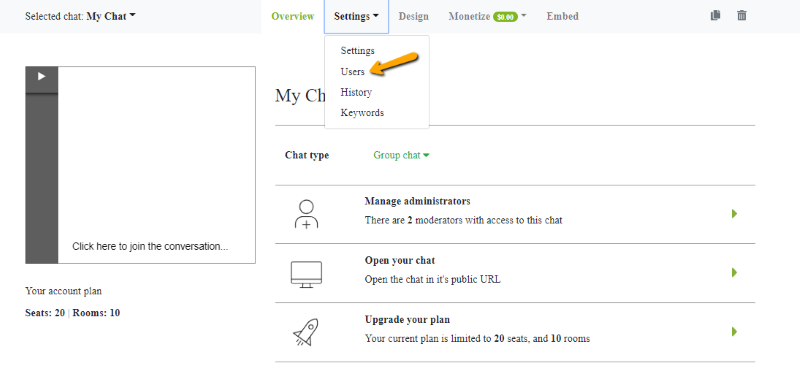
If your site is gaining more traffic, then you can add more chat rooms. It’s easy to add chat rooms with the RumbleTalk chat plugin. Just go to your chat settings and add how many rooms you want.
Set entrance and subscription fees for your chat
With PayConnect, you can actually charge users for entering your chat. You can choose an entrance fee, where users have limited chat access.
Or, you can choose subscription fees for unlimited chat access.
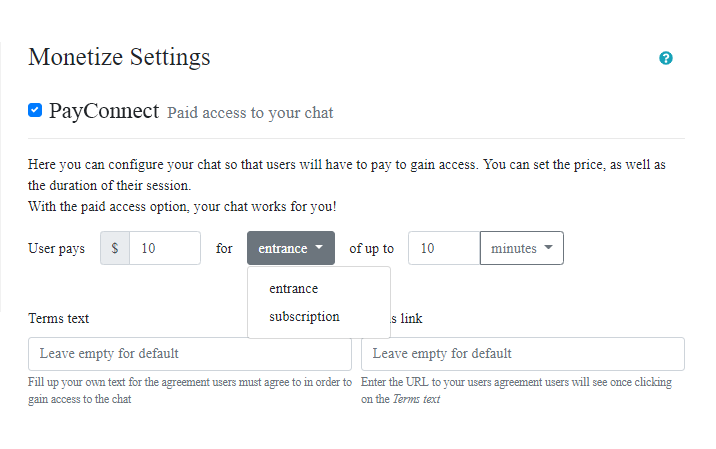
As the chat owner, this depends on you. Do you feel that your users would like to access your chat for a short time only or a longer period of time?
With the RumbleTalk chat plugin, you can add paid access so you can monetize your WordPress website.
Adding InText Keywords to redirect users
Now that you have your chat, you can add keywords where you link URLs to specific keywords. For example, if you use Facebook as a keyword, you can redirect users to your Facebook page.
To add a keyword, go to Settings on your admin panel. Then, choose Manage Keywords.
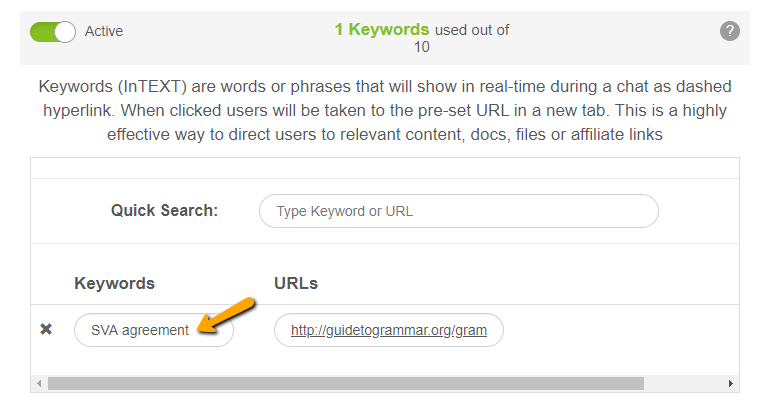
Input the keyword and the URL you want it to redirect to. Keywords are shared in all rooms. Therefore, if you have multiple chat rooms, note that your keywords will apply to all chat rooms.
Your WordPress website chat
If you follow the instructions above, it’s easy to add a chat on your WordPress website. With a chat, you can easily connect with your site’s visitors or followers.
No need for third-party websites or social media groups/messaging app. You have it all in one place.
This is what integrating a chat does to your WordPress website. It increases your site’s traffic and the length of stay of your visitors. This gives a higher average than those without a chat.
Interaction is key to these visits. Also, by chatting with your frequent visitors, you can create a community. By building a community, you lead more visitors and followers to become your dedicated circle.
So, what will you choose? A site without a chat or a site with one?

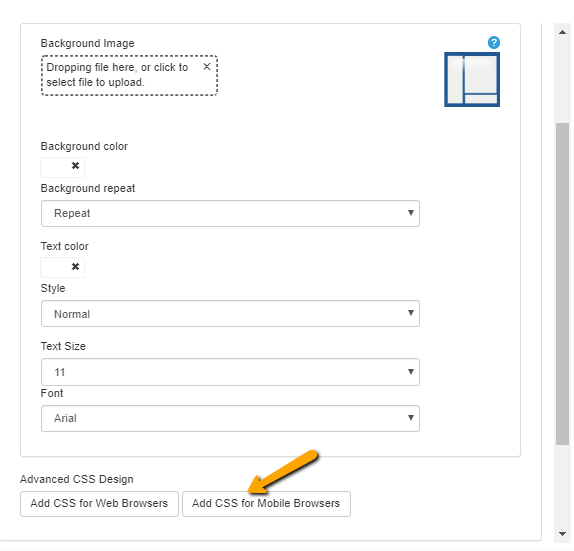
 You may change the default guest user for your mobile group chat to any image by using your own image URL.
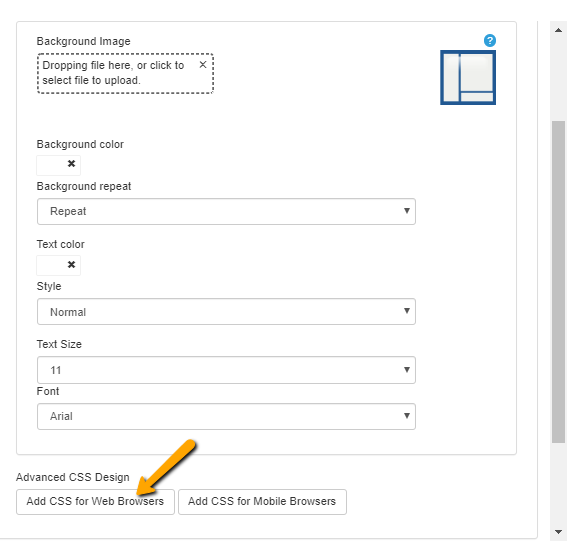
 You may change the default ADMIN user to any image by using your own image URL.
