These days, more and more employees are choosing remote jobs. To keep up with the trend, a webcast chat is your best solution to keep in touch.
Live streaming and video streaming platforms are booming. With that said, webinars are favored for businesses and workshops for improving skills.
Tools like moderated chat in RumbleTalk are enabling employees and customers worldwide to stay connected. Also, they are given a chance to learn from the business leaders and those within the organization.
Why a webcast chat?
A webcast chat within a webinar provides two-way communication. Usually, businesses hold them to educate employees, customers, or prospective customers, to hone their skills and improve relationships.
What do you need to run a webinar?
Firstly, you need a quiet space. Secondly, you’d need a camera to record the virtual event. Next, you need a webcast chat. This is where RumbleTalk can help. It includes a moderated chat that you can use throughout the event.
How can you get your own webcast chat?
To get your own webcast chat, you can create an account on RumbleTalk.
Follow the steps below.
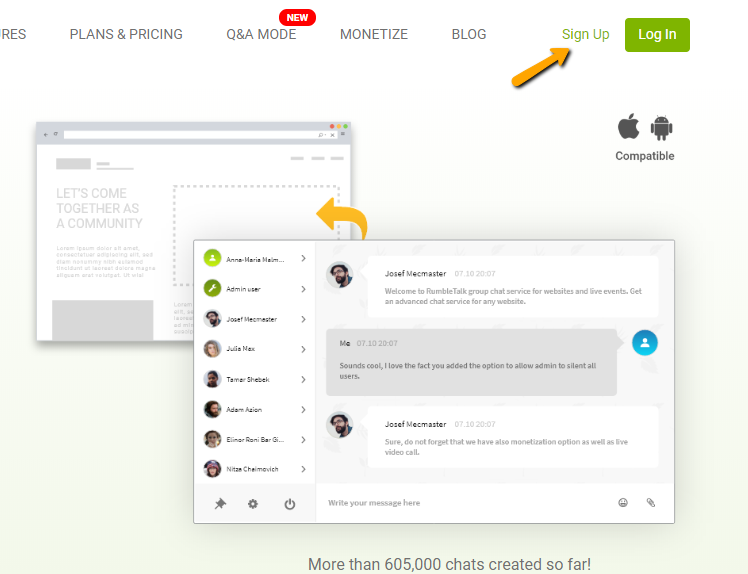
- First, create your RumbleTalk account.
- Next, choose moderated chat as your preferred chat type.
- Agree to the terms and conditions.
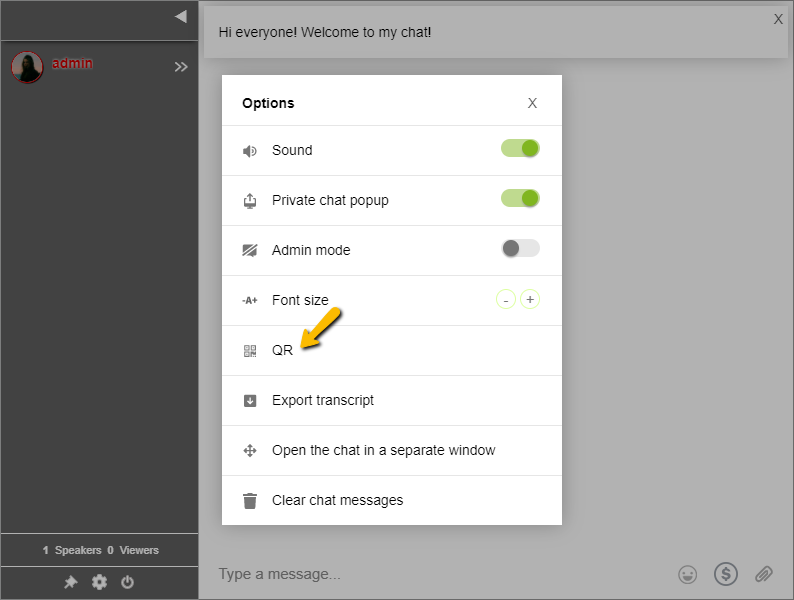
- Finally, you have your own account. If you want to change your chat settings, you can do so on your admin panel.
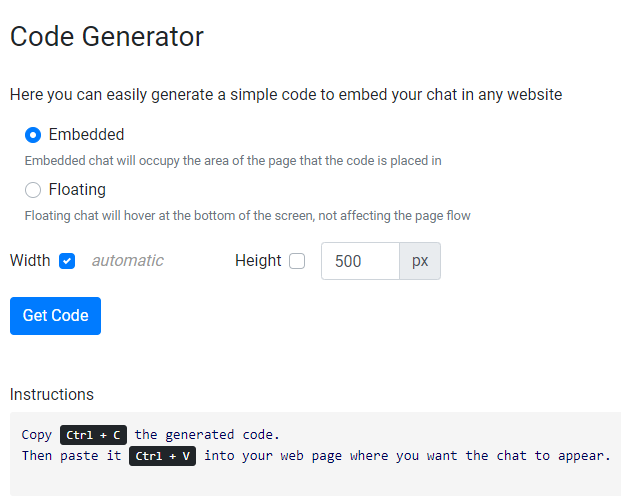
- Lastly, share your chat link or embed it on your website.
By sharing your link to your groups, you make sure you involve everyone. Once you’ve set up your chat, you can now pre-approve messages before they get sent out. So, choose questions to be answered in the webinar.
Take full control of the community conversation
If a question does not fit the chat standards, you can immediately delete it. Therefore, no one will feel negative or threatened.
If a user is persistent in sending those kinds of messages, there are different chat moderation features that you can use. They are as follows:
- Ban IP addresses
- Disconnect users from the chat
- Ignore messages from a particular user
- Block and filter words
You can see all of these features on the chat and admin panel. So, be sure to discover that first!
How to ask questions during a live webcast?
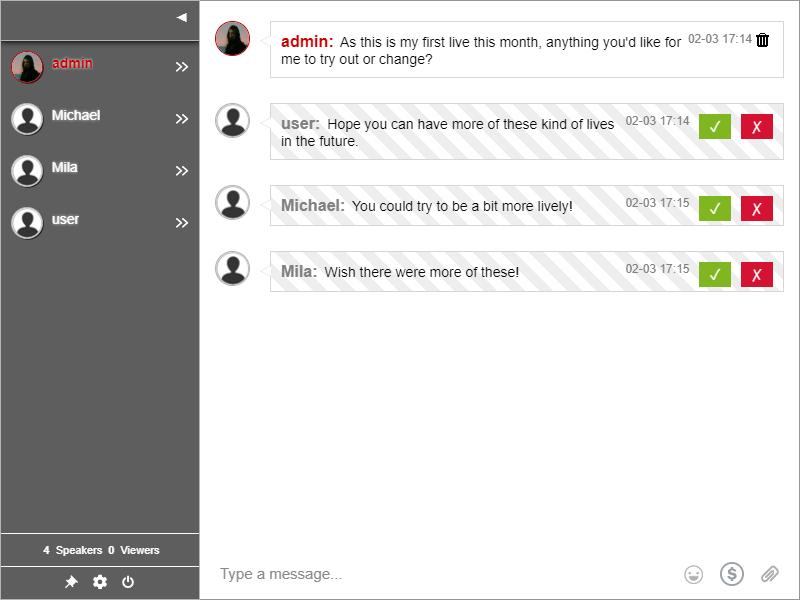
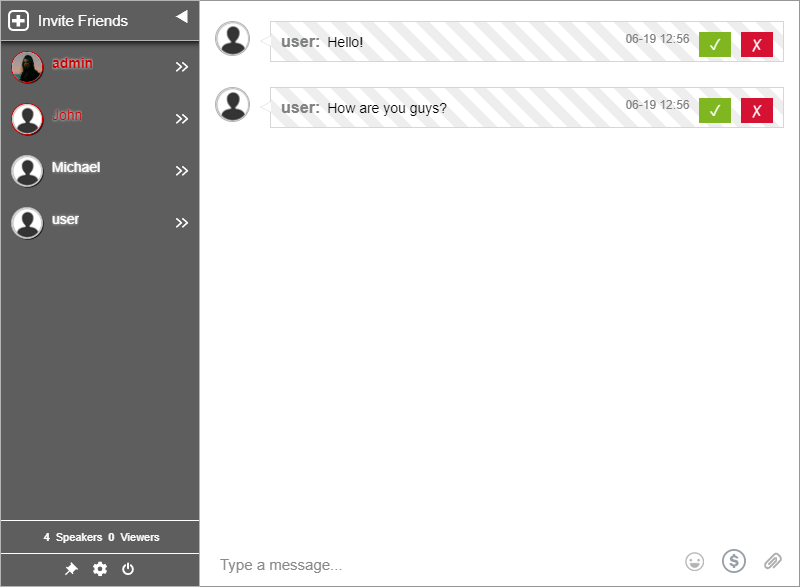
When you are using moderated chat as your chat type, the admins need to approve questions before they get sent out. Here’s how admins see the messages of the non-admin users.
As for the customers and employees, they can ask their questions normally. However, they will not see other users’ questions if they’re not approved. For non-admin users, only approved questions will be shown. Here’s an example of a non-admin user’s view.
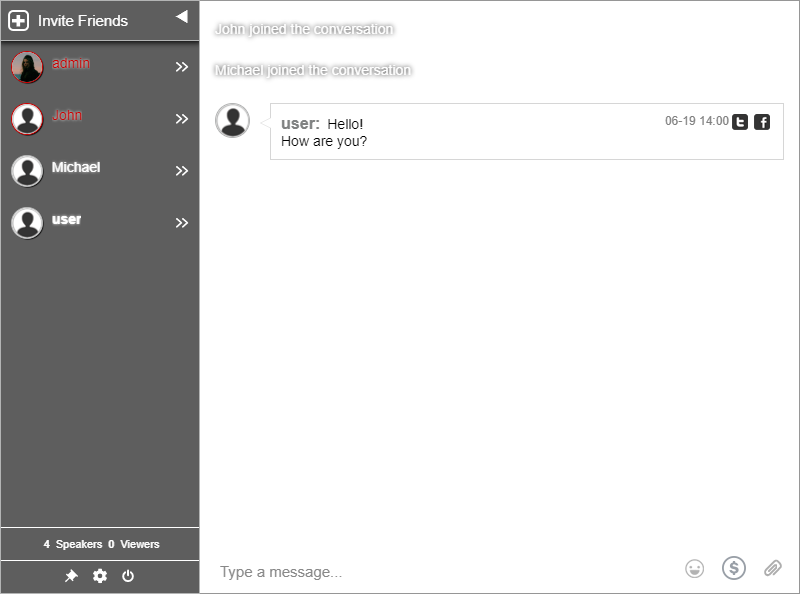
Even if non-admin users cannot see the other users’ questions, they can still send their own. If their question is chosen by the admins, it will appear in the chat room.
The moderated chat type is great as a webcast chat since the admins can keep an eye on the chat discussion. Moreover, admins are given different chat moderation tools so they can effectively moderate the chat.
Adding admins to your chat is simple. Click “Users” on your admin panel. Type in the username and choose administrative rights. Add admins as your webinar needs.
Effectively collaborate with your customers and peers
Hosting a webinar is stressful, especially if it’s your first time. Therefore, it’s a great idea to be prepared. With a webcast chat, you’re sure to have the perfect medium for conversation.
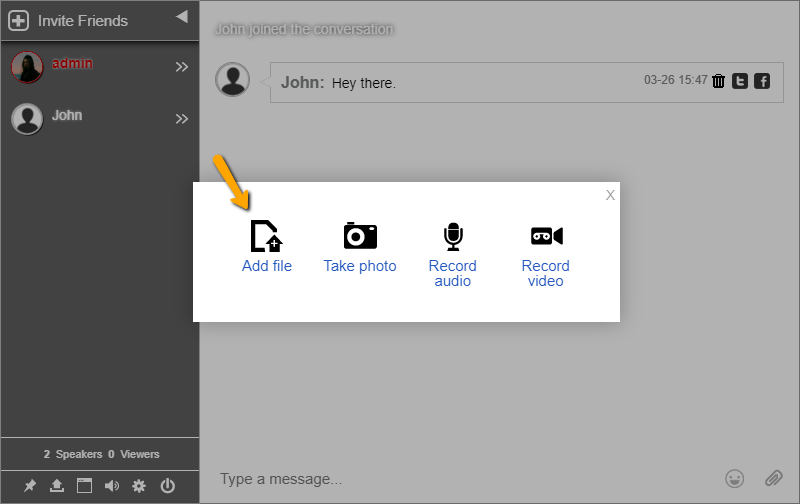
Another thing that chatters can take away is a copy of your webinar. For example, did you use slides or any document on your webcast? If yes, you can send that in the chat as an admin. This will let all users download the necessary material.
It’s a win-win situation for the company and its employees and customers. Need more seats for your webinar? You can also upgrade your account to premium or add seats manually.
After your webinar, don’t forget to follow up with everyone. You can also use the chat as a group chat and let your users send in their feedback. To change chat types, go to your admin panel. Then, choose group chat.
It’s as easy as that! You can do more if you check out your admin panel. So, tinker with it as much as you can.
Got any questions about the platform? You can reach us on Facebook and Twitter. Just send a message or DM. We’ll get back to you ASAP.
Already a RumbleTalk user? Then, click Support on your admin panel. You’ll be redirected to the contact form.
I hope this helps you with your next webinar. As a business owner or an entrepreneur, a webcast chat is the way to go for webinars. Get your own today.