If you want to truly understand your audience, chat with first party data is one of the most powerful strategies available to modern website owners, event organizers, and community managers. Unlike passive analytics tools that track anonymous page views, a live chat platform that captures first-party data lets you see exactly who your users are, what they care about, and how they engage with your content in real time. As third-party cookies continue to disappear and privacy regulations tighten worldwide, businesses that invest in first-party data strategies now will have a durable competitive edge. RumbleTalk’s group chat platform is built precisely for this environment — giving you a live, interactive channel where every conversation becomes a rich source of authenticated user intelligence that you own completely.
Why First-Party Data Belongs in Your Chat Strategy
The data landscape is shifting fast. Google’s deprecation of third-party cookies, the rise of GDPR and CCPA, and growing consumer awareness of privacy mean that brands can no longer rely on third-party data brokers to understand their audiences. First-party data — information collected directly from your own users with their explicit consent — is now the gold standard for sustainable audience intelligence and personalization.
Chat is uniquely positioned to generate first-party data because it demands active participation. When a user types a message, asks a question, or responds to a poll in a live session, they are explicitly engaging with your brand. That engagement produces a rich signal: their identity, their interests, their intent, and their behavioral patterns — all tied to a consented, authenticated profile that lives in your own systems.
For B2B platform owners, publishers, event organizers, and community managers, implementing chat with first party data collection transforms your chat widget from a simple communication tool into a first-party intelligence engine. Every live session becomes an opportunity to learn more about the people who matter most to your business. The difference between a chat widget that simply passes messages and one that captures first-party data is enormous — the latter gives you a persistent user graph that grows richer with every interaction, enabling smarter segmentation, more relevant content recommendations, and more effective follow-up campaigns.
And unlike behavioral data inferred from browsing patterns, the insights you gather through chat with first party data are explicit. Users are telling you, in their own words, what they think, what they need, and what problems they want to solve. That directness makes first-party chat data some of the highest-quality audience intelligence you can collect.
How RumbleTalk Powers Chat With First Party Data Collection
RumbleTalk is built around authenticated, identity-aware communication. Rather than letting anonymous users flood your chat with noise, RumbleTalk encourages — and in many configurations requires — users to authenticate before they can participate. This authentication is the foundation of any serious first-party data strategy.
Authenticated User Profiles
When users log in to join a RumbleTalk chat room, their identity is captured and linked to every message they send. You can collect usernames, profile images, and custom attributes that map directly to your own CRM or database schema. Over time, this builds a rich, detailed profile for each participant: which live events they attended, which questions they asked, which topics they engaged with most, and how frequently they return to your platform.
This kind of longitudinal, first-party intelligence is invaluable. A user who joins three consecutive webinars and asks detailed product questions is a very different prospect from a one-time visitor — and with chat with first party data capture in place, your sales team can act on that insight immediately rather than waiting for a lead scoring algorithm to catch up.
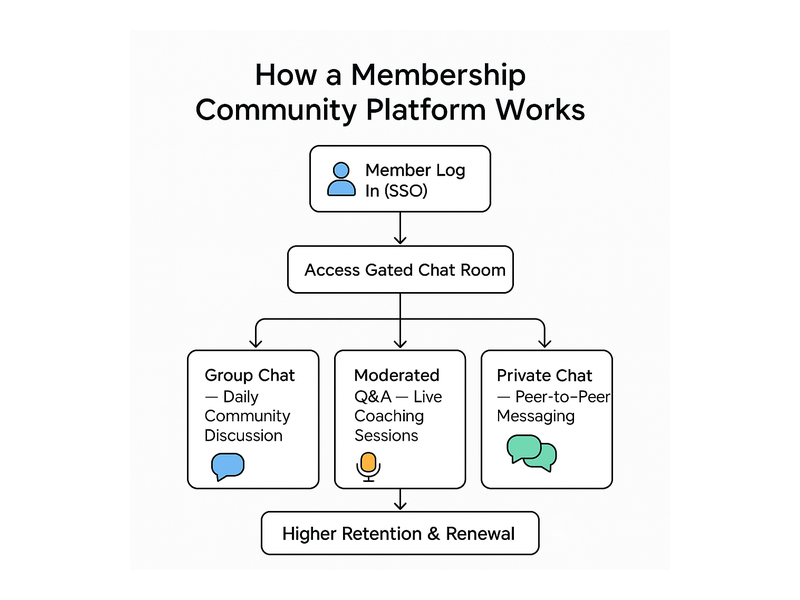
SSO Integration for Seamless Identity Capture
One of RumbleTalk’s most powerful capabilities for first-party data collection is its Single Sign-On (SSO) integration. By connecting your existing identity provider — whether that is your CMS, your membership platform, your LMS, or your CRM — you can pass authenticated user attributes directly into the chat session without any additional registration friction.
This means a user who logs into your website automatically joins the chat as their known self. No separate sign-up, no anonymous guest session. And on the back end, every message they send is linked to their full profile in your system. For a detailed walkthrough of how this works in practice, see our post on Chat SSO Integration for Websites, which covers the technical setup and the business benefits in full.
SSO-powered chat is the cleanest implementation of chat with first party data because the data lineage is unbroken: from login to engagement to CRM record. There is no guesswork, no probabilistic matching, and no reliance on browser fingerprinting or third-party scripts. Every data point is consented, authenticated, and directly owned by your organization.
Real-Time Behavioral Signals From Live Chat
Beyond identity, RumbleTalk chat generates behavioral first-party intelligence in real time. Which topics generate the most messages? Which speakers prompt the most questions? Which moments in a live event trigger a spike in chat activity? These behavioral signals tell you not just who your audience is, but what they care about right now — a dimension of first-party intelligence that no static survey or email open rate can match.
For event organizers, this real-time behavioral layer is transformative. You can adjust your agenda on the fly based on what the audience is asking. For community managers, it reveals the topics that keep members coming back week after week. For publishers, it shows which content verticals generate the deepest engagement — and which deserve more investment.

Use Cases for Chat With First Party Data Across Industries
First-party data-driven chat applies across virtually every industry that has an online audience. Below are some of the most impactful use cases where chat with first party data delivers measurable business value.
Live Events and Virtual Conferences
Virtual and hybrid events are among the richest environments for chat with first party data collection. Every attendee who joins the chat is actively present and engaged — not passively watching a stream. RumbleTalk’s virtual events chat solution lets organizers authenticate attendees at registration and automatically connect them to the live chat room. Throughout the event, you can track who is asking the most questions, which sessions generate the most discussion, and which attendees are the most active — all linked to their registration and CRM profiles.
Post-event, this data becomes a powerful sales and marketing asset. Attendees who asked pricing questions during the chat can be flagged for immediate follow-up. Those who engaged with a specific product demo can receive targeted nurture content. This level of precision is only possible when your live event chat captures first-party data with authenticated identity at its core.
E-Learning and Online Courses
For e-learning platforms and online course creators, chat with first party data provides a window into student engagement that most learning management systems simply do not offer. RumbleTalk embeds inside course pages and connects to your student roster via SSO, so every chat message is automatically tied to a known learner. Instructors can see which concepts generate the most confusion, which students are actively participating, and which modules need more explanation — all derived from the live chat record.
This data can feed directly back into curriculum design, student success programs, and personalized learning pathways. It also helps instructors identify at-risk students early: a learner who suddenly stops chatting may be disengaging well before they ever miss an assignment or fail an assessment.
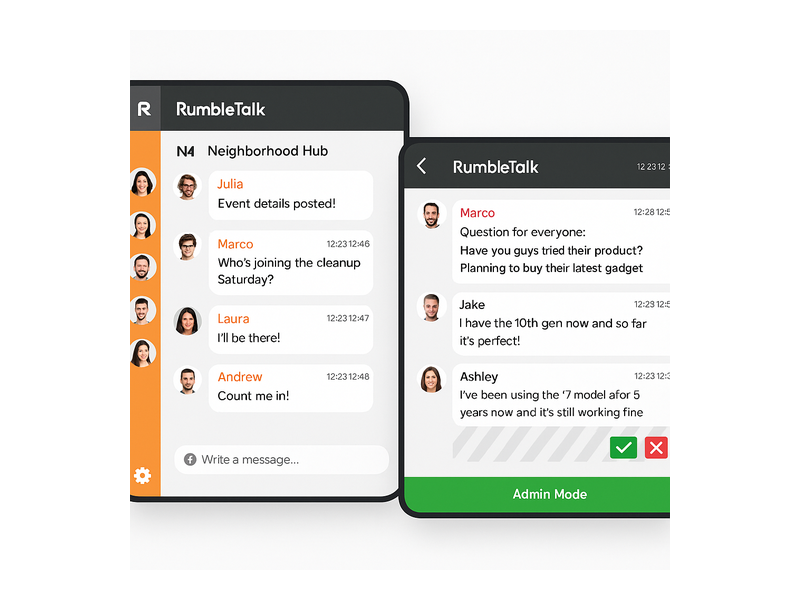
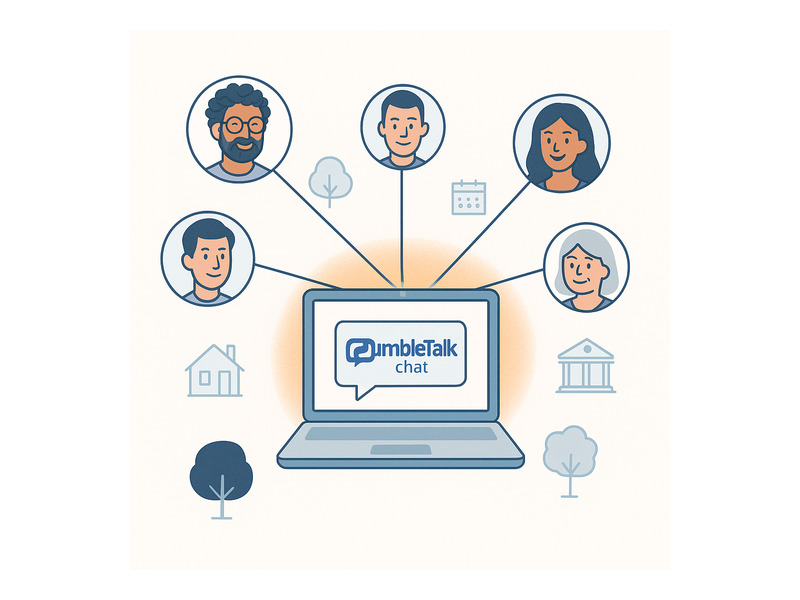
Community Platforms and Membership Sites
Membership communities thrive on engagement, and engagement generates first-party data. RumbleTalk’s Members Chat is purpose-built for platforms where users have established identities and ongoing relationships with your brand. Whether you run a professional network, a fan community, or a subscription content site, Members Chat connects your member database to the live chat layer, enriching every interaction with profile context.
Over time, the cumulative chat history becomes a searchable, structured record of your community’s interests, expertise, and evolving needs — a first-party data asset that grows more valuable with every conversation your members have.
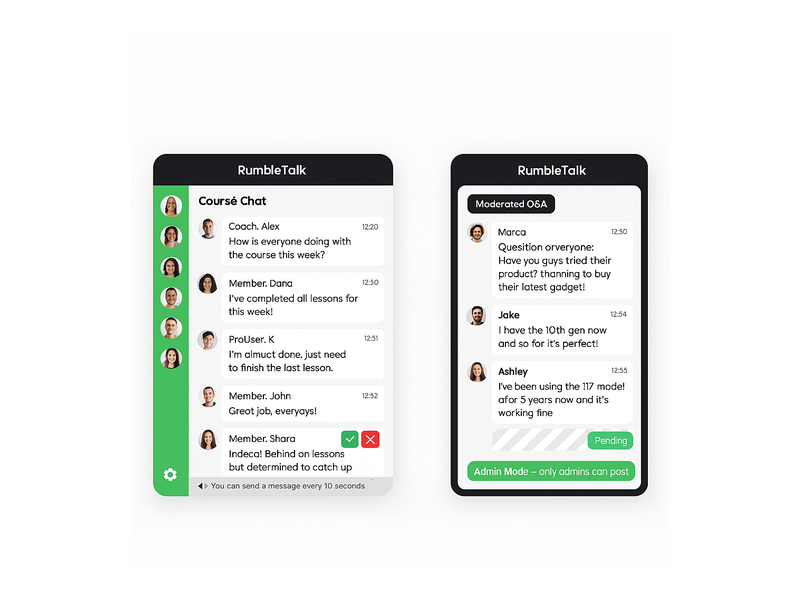
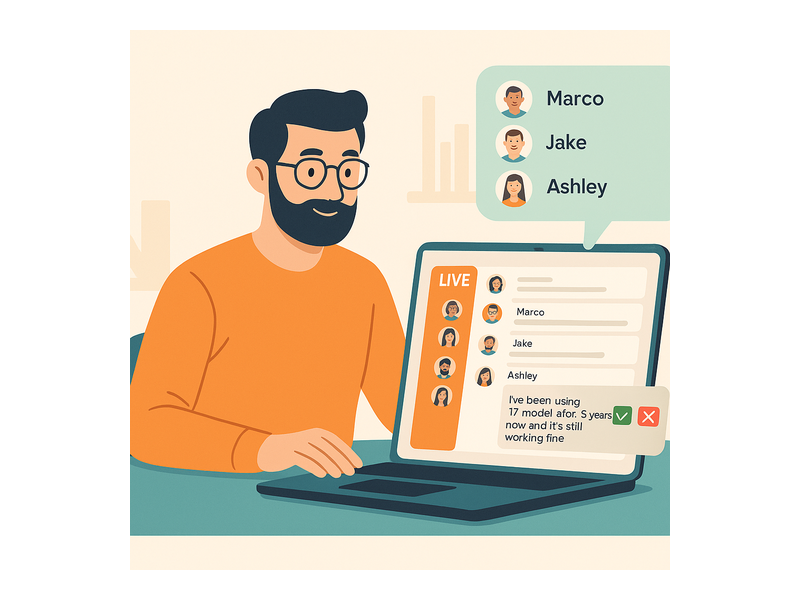
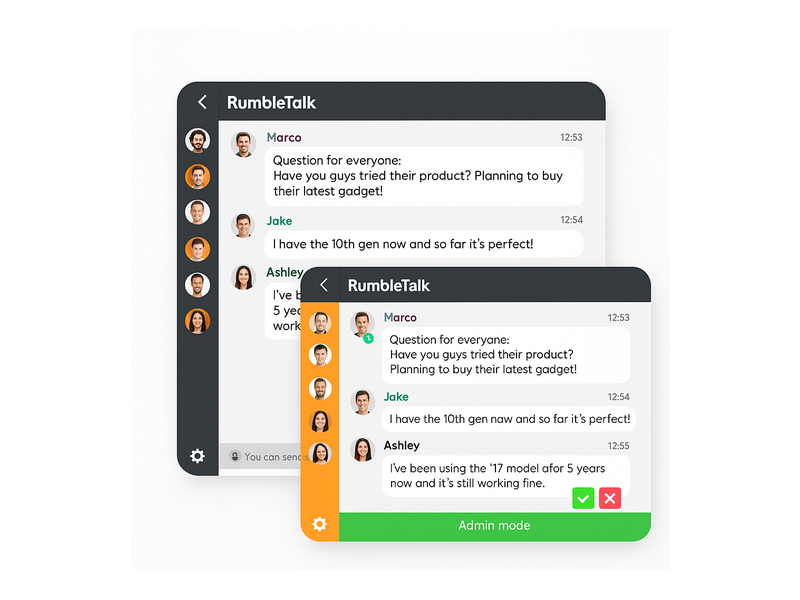
Webinars and Moderated Q&A Sessions
Webinars are a staple of B2B marketing, and chat is where the real engagement happens. RumbleTalk’s Moderated Q&A feature lets hosts manage incoming questions, surface the most popular ones, and respond in a structured, audience-facing format. Every question submitted is tied to the authenticated attendee who asked it, creating a detailed record of intent data that marketing and sales teams can act on directly.
For businesses running regular webinar series, the cumulative chat with first party data from these sessions builds a rich picture of audience interests, pain points, and buying signals over time — a dataset that improves your go-to-market strategy with every event you run.
Privacy, Compliance, and Data Ownership
One of the most important dimensions of chat with first party data is data ownership. With RumbleTalk, you control where your data lives and how it is used. Unlike third-party chat platforms that monetize user data by selling it to advertisers or retargeting networks, RumbleTalk is a platform tool — the data belongs to you, and it is used exclusively to serve your users.
This matters enormously as privacy regulations continue to expand. GDPR in Europe, CCPA in California, and a growing list of regional privacy laws all require that businesses have a clear, documented legal basis for collecting user data and that users can access, correct, or delete their records on request. Because RumbleTalk operates through authenticated sessions — where users have explicitly consented to participate — the legal basis for first-party data collection is clear, defensible, and easy to document.
For enterprise customers and regulated industries, RumbleTalk’s architecture supports data residency requirements and integrates cleanly with existing consent management platforms. Your chat with first party data strategy can be both powerful and fully compliant with the regulations that govern your market.
It is also worth noting that first-party data collected through authenticated chat is inherently higher quality than data purchased from brokers or inferred from third-party tracking pixels. Users who participate in your chat room are communicating their interests and needs directly and voluntarily. That directness translates into more accurate segmentation, more relevant personalization, and ultimately better conversion rates across your marketing funnel. For guidance on configuring authenticated access and managing user permissions in your chat room, visit the RumbleTalk chat admin knowledge base, which covers admin controls and access management in detail.

How to Get Started With Chat With First Party Data
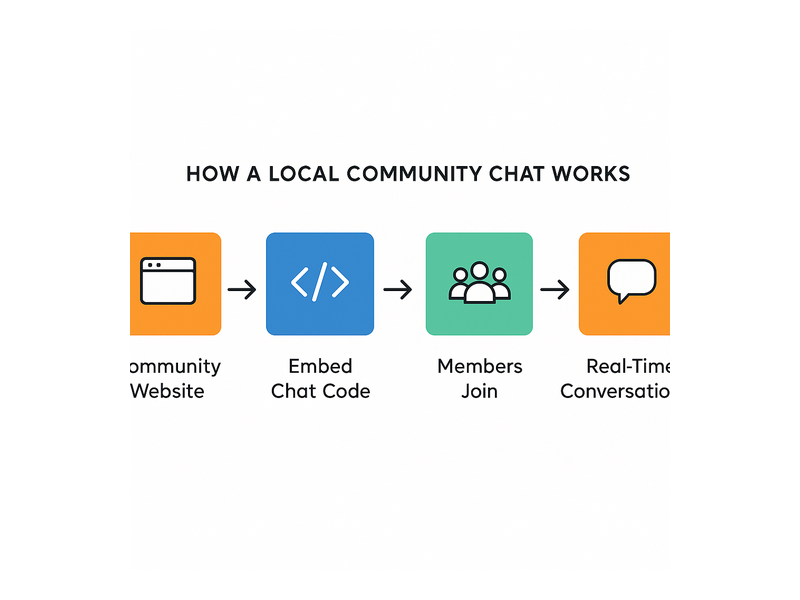
Implementing chat with first party data on your website or event platform is more straightforward than it sounds, especially with RumbleTalk’s flexible embed and integration options.
- Create your RumbleTalk chat room. Sign up and configure a room that fits your use case — Group Chat for community discussions, Moderated Q&A for webinars and live events, or Members Chat for subscription platforms.
- Enable authentication. Activate user authentication in your chat settings. You can require a username and password login, connect via SSO to your existing identity provider, or use a social login option. Authentication is the step that transforms your chat into a first-party data asset.
- Map user attributes. Decide which attributes you want to capture and pass through the chat session: name, email, role, company, subscription tier, or any custom fields that matter to your business. RumbleTalk’s SSO API accepts custom parameters and stores them alongside each chat session record.
- Integrate with your CRM or analytics stack. Use RumbleTalk’s webhooks and API to push engagement data — message counts, question submissions, active session durations — into your CRM, marketing automation platform, or data warehouse. This closes the loop between first-party chat intelligence and your broader customer data strategy.
- Analyze and act. Review your chat data after each session to identify your most engaged users, the topics that generated the most discussion, and the questions that signal purchase intent. Use these insights to personalize follow-up communications and refine the content and format of future sessions.
Conclusion
In a world where third-party data is disappearing and audience intelligence is more valuable than ever, chat with first party data is a strategic investment for any business that wants to genuinely understand and serve its audience. RumbleTalk gives you the infrastructure to build a live, interactive chat layer that not only drives real-time engagement but captures rich, consented, authenticated data that belongs entirely to you — and grows more valuable with every conversation.
Whether you are running virtual conferences, hosting expert webinars, building an e-learning platform, or growing a membership community, RumbleTalk’s approach to chat with first party data gives you a durable competitive advantage: deep audience insight that compounds over time and powers every dimension of your marketing, sales, and product strategy.
Ready to take ownership of your first-party data? Visit RumbleTalk to explore the full platform, review pricing options, and start a free trial today. Your audience is talking — make sure you are listening with the right tools.