Improved Performance of loading youtube videos in a chatrooms.

From day one RumbleTalk Chatroom is all about performance.

The chatroom was built from the ground up with the intention to have low signature on the browser side and to have minimal network load. We used various methods to achieve that goal which resulted in the fastest loading chatroom.

Chatroom performance

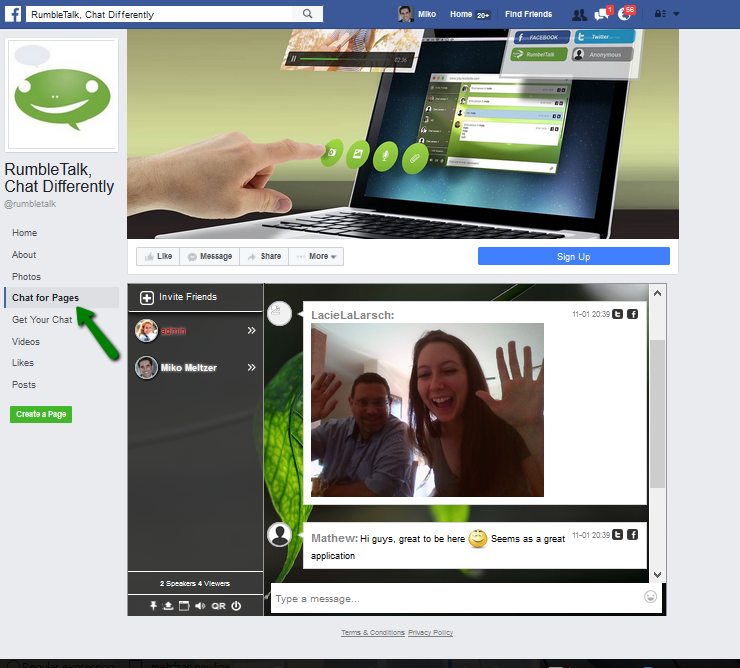
One of our features is letting chatters add images and youtube videos to the conversation.
This led to chatrooms that include many youtube videos. This seems to slow the chatroom.

We are happy to share with you that during the past days, we changed the way youtube videos are embedded in the RumbleTalk chatroom and their for we increased dramatically the time it takes to load all the videos into the chat.

Hope you will like the new feature:

The Advanced Chatroom Administrator Guide for RumbleTalk chat

The concept of administrating a chatroom is perceived differently by different people.
Let’s make some order with what can be achieved with RumbleTalk platform.

The RumbleTalk platform Can help you moderate your chatroom by using 2 levels of administrator.
A normal administrator and a Super administrator. Both Super admin and admin can act on messages or users that are actually logged into the chat.

How to do it?

Define a new Administrator for your chatroom

When a new chatroom is created, there are no administrators defined.
The created login to your admin panel (Email + Pass) is not valid for the chatroom.

The way to create a new administrator is :

1 – Login into your admin panel


2 – Go to your “Manage Users” in the chat group.

3 – Add a new Administrator.

Admin versus Super-Admin

When an administrator is set for a chatroom. This administrator will be able to ban users, ban users by IP and delete messages from the chatroom. However he will not be able to Ban another administrator being logged in to the chatroom.

If the administrator will be set as a group administrator (super administrator), he will be able to ban also other administrators.

Login as Administrator

Now you set your admin panel, you can simply go into the chatroom, click on the text area to login to the chat. Then when you enter into the “Guest” field, the name you defined in the administration panel (nickname), a password request will show. Enter the password and login as admin.

If you wish to use your Facebook or twitter to login as administrator, you should set the nickname to the exact name of your Facebook or twitter user name (case sensitive).

One chat for all your web based Asset – Website & Blog & Facebook chat room

When one embed a chat room on his website, he wishes to engage his community. Now imagine that this chat could be placed in more places, like the community facebook page (Facebook chat room) or at an external blog. This means that the online chat room is exposed to more audience. People landing on the website will see the same chat as people landing on the community facebook page (fan page).

Facebook chat room + Website chat room

We get a lot of questions about whether this is a possible to add the same chat room to various places (e.g blog, website, Facebook page).

Online chat room for facebook pages


The answer is YES !!!

Let’s take a situation where a website owner wishes to create a conversation around his website topics. Now , he has a website, a blog where he presents share his ideas on a normal basis and a Facebook fan page where he is constantly adding relevant posts for his fans.

One chat

Naturally, at a given moment, some of his audience are located on his website, some are reading his blogs and some are checking their Facebook page for updates.

facebook chat room app

With RumbleTalk he can place one the same chat in all his online “assets”.
It is simple. See below how to:

Step 1: Create an account, via Rumbletalk.com (simply enter users name and password) and the create button. On the screen, you will see  your new chat theme with a code you can copy and paste later on in your website.

Step 2: Facebook Chat: in the admin panel, click on the Facebook button (just below the chat code) to create an online chatroom for your Facebook. Choose a facebook page and approve. The chat room will be added to your chosen Facebook page.

Step 3: Blog: Now you wish to add a chat to your blog post on a separate page. Take the code from the same screen you saw (the “embedded screen”). Copy the code and add it to your blog.
Note, if you have a cms software like Wordpress, Joomla,  you can just install the chat room plugin.

Step 4: Home Page: You can add the same chat room code used for your blog. Note, you can add the chat as a floating chat room (A footer chat room) or embedded chat room.

That is it. Now, no matter where the traffic will come to your website, it will seem as if your chat is loaded with online chatters, no matter where they came from (your blog, your home-page or your Facebook fan page)