How Can We Help?
RumbleTalk Plugin in Joomla
RumbleTalk is now available as chat plugin in Joomla. Here’s how to set it up.

How to install the RumbleTalk plugin and use it in Joomla?
- Go to the Joomla administrator panel and log in to your Super Admin Account.
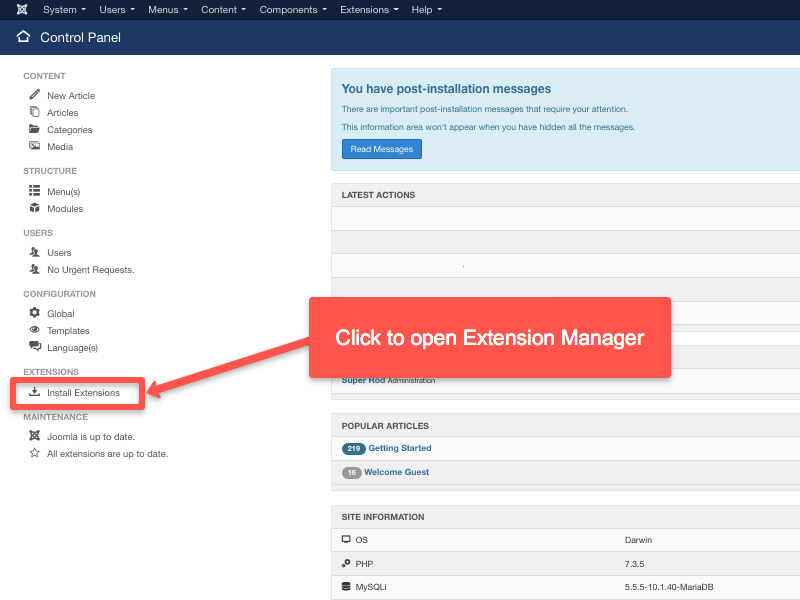
- Open Extension Manager.
Install RumbleTalk plugin
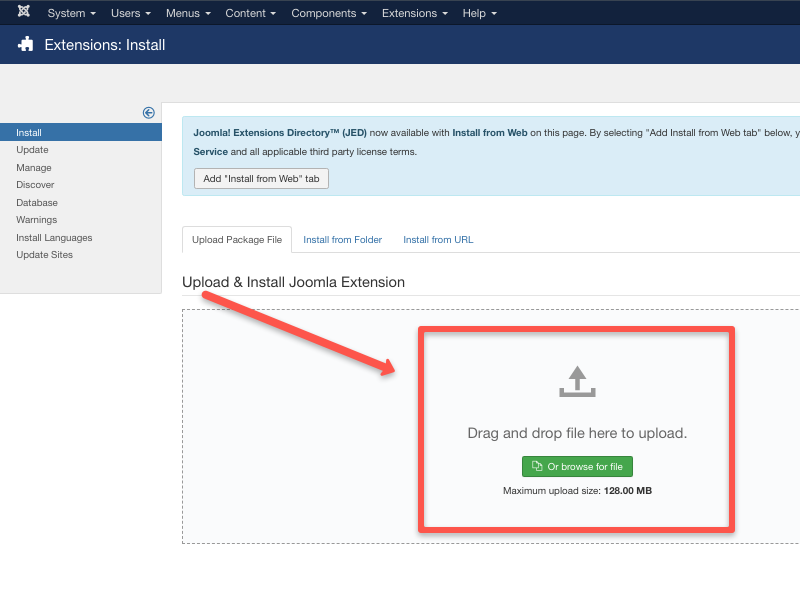
There are two ways to install the plugin.
- First, simply drag and drop the .zip file of the Rumbletalk plugin.
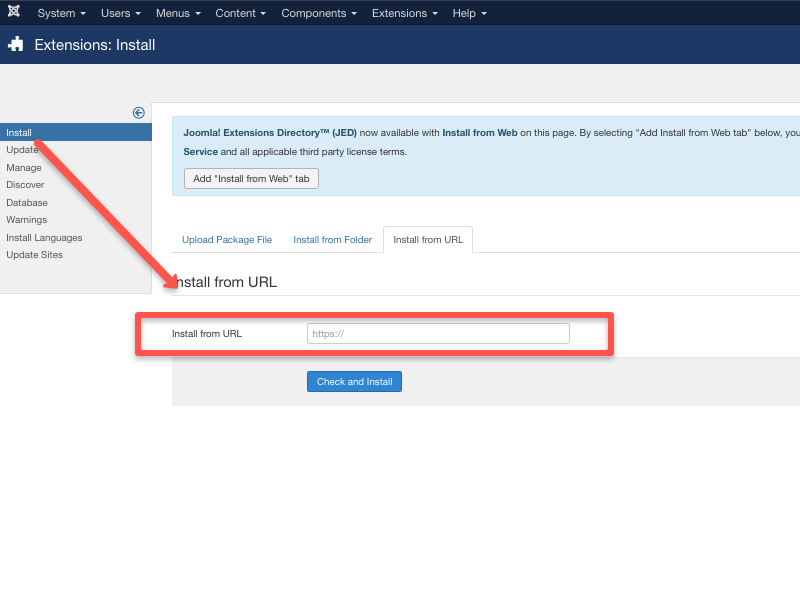
- The second option is to click the Install from URL and enter the RumbleTalk Joomla Extension Plugin link.
Now that we have successfully installed the plugin, we can now embed the group chat on your website.
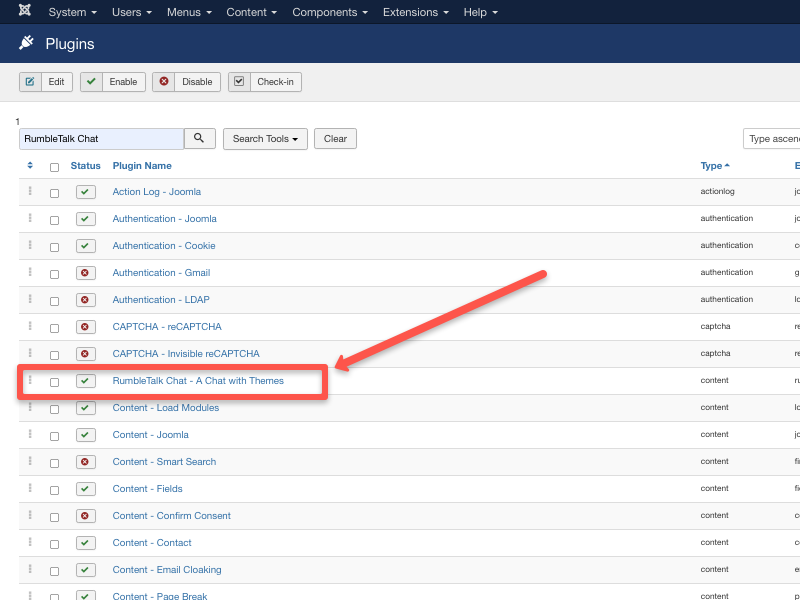
- Go to the Extensions > Plugins.

- Next, search for RumbleTalk Chat and click the plugin.
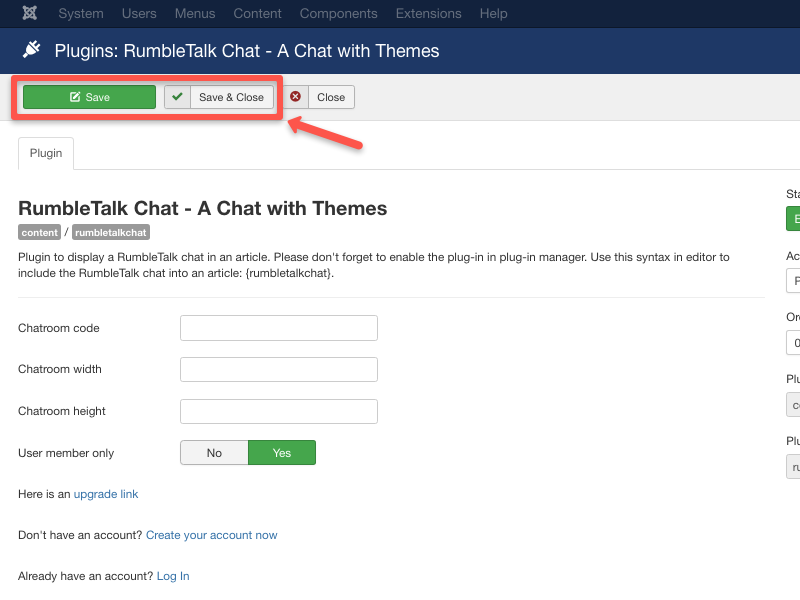
- After clicking the RumbleTalk Joomla plugin, provide the chatroom code, width, and height. You also have an option if you want a members-only login.
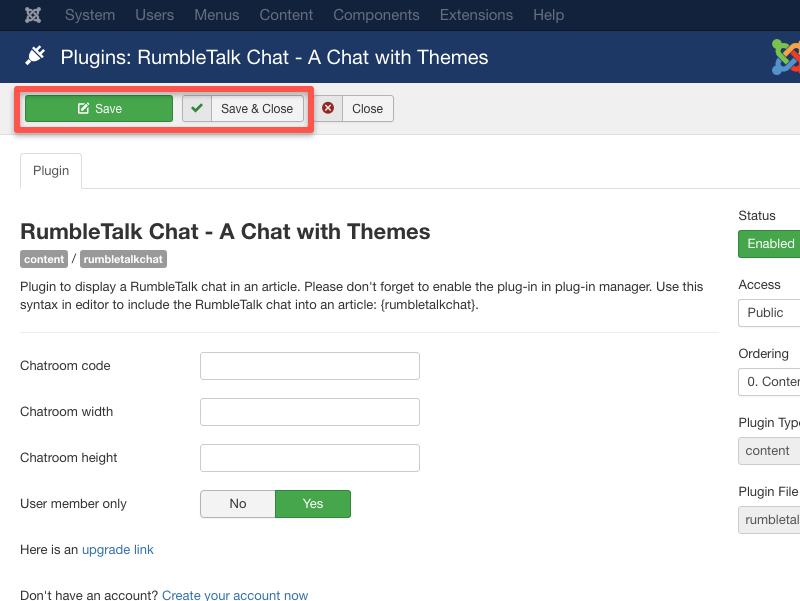
- After filling up the required information, you can either click Save or Save & Close.
- On the final part, place the shortcode, which is “{rumbletalkchat}” on any part of your website just like this example.
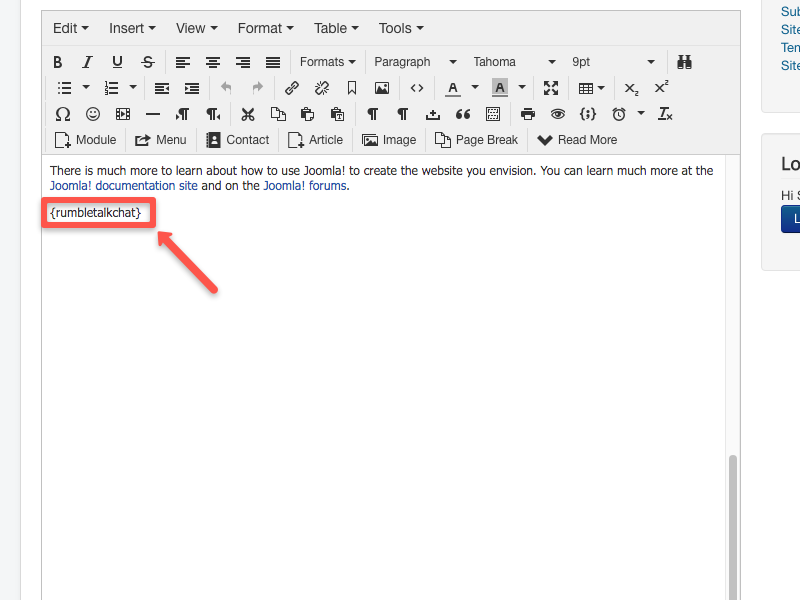
You can now use RumbleTalk chat on your website.
How to find your chat room code?
- Log in to your admin panel.
- Choose the group chat that you will use on your website and you will find the eight alphanumeric hash chat code below your chat.
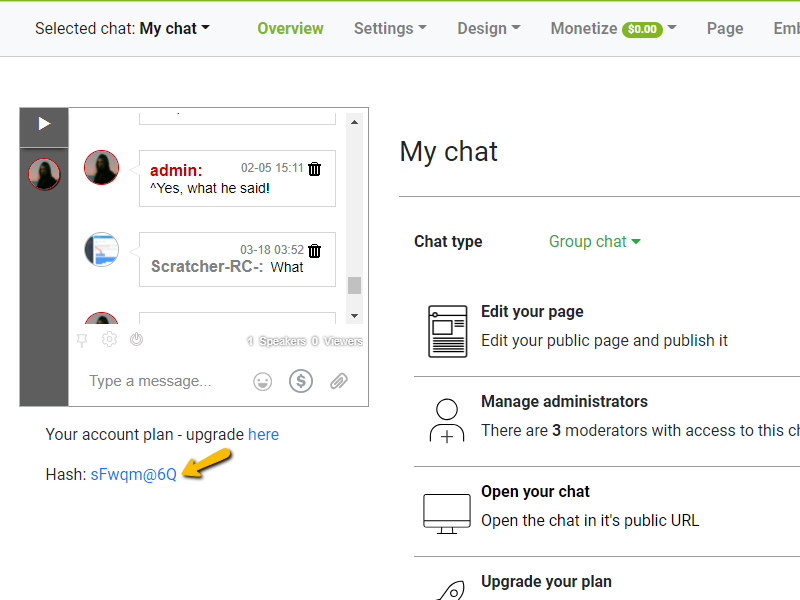
Use that hash code for your Joomla RumbleTalk plugin.
How To Create Members Only Chat Using RumbleTalk Joomla Plugin
- Go to your Joomla Administrator Panel and login to your Super Admin Account.

- On your RumbleTalk Plugin Settings, select Yes for User Member Only.

- After making changes, click Save or Save & Close.
That’s it! You can now automatically login to your chat when you login to your Joomla account.
How to add an avatar in Joomla?
- Note: Joomla’s administration panel doesn’t have a field to put an image as a profile picture (Avatar). The Joomla website owner is the one who needs to input this field.
- Go to the Joomla Administrator Panel.
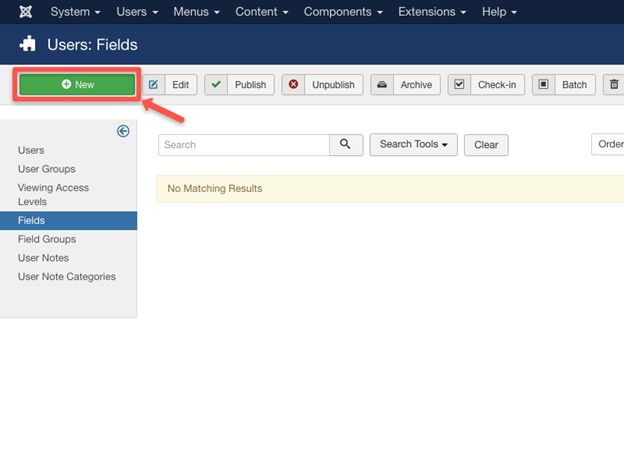
- Login to your Super Admin Account and go to Fields under the Users tab.

- Select New.
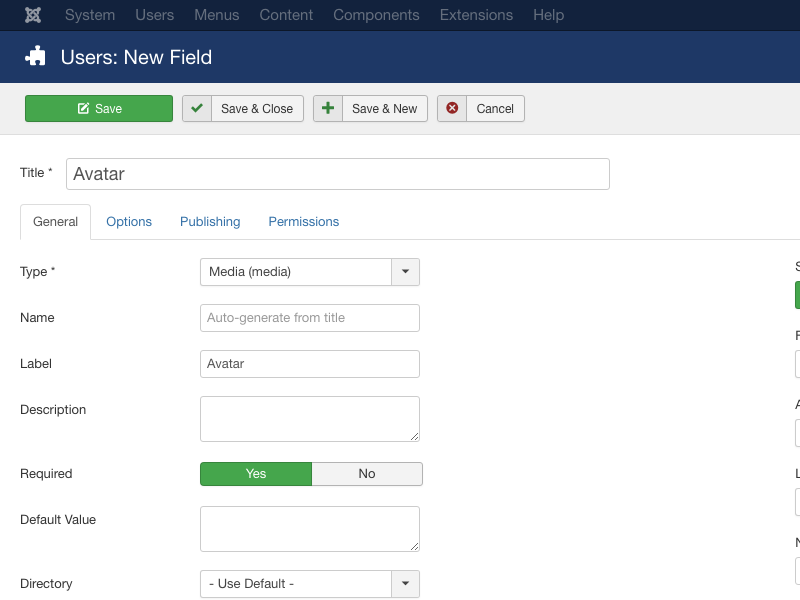
- Enter the important details:
Title: Avatar (You can choose your own title)
Type: Media
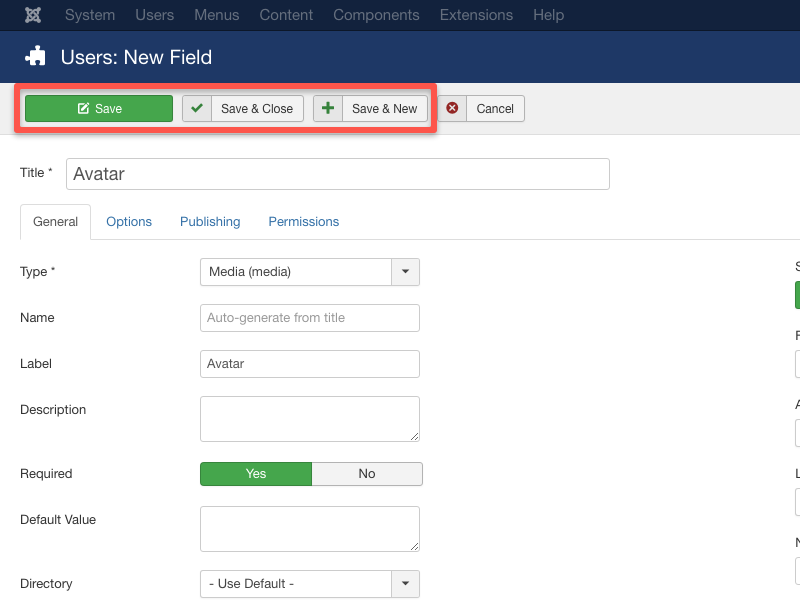
Required: Yes
- Save your changes.
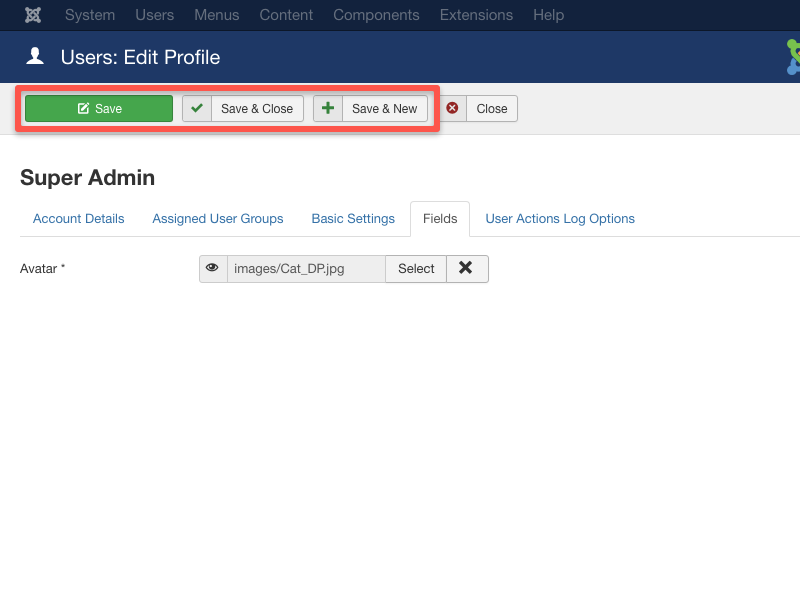
- Go to Manage under the Users tab.

- Select the name of the user.

- Select Fields tab and choose your image.

- Save the changes.
Congratulations! You now have an image in your chat.
That’s it! You may also visit the RumbleTalk Knowledge base on how you can improve your users’ chat experience by making some changes in the chat settings or customizing it for your requirements.
