Integrate RumbleTalk to Bubble.io
Here’s how you can integrate RumbleTalk to Bubble.io.
Use RumbleTalk by embedding
- Log in to your RumbleTalk account and get your chat hash code.
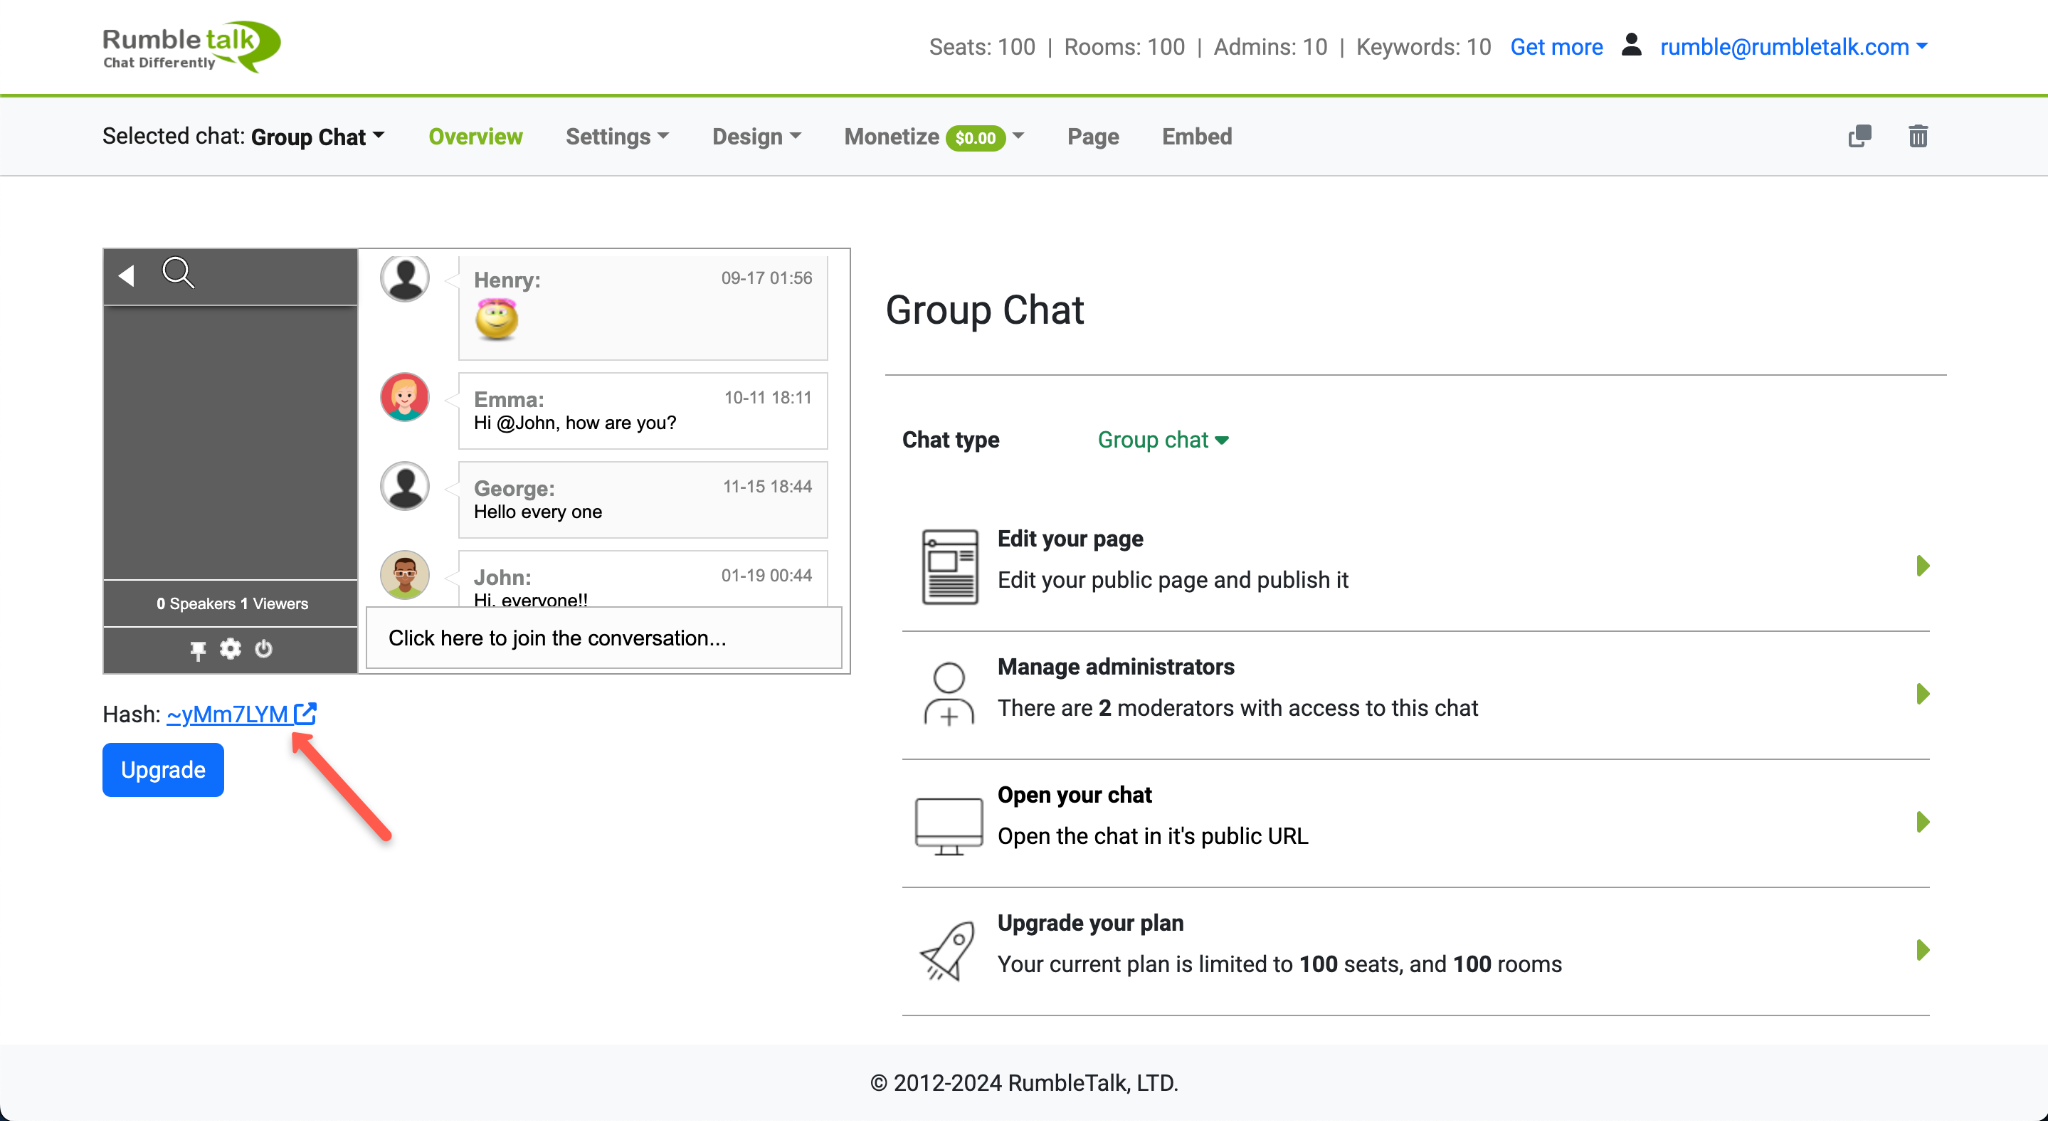
You can get your chat hash code under the current chat. The hash code is composed of 8 characters. It might be a mix of letters, numbers, and symbols.
- On the RumbleTalk plugin demo page, you can paste your hash code of the chat to generate a chat code that will be embedded in any Bubble website.
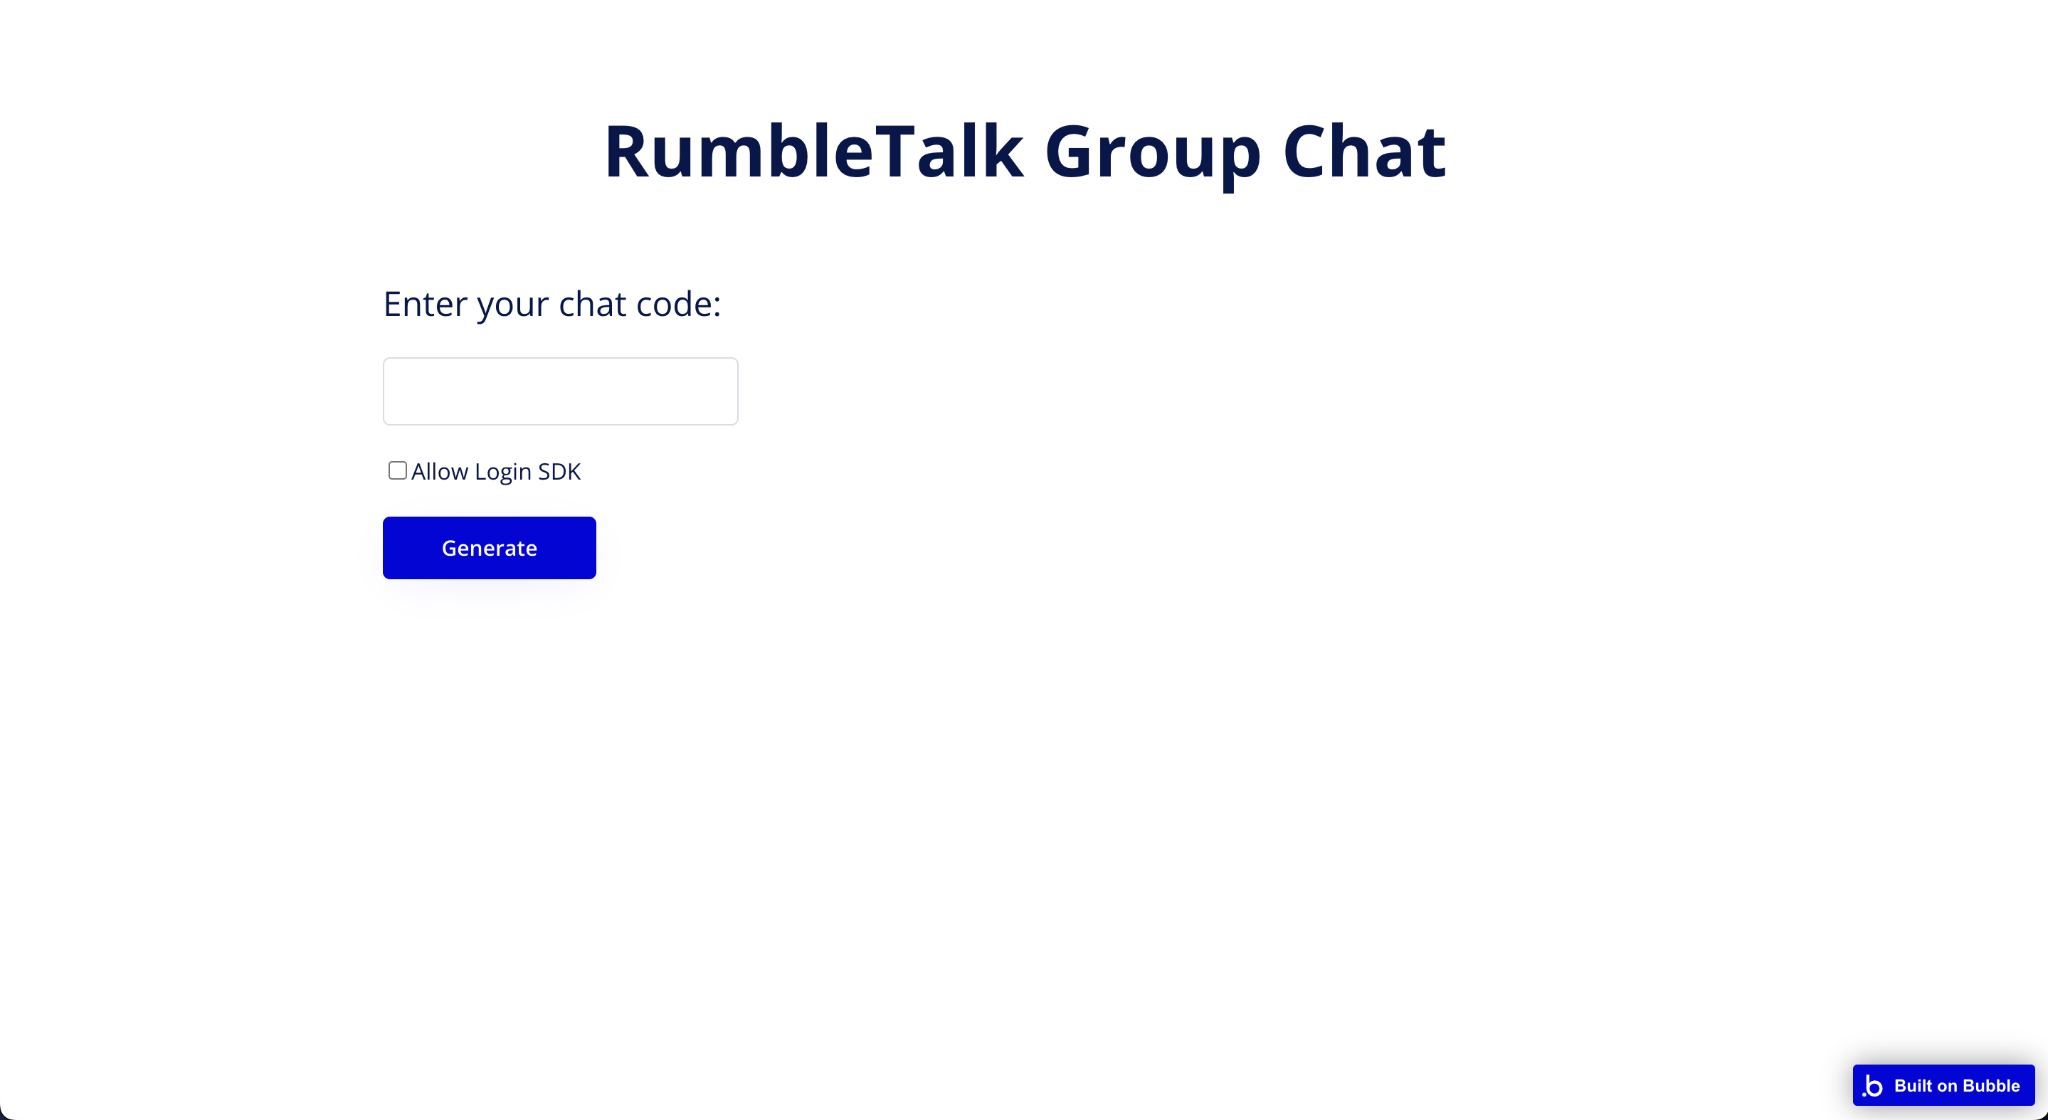
The “Allow Login SDK” option logs current users using the Bubble app users database.
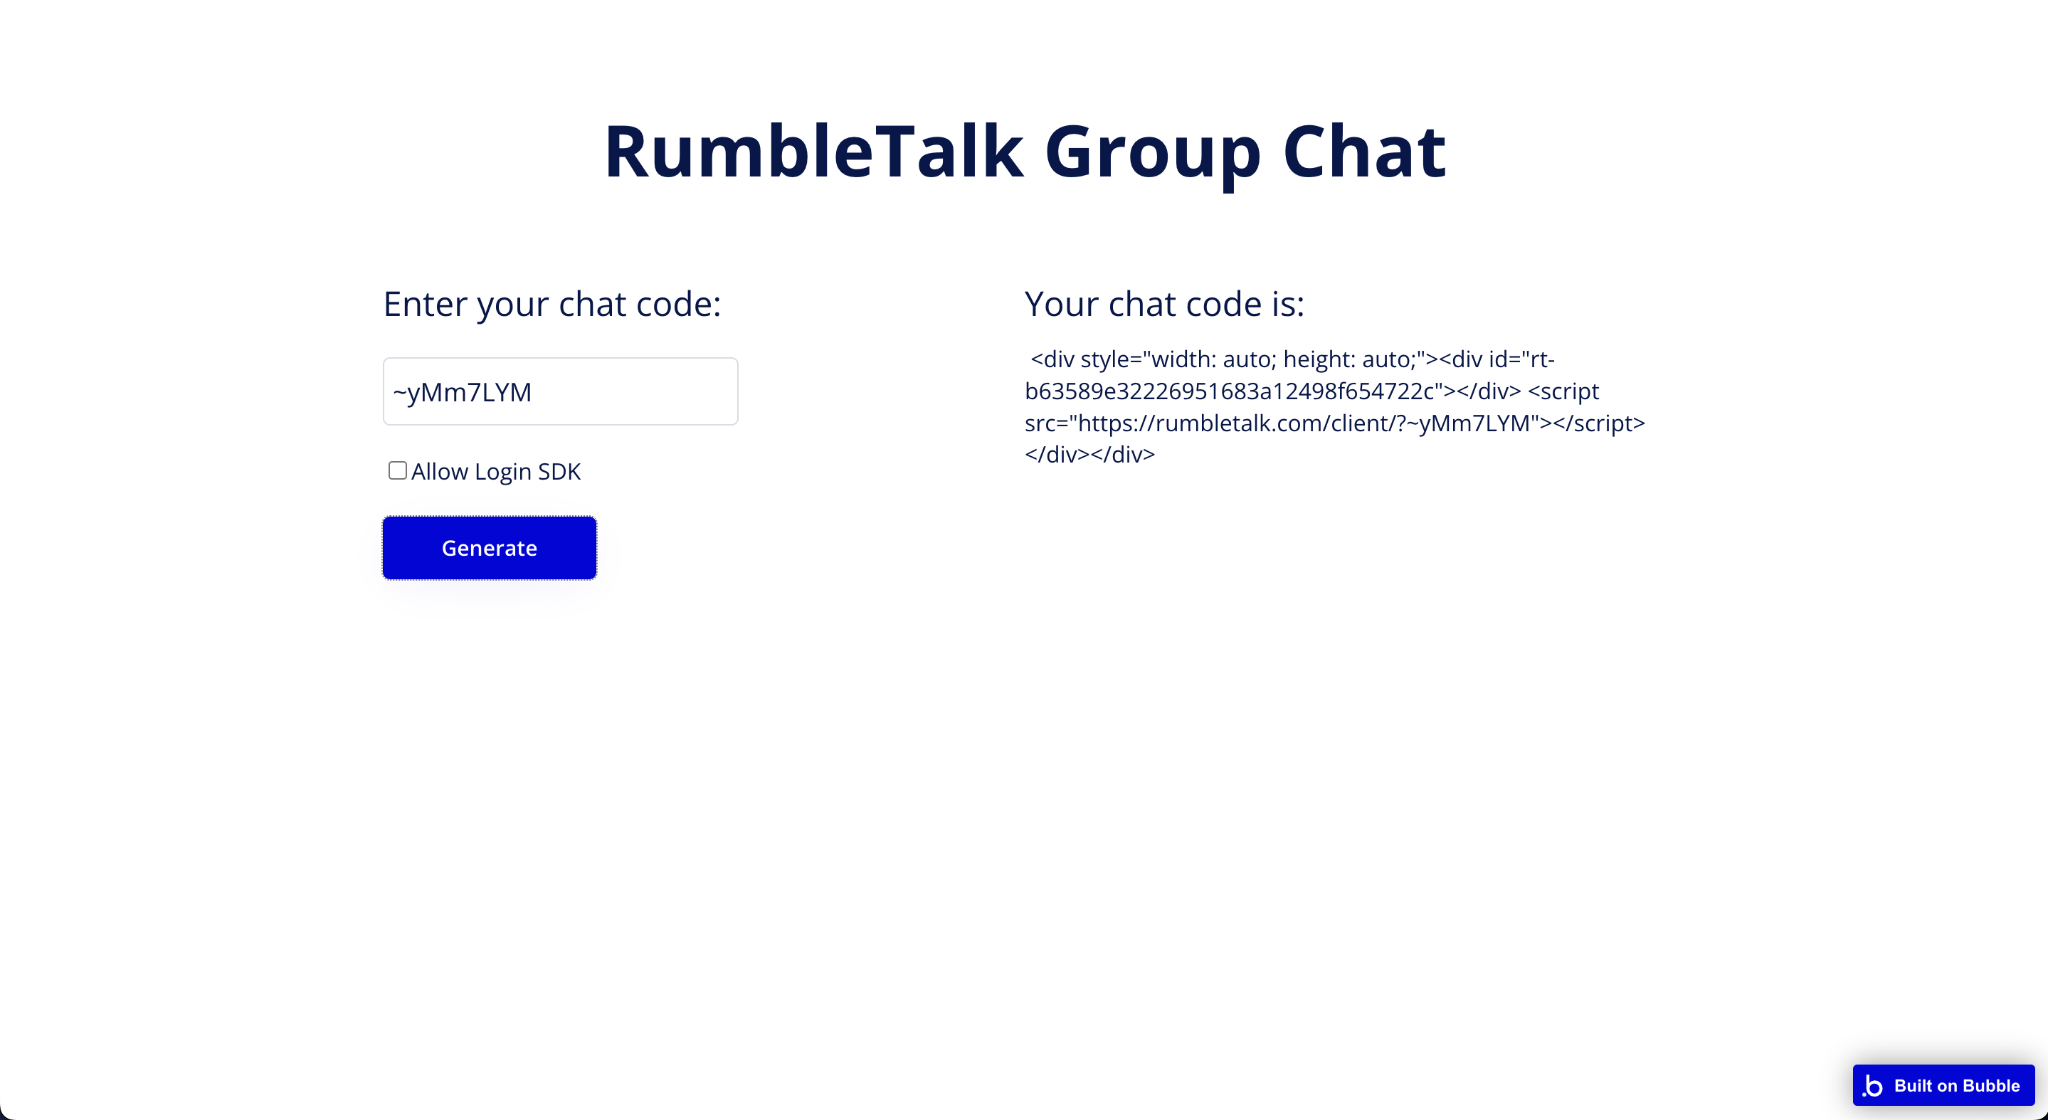
This is the result of the unchecked Login SDK. It has the codes for displaying the normal group chat.
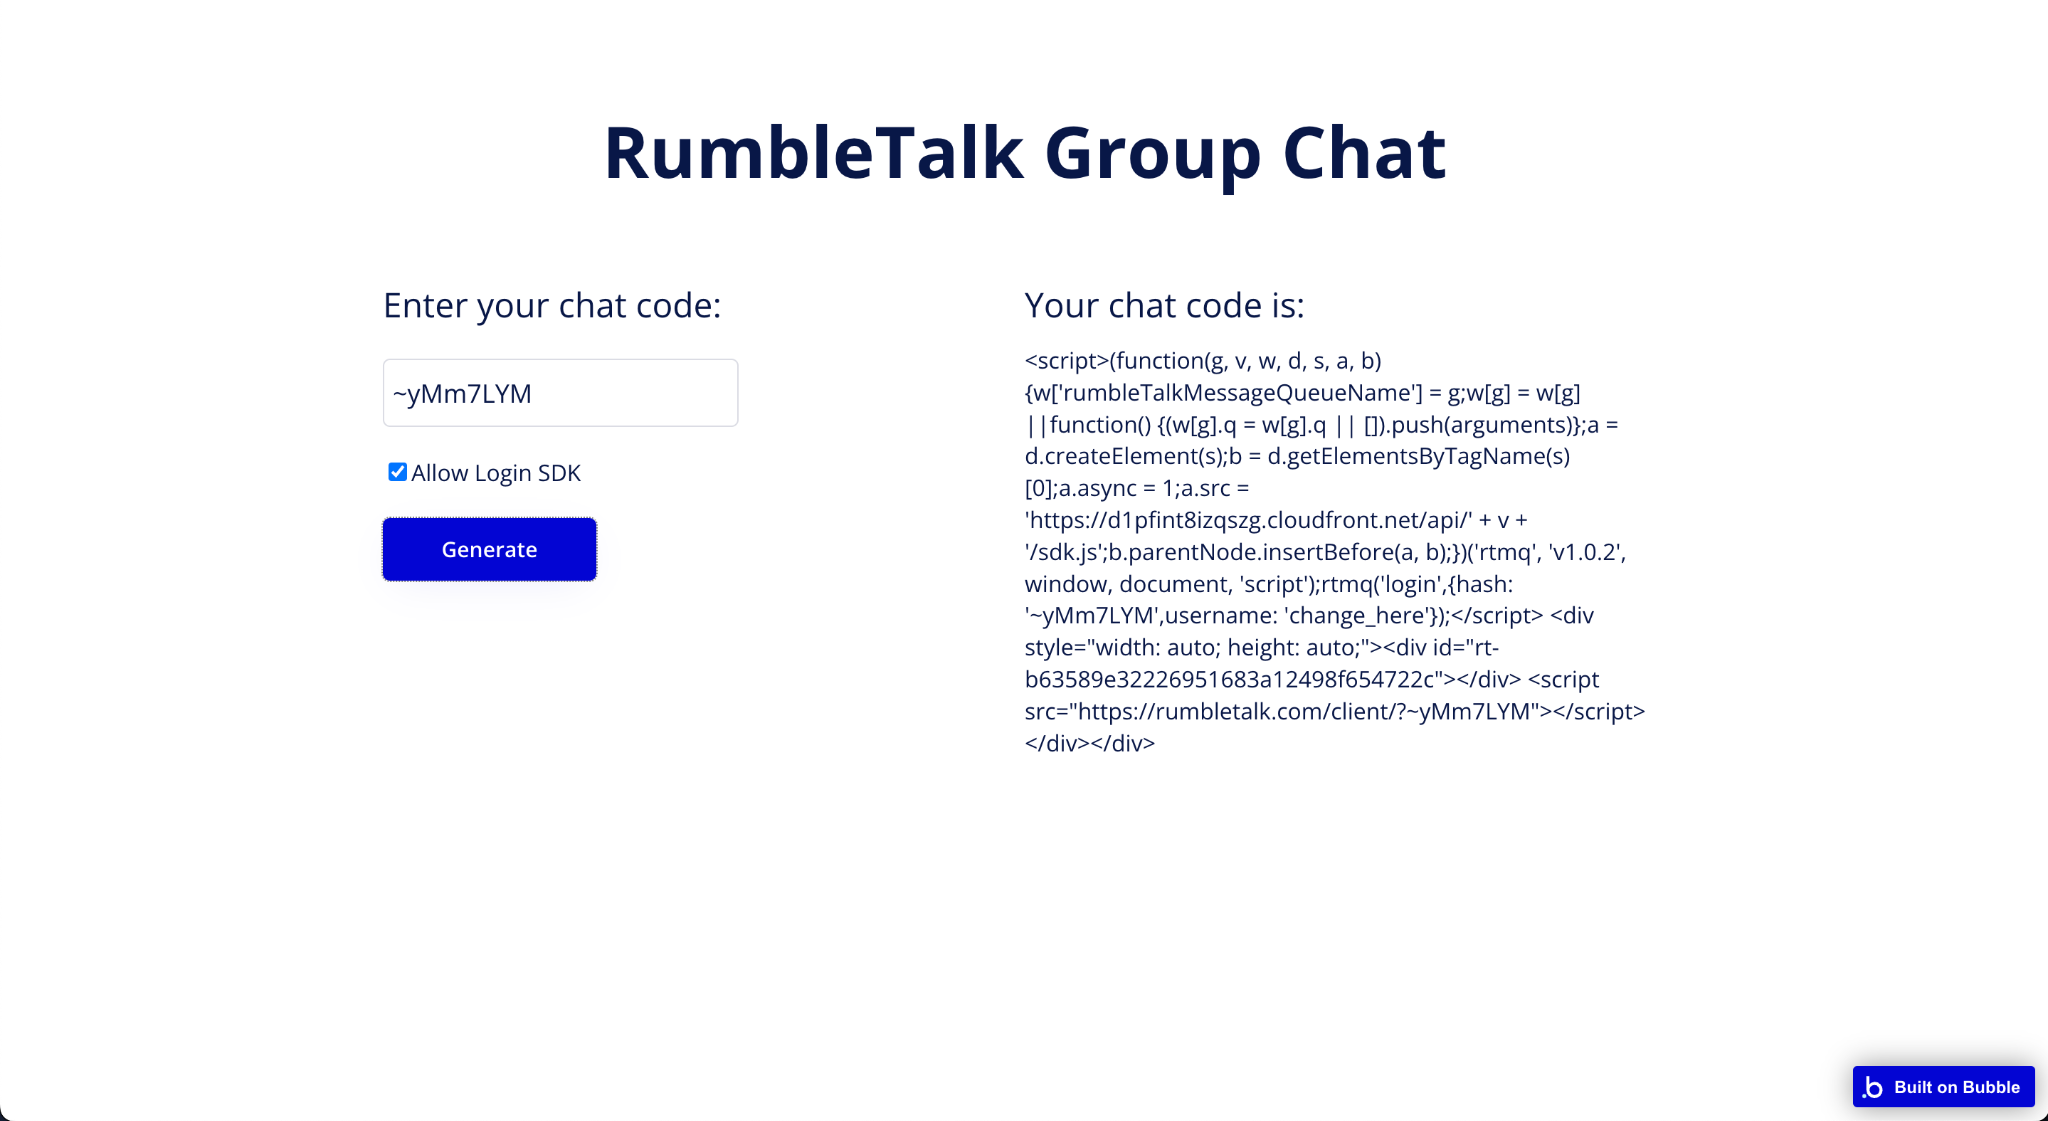
This is the result of the checked Login SDK. It has codes for displaying the group chat with a function to automatically log current users inside the chat.
**Note: Change the text of “change_here” according to your current user data.
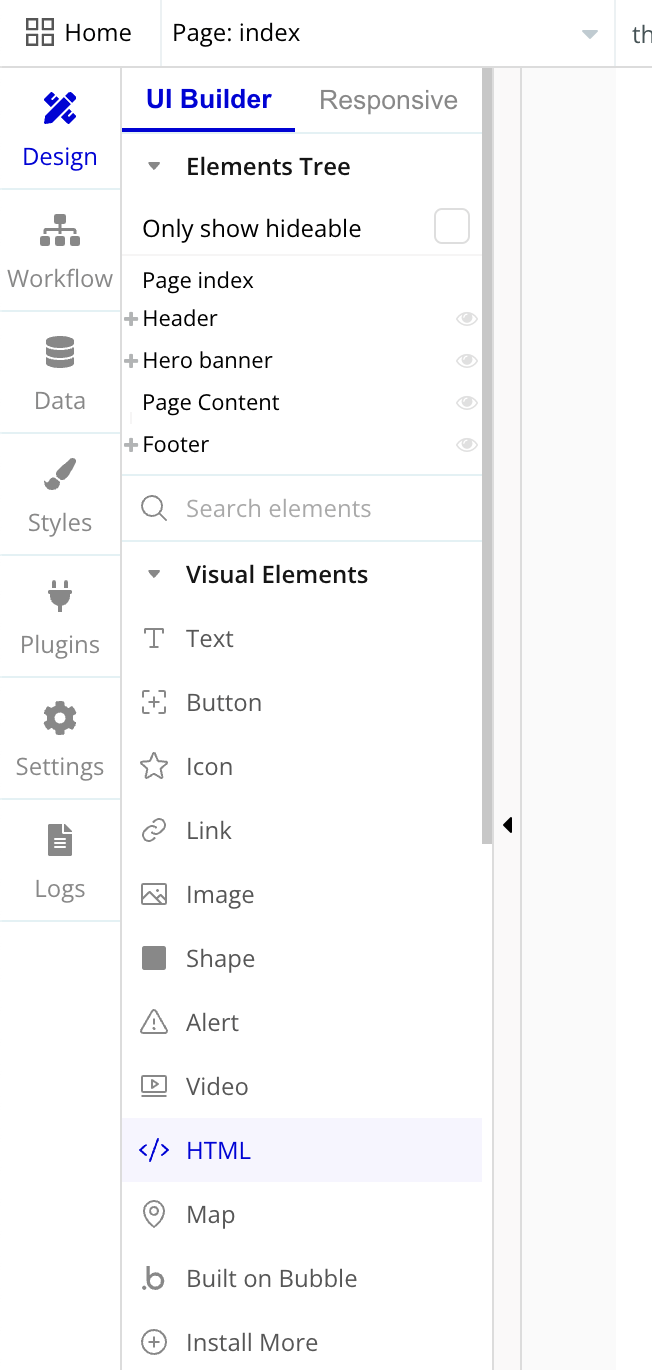
- Open bubble.io. On the left side, select the Design tab. In the UI Builder, click the HTML under Visual Elements.
- Place your HTML tag in the desired position where the chat will be set.
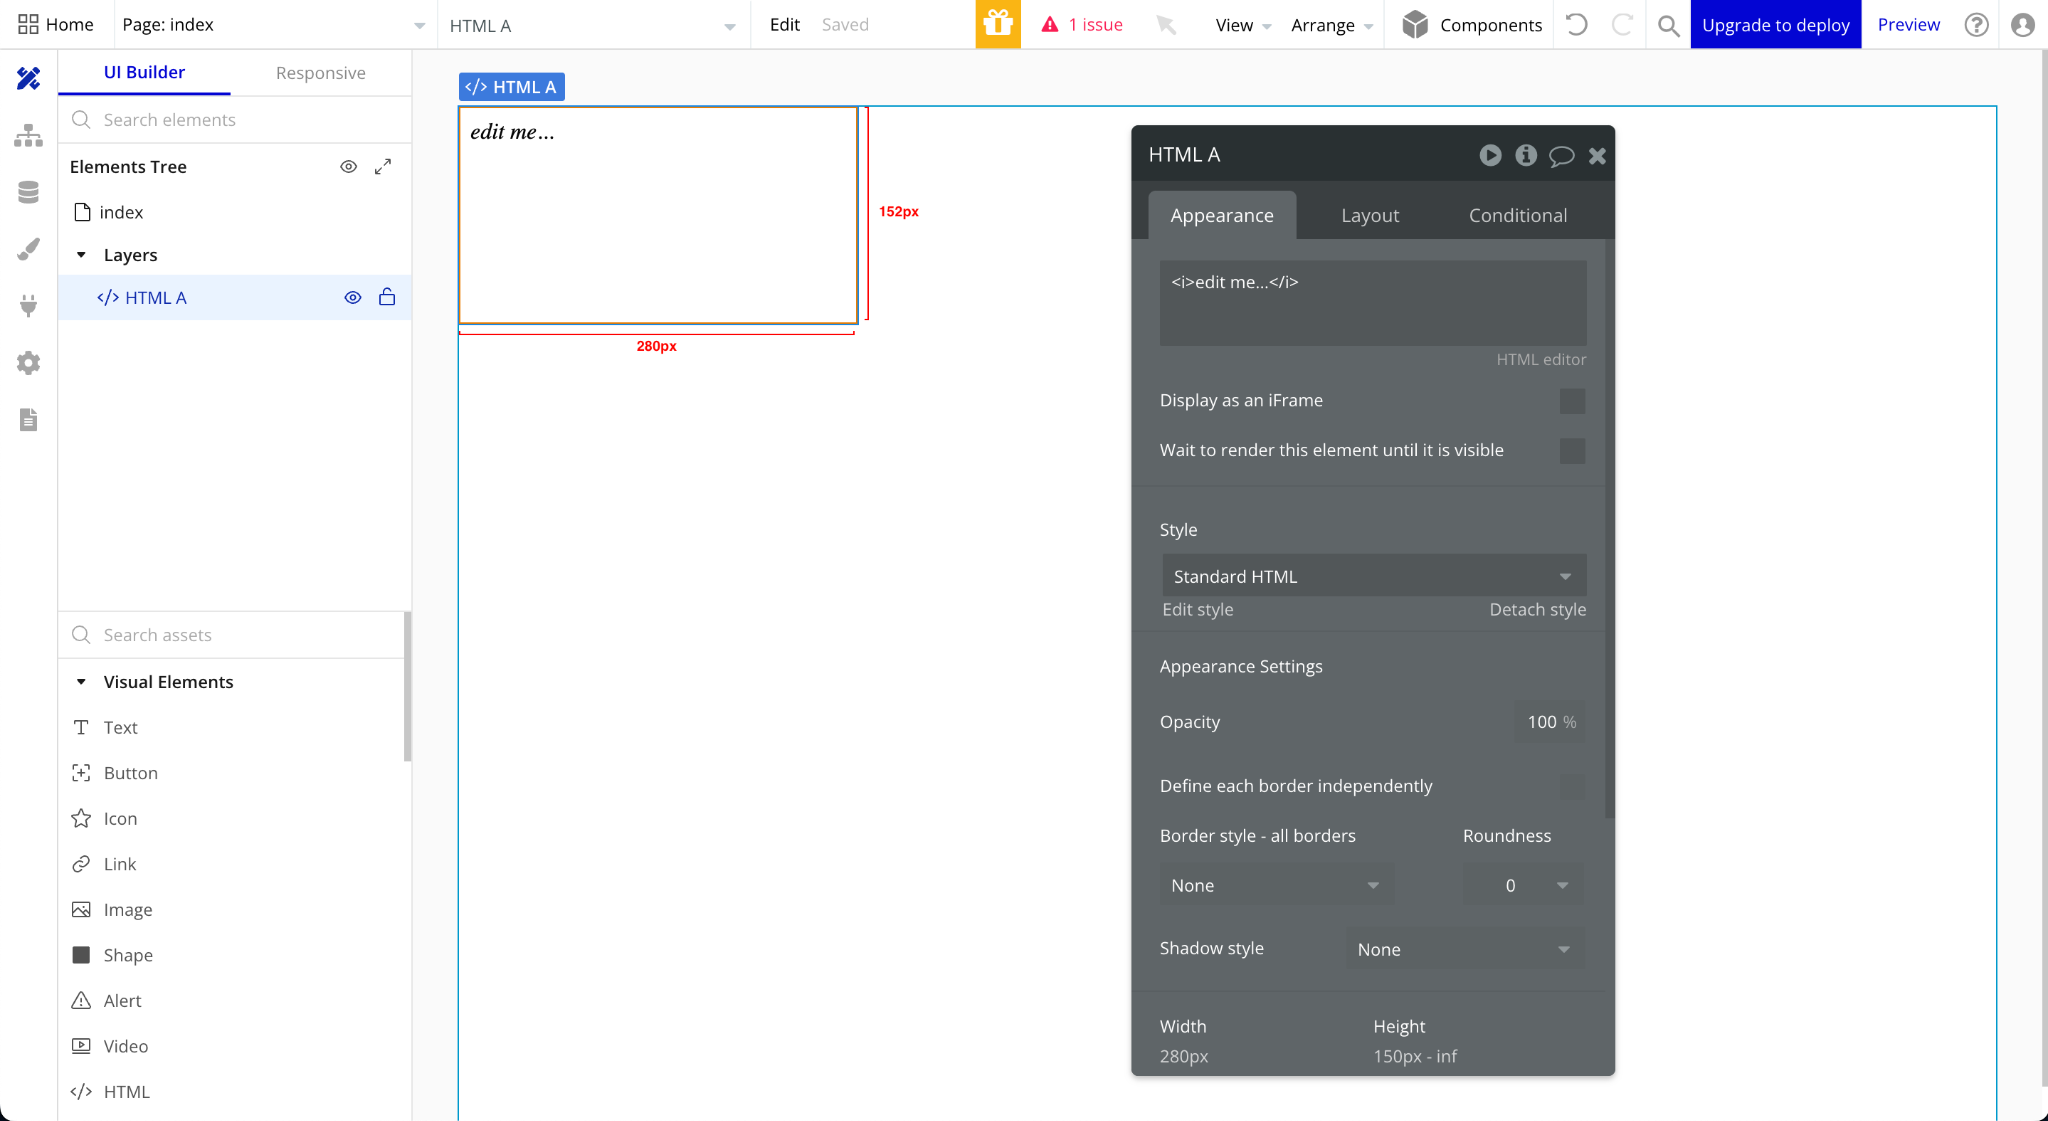
- Paste your chat code replacing the “<i>edit me…</i>” text and close the window of the HTML tag (located on the upper-right of the gray box).
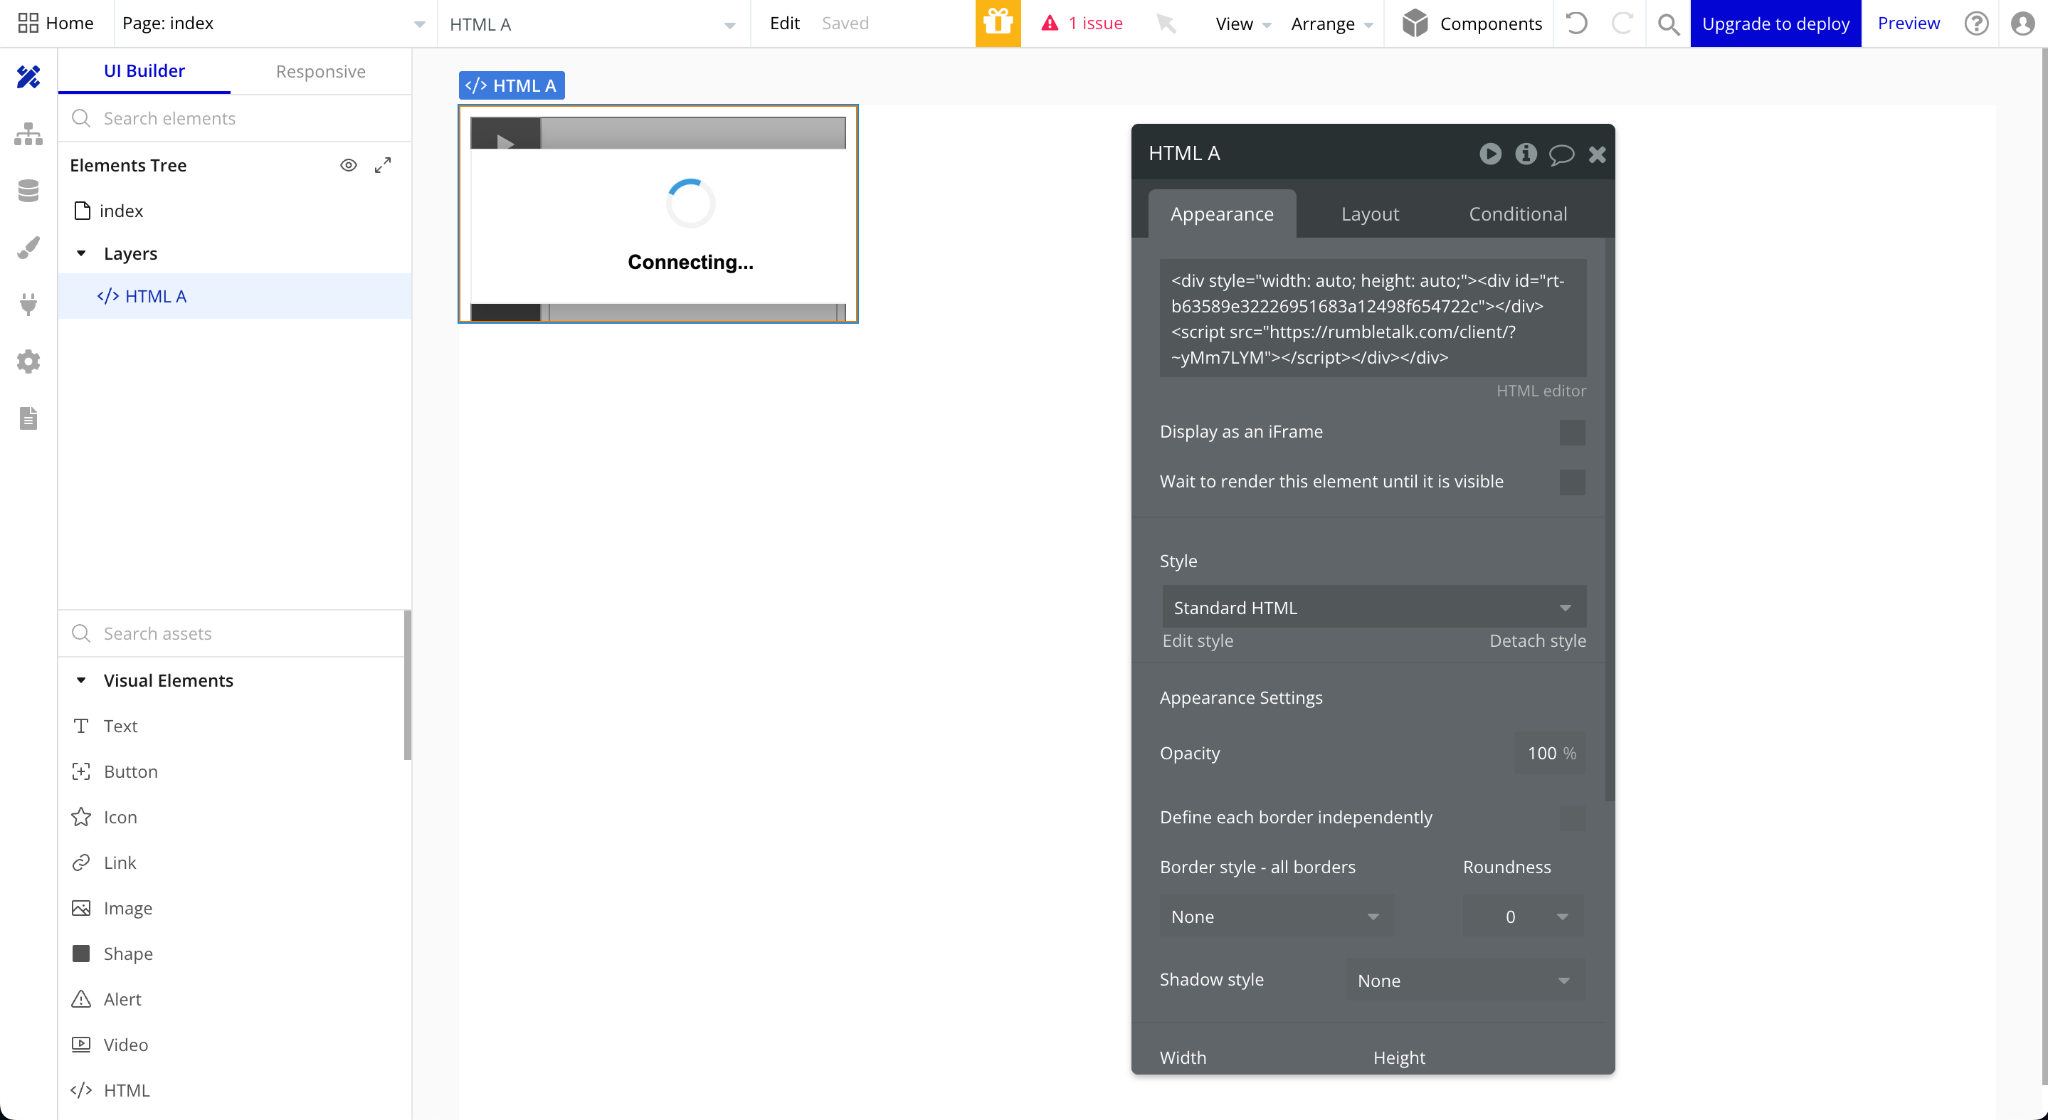
* For the Login SDK, you can highlight first the words “change_here”.
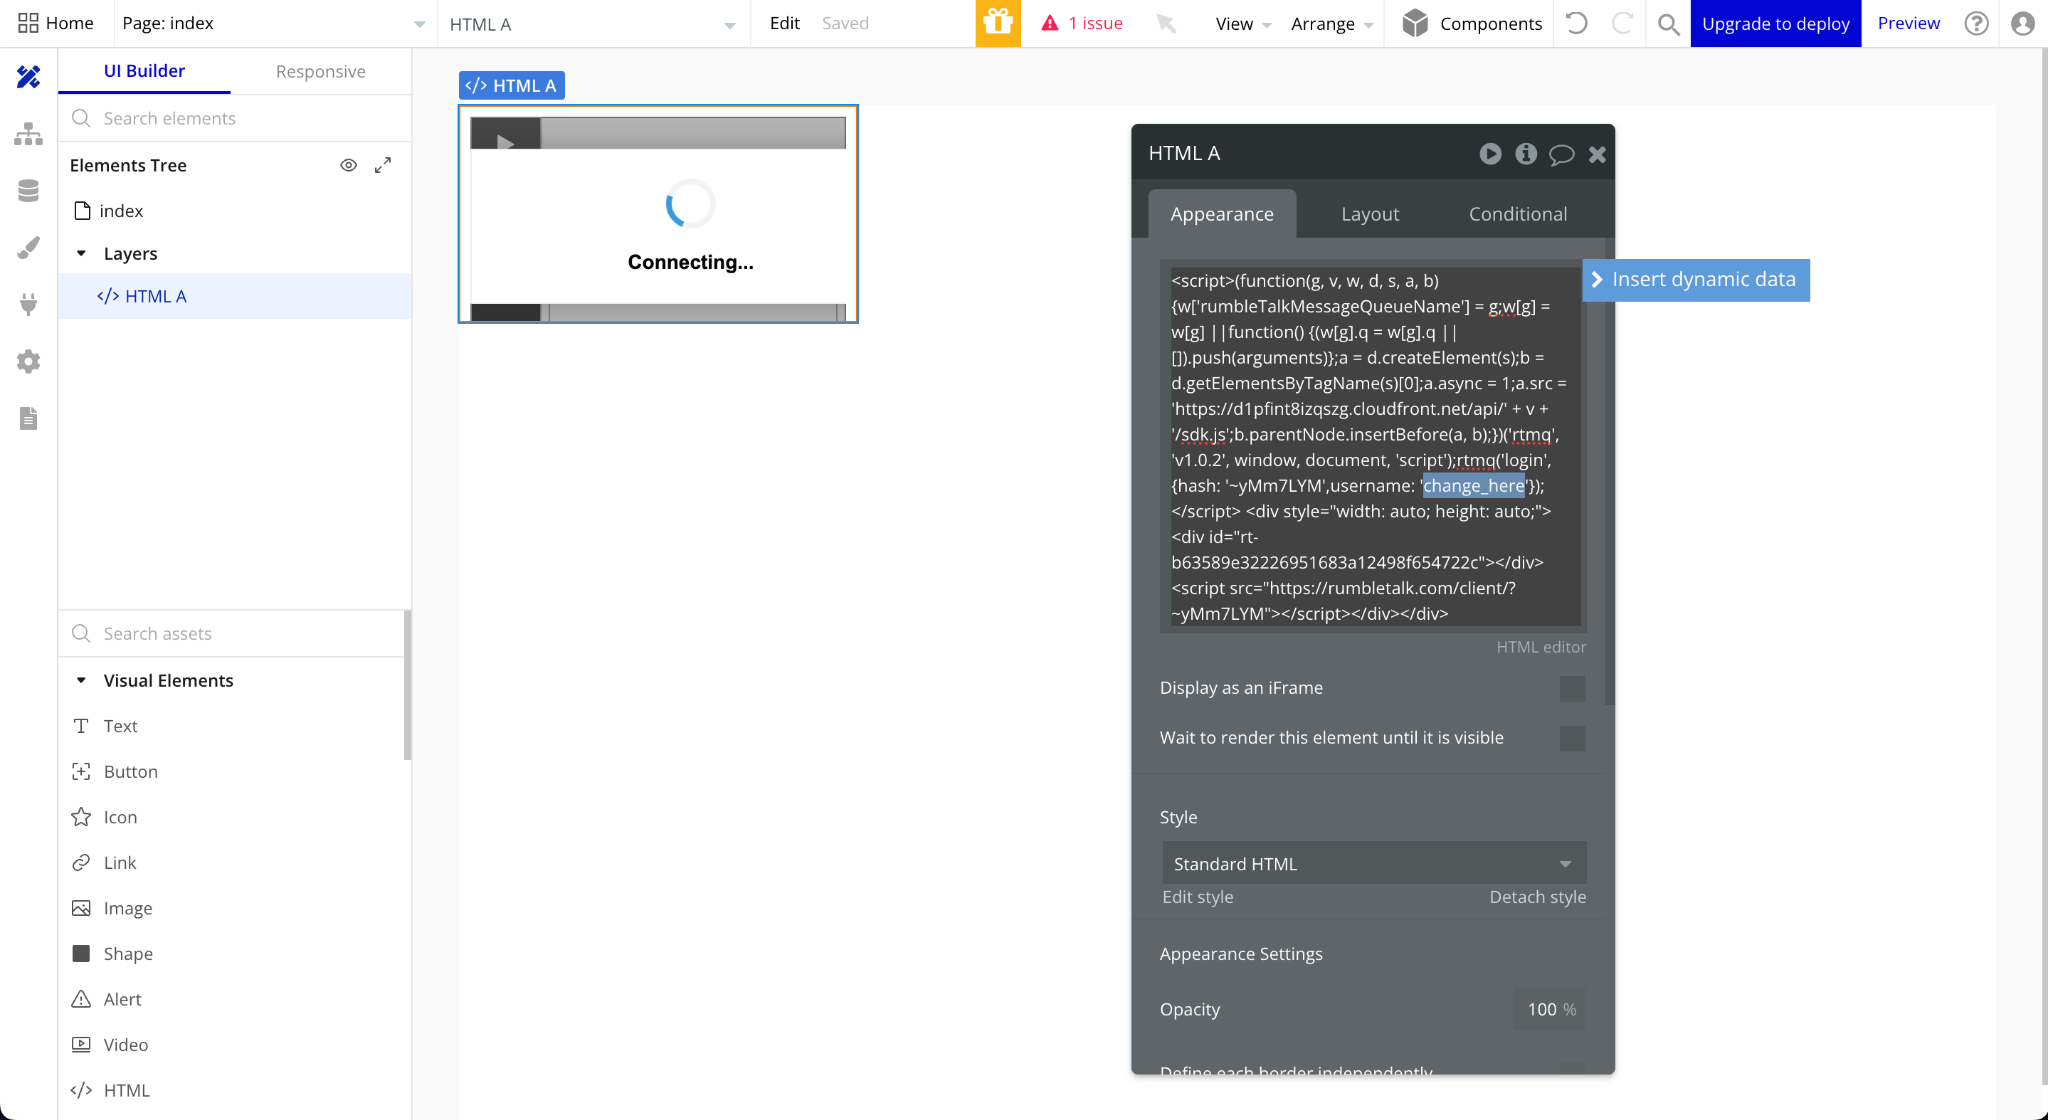
After highlighting the “change_here”, click the “Insert dynamic data”.
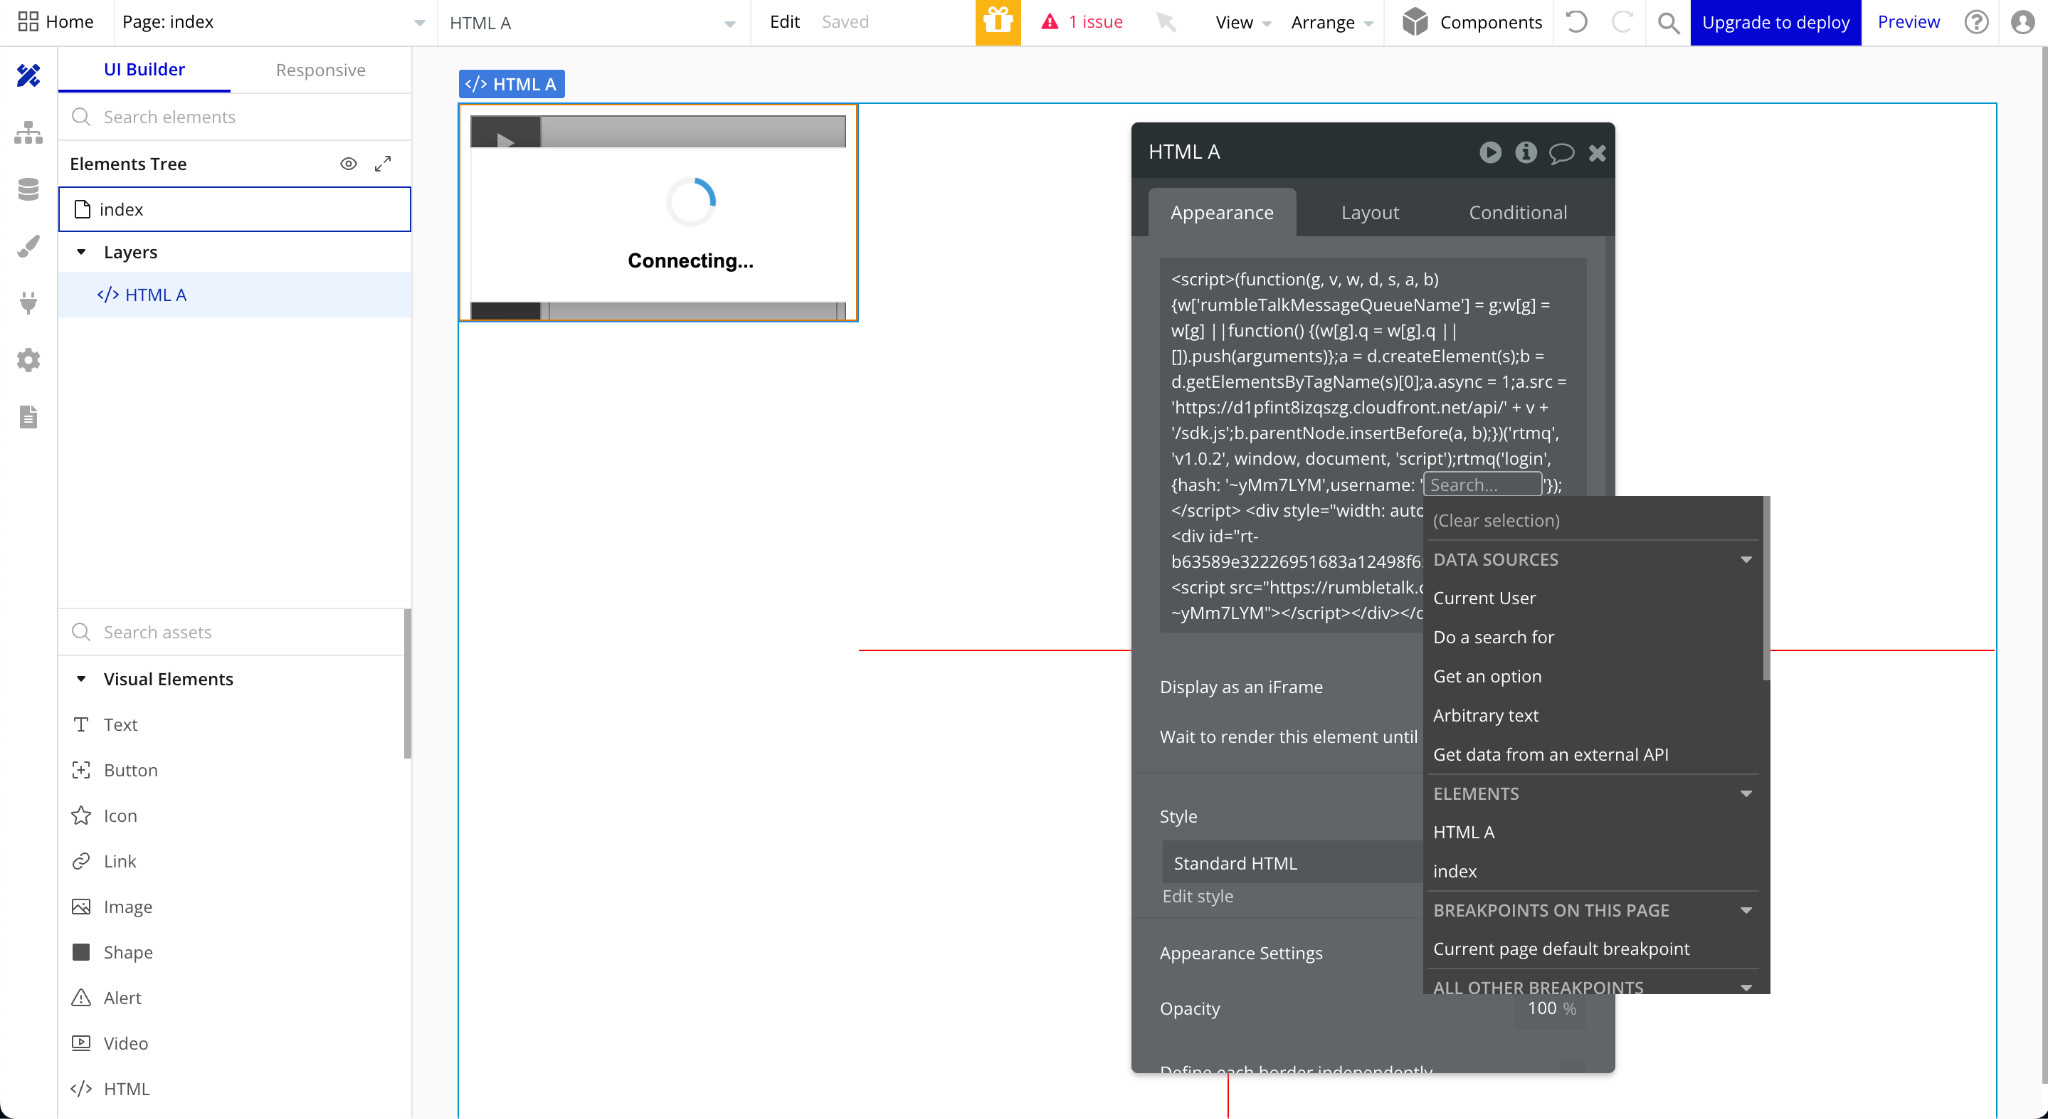
This will allow you to put your “Current User“ inside the chat.
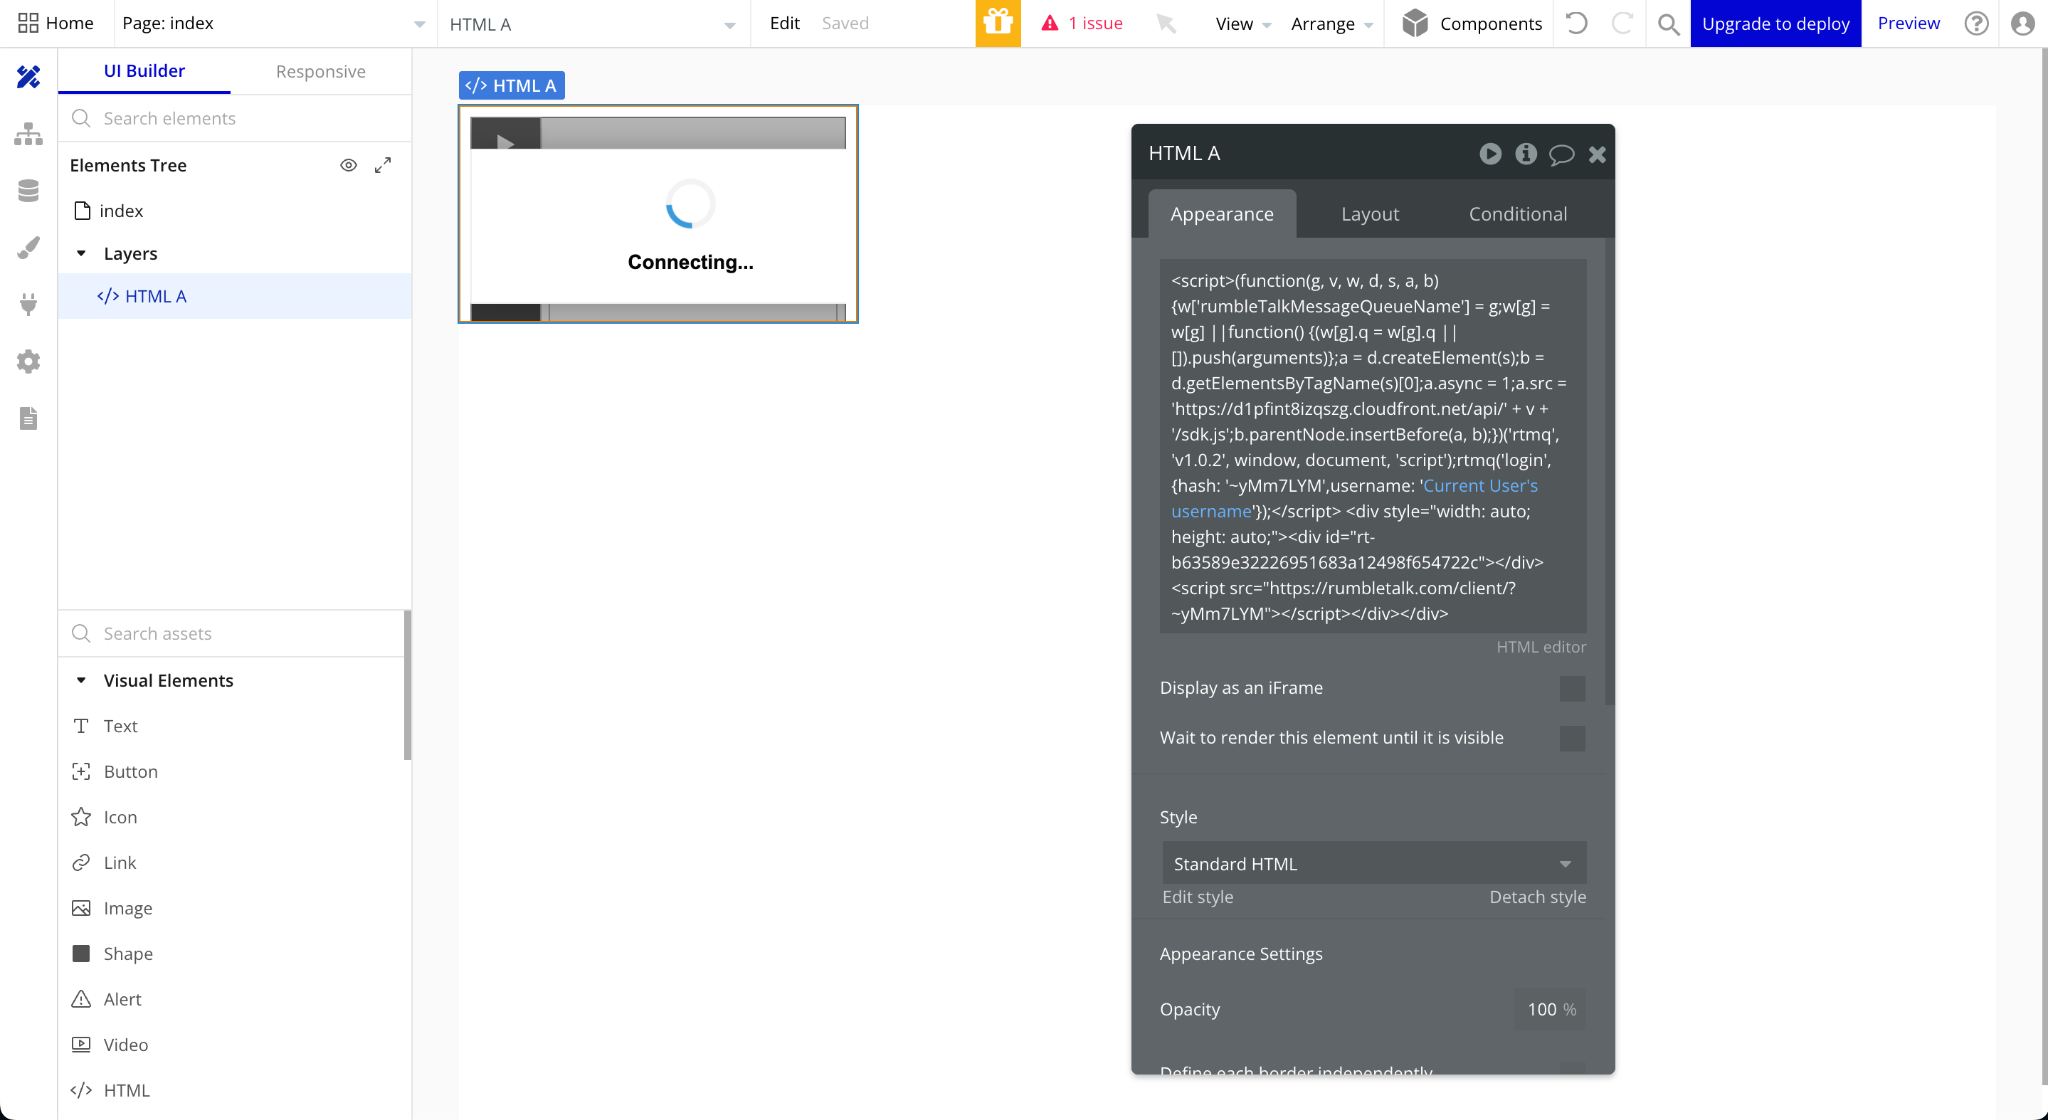
After selecting “Current User”, click the name you want to use by the current user. In my case, I chose the “ ‘s username ”. This option depends on your fields inside the Bubble database.
Congratulations! You have made your RumbleTalk Group Chat on Bubble.io.
Adding a username
* This section is only for new users who don’t set up their database at Bubble.io
- In the Bubble Editor, select the Data option.
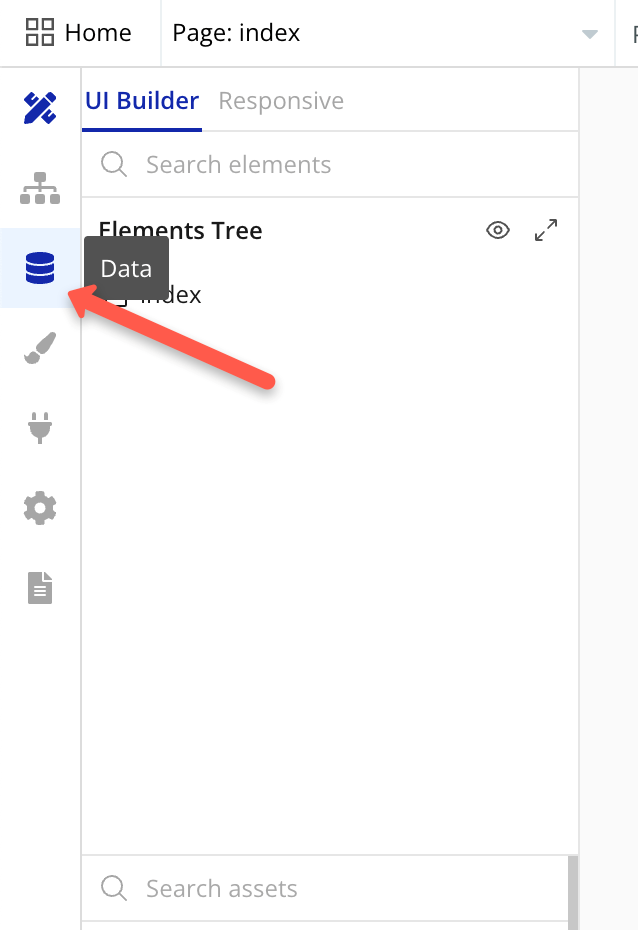
- The Data option brings you to your Bubble’s database. Click the Create a new field.

- Once clicked, a pop-up window will appear. Set the Field name to username and the Field type to User. After supplying the following fields, click Create.

Congratulations, you have added a field of username to your Bubble database.

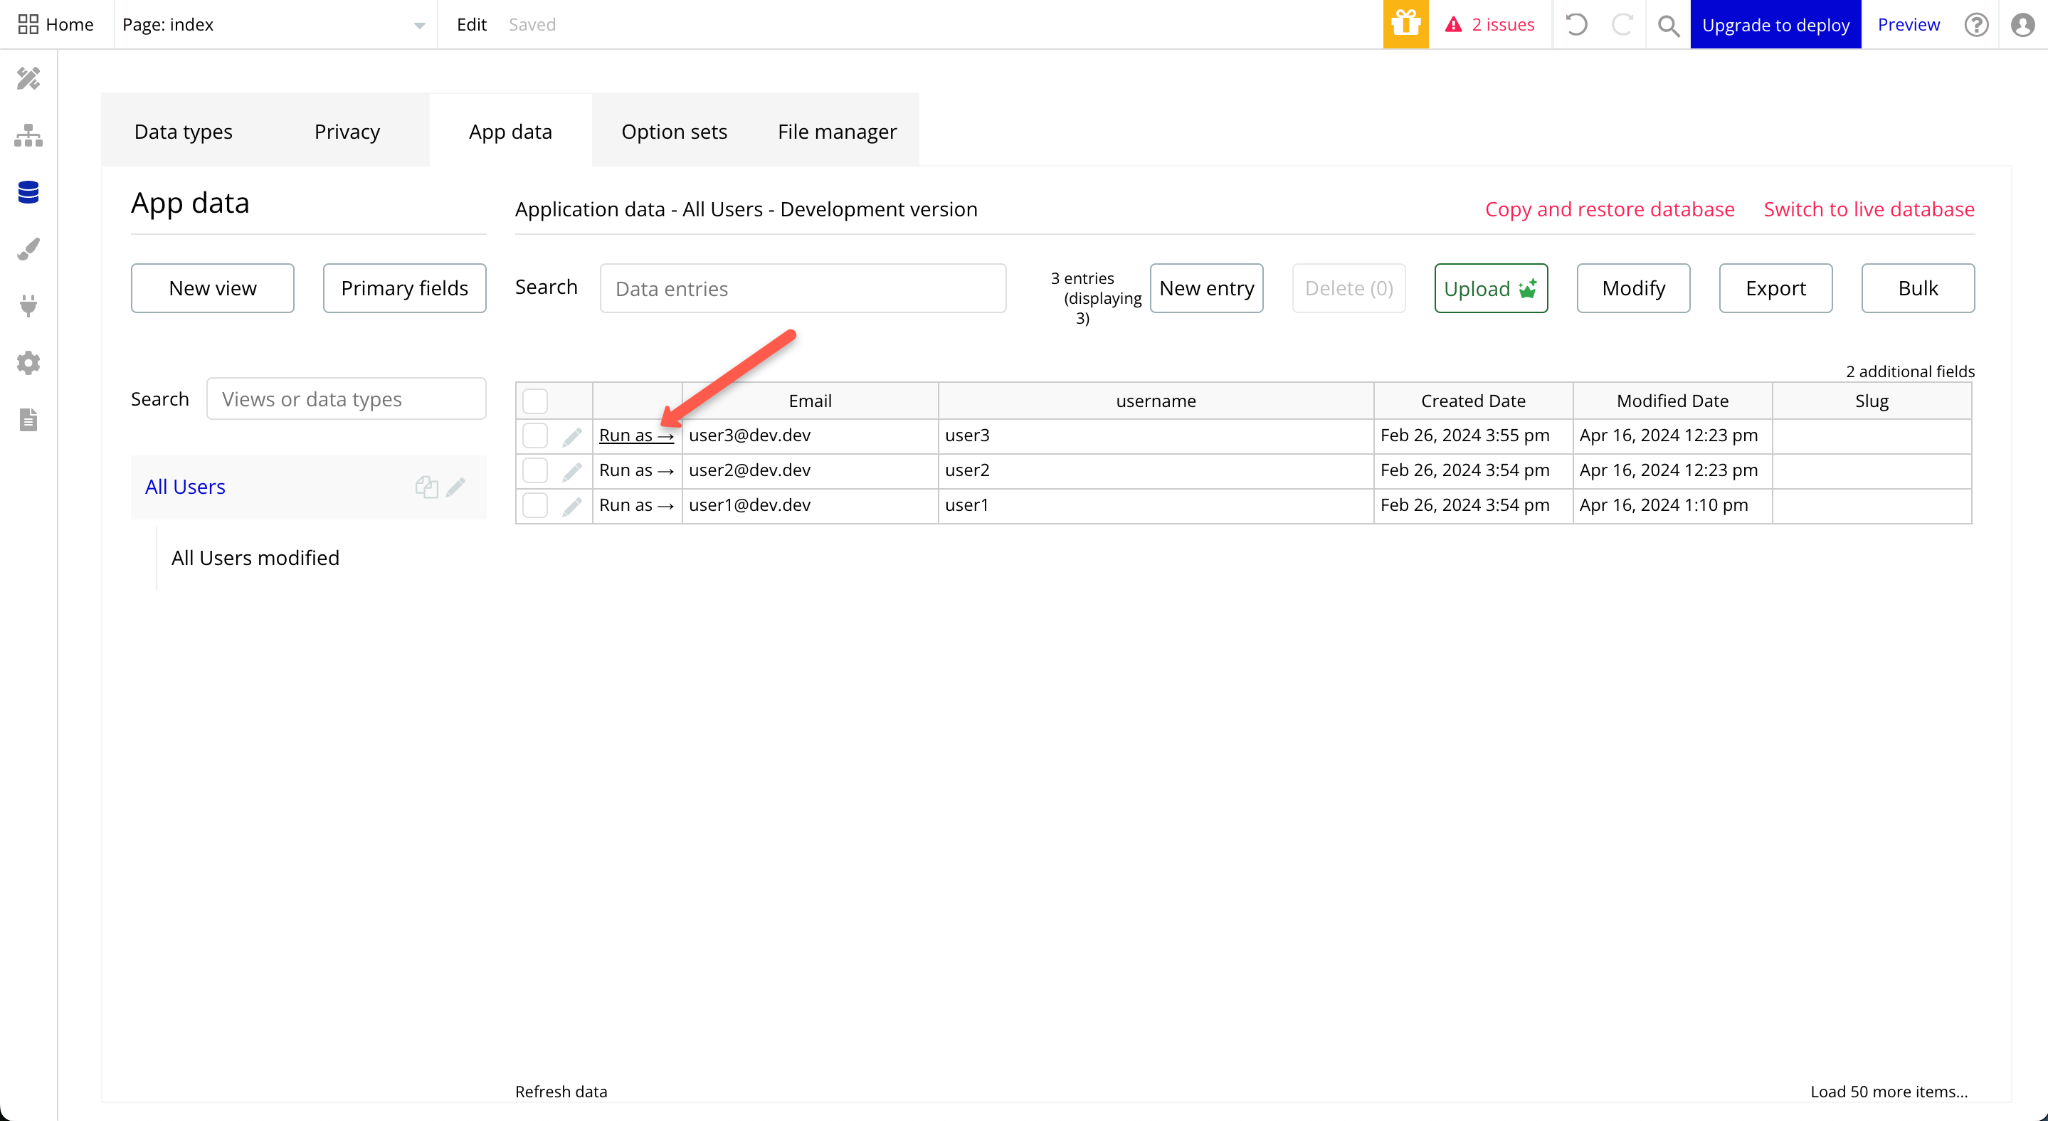
You can add data by selecting App data and clicking New Entry.
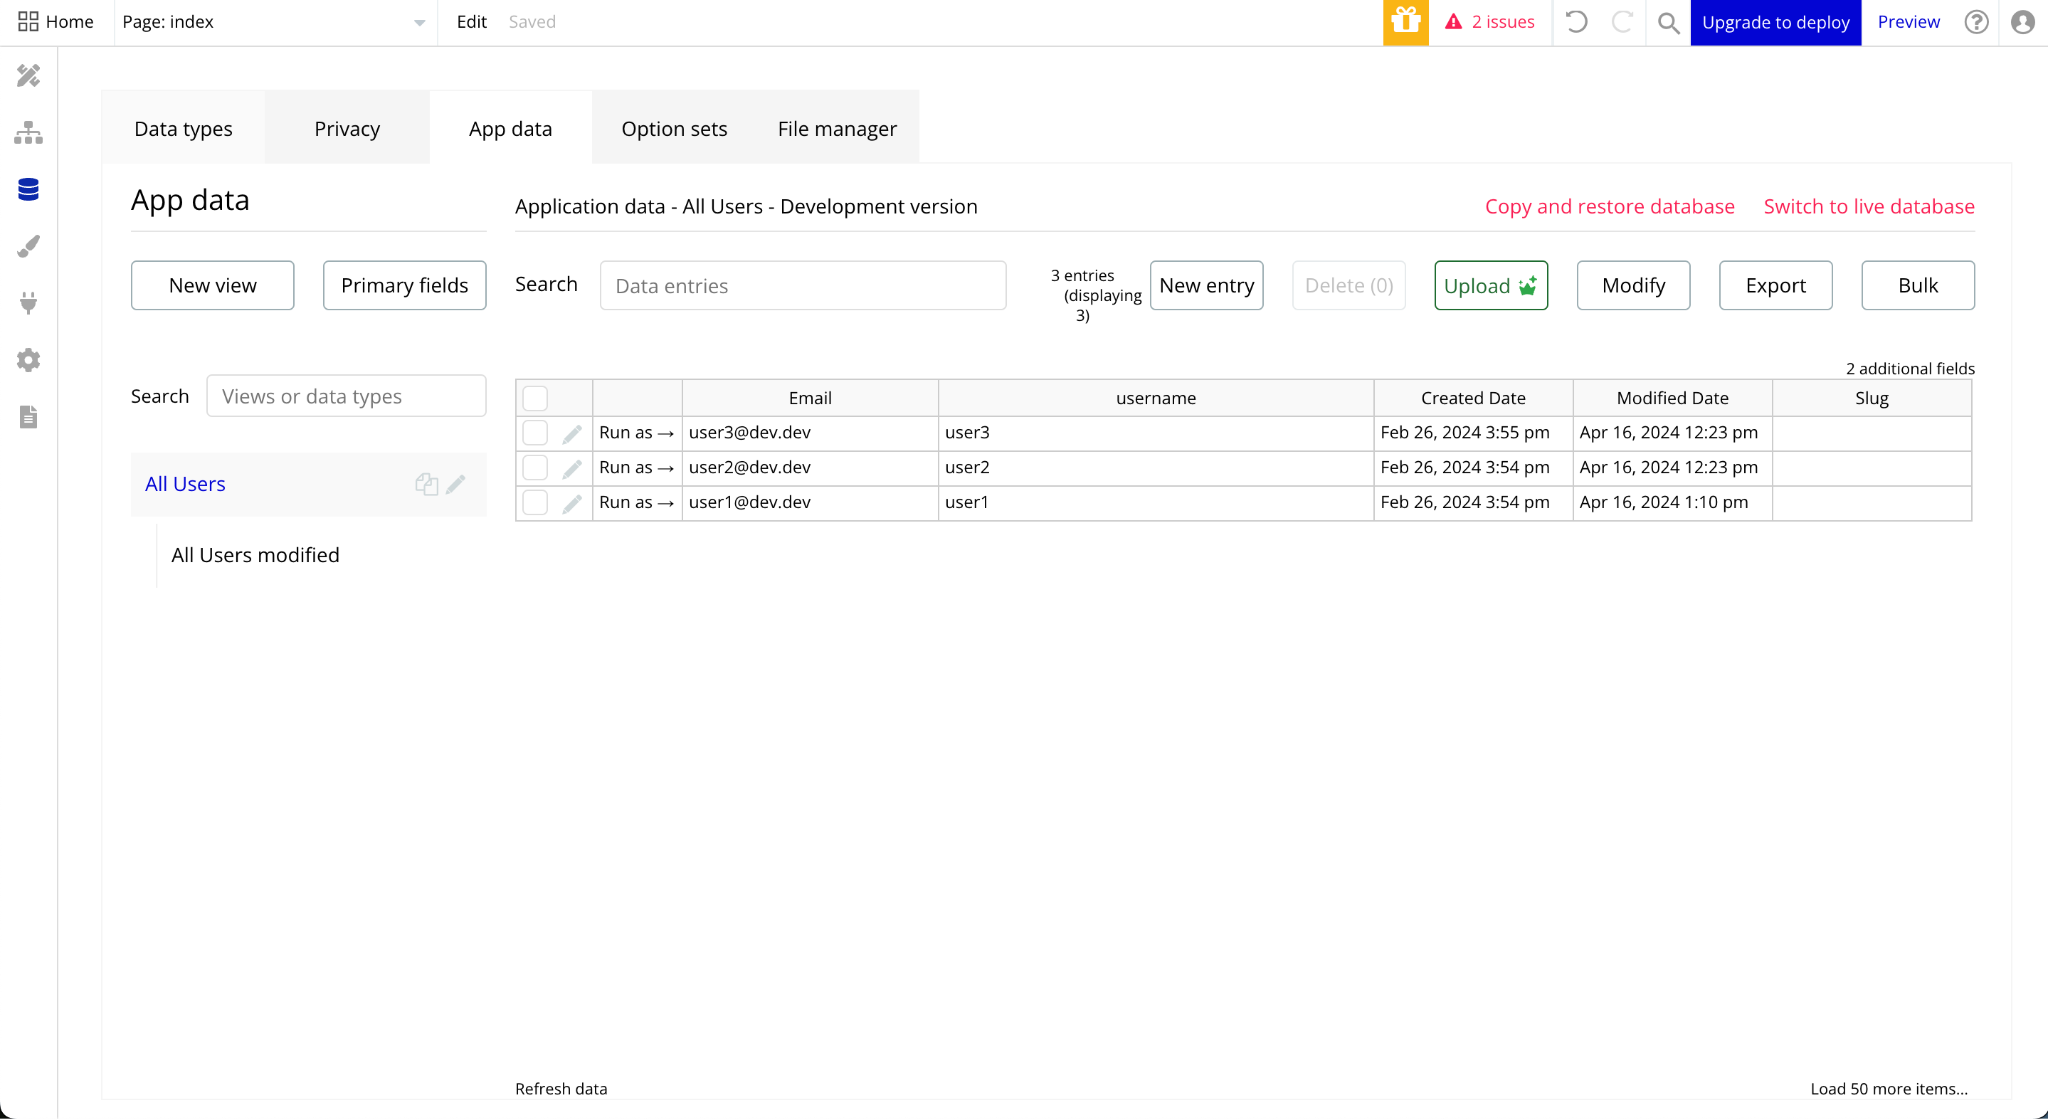
After adding data, you can try a specific user to log into your Bubble App by clicking Run as → in the specific row of the user that you want to use.
That’s it!! Your database is ready.
